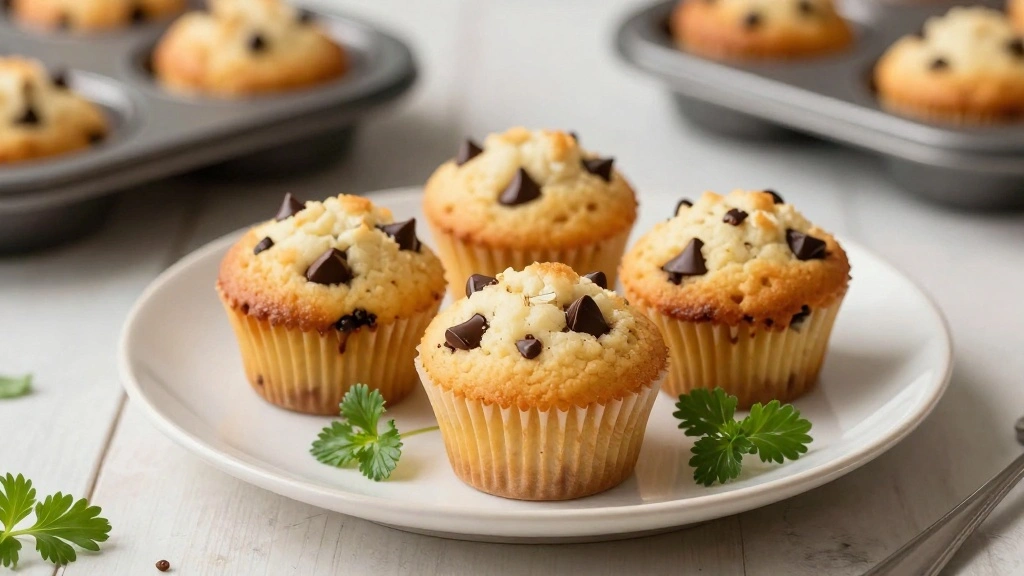

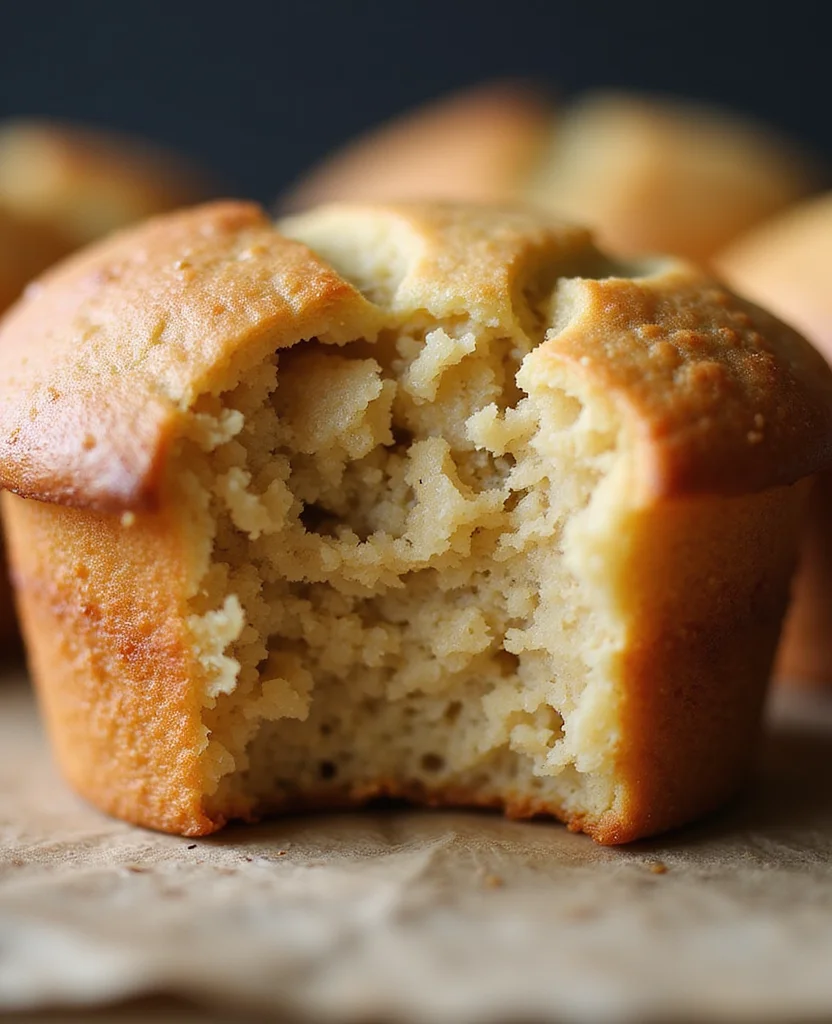
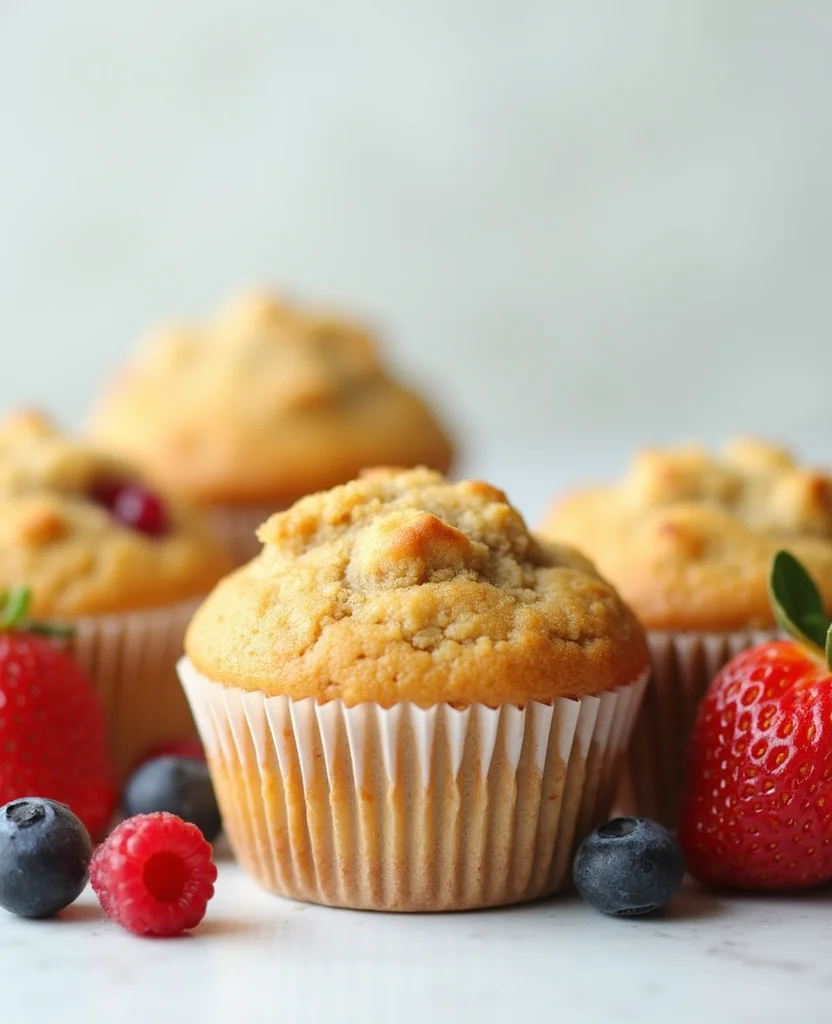
There’s something magical about biting into a perfectly baked muffin.
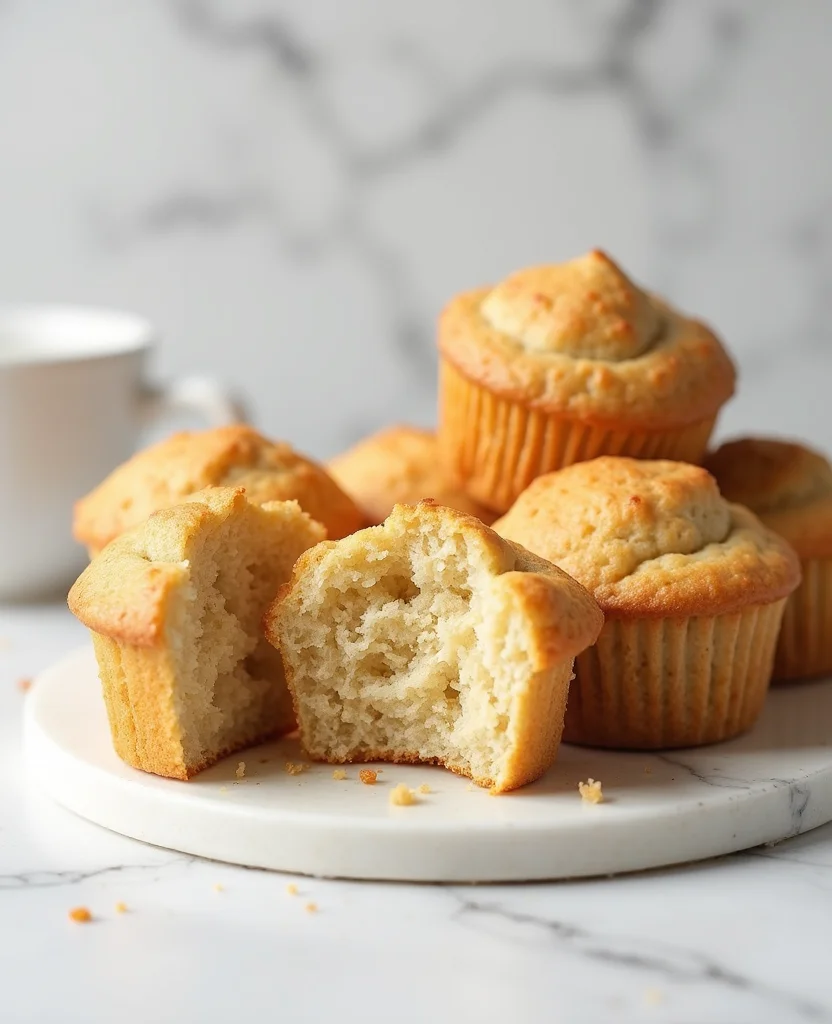
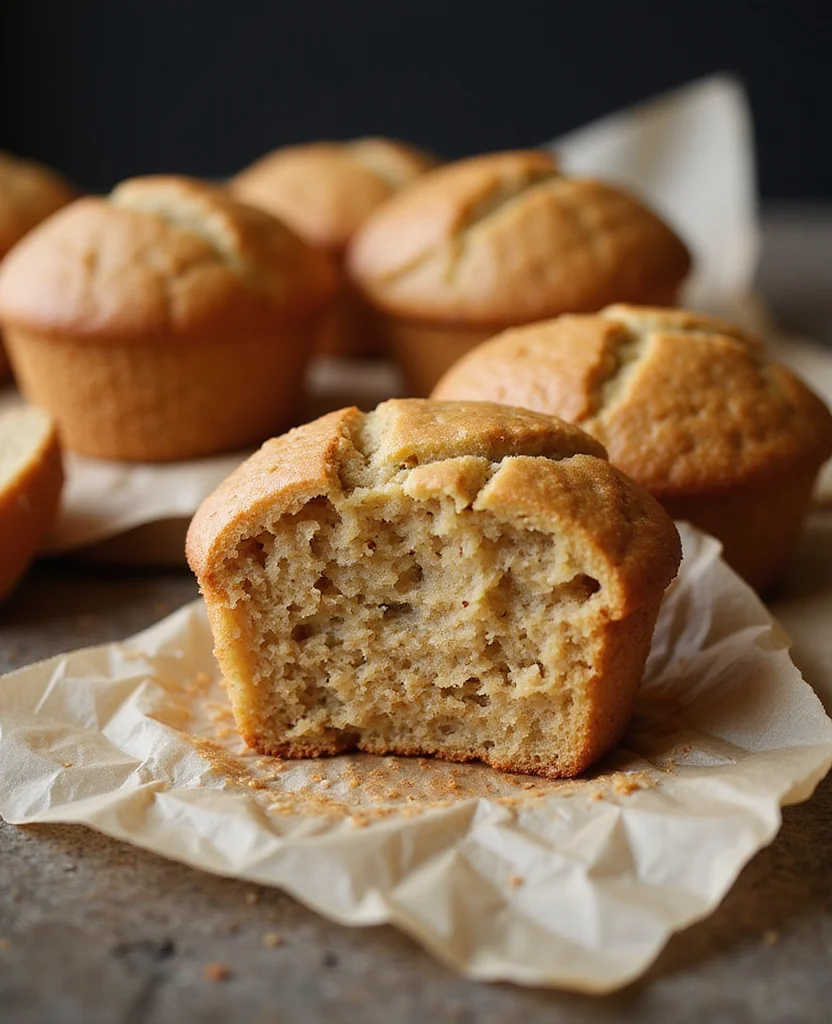
The combination of a soft, fluffy interior with a slightly crisp top is a simple pleasure that’s hard to beat.
For those following gluten-free and dairy-free diets, finding a muffin that meets dietary needs without compromising on taste can be challenging.
This recipe delivers just that: a delightful muffin experience that everyone can enjoy.
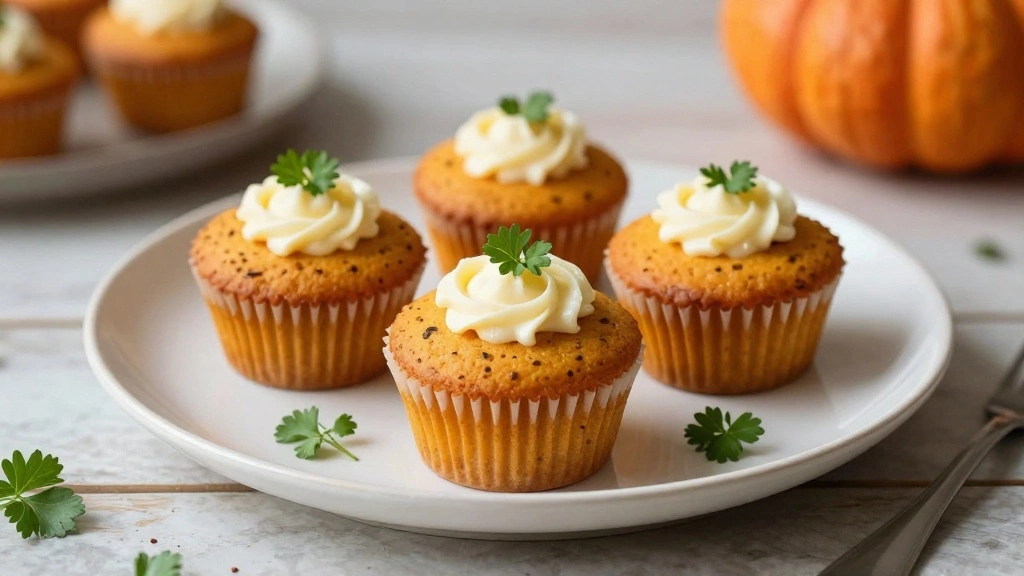
I started developing this recipe after being inspired by the changing seasons, aiming to capture the essence of fall in every bite.
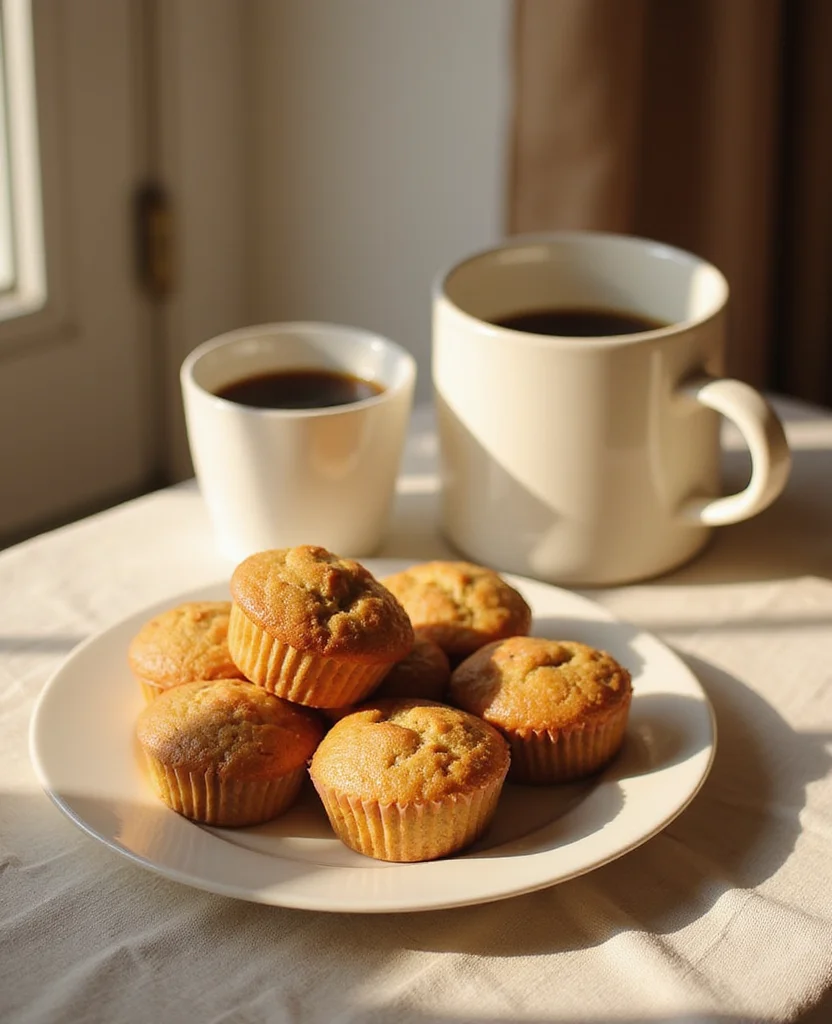
These muffins are perfect for a cozy breakfast or a comforting snack on a chilly afternoon.
The History and Cultural Significance
• Gluten-Free Dairy-Free Muffin traces its origins to the early 2000s, where it was originally created by innovative home bakers responding to the rising awareness of gluten and dairy allergies.
• The dish evolved over decades as alternative flours and non-dairy milks became more accessible and refined, eventually becoming the beloved version we know today.
• In many cultures, muffins appear at breakfast tables and brunches, symbolizing warmth and hospitality.
• While many variations exist across different regions, the authentic version maintains a delicate crumb and subtle sweetness that sets it apart from imitations.
Recommended Products


Receive 1 box of Simple Mills Almond Flour Banana Bread Mix. Real banana flavor from real, actual bananas. Real banana flavor from real, actual bananas. Great for fun and nutritious baking.

Used Book in Good Condition


Recipe Overview
Recommended Products
SUPERFINE TEXTURE FOR SMOOTH BAKING: Made from blanched almonds, this superfine almond flour blends easily into pancake mix, bread, muffins and cake recipes without clumps

whether you’re looking for a quick breakfast treat, a comfort food entrée, or a showstopping dessert, The Gluten-Free Almond Flour Cookbook proves that gluten-free cooking can mean healthy eating for everyone.
Receive 1 box of Simple Mills Almond Flour Pumpkin Bread Mix. Perfectly spiced pumpkin mix that uses actual pumpkin and actual spices. Great for fun and nutritious baking.
Nutritional Information (per serving)
Recommended Products

Receive one (1) box of Simple Mills Chocolate Brownie Almond Flour bars. A bar with that delicious chocolatey taste. Each box contains (5) 1.19oz bars

Coconut oil with mouthwatering butter aroma and flavor for a delicious butter alternative perfect for homemade popcorn, sautéing, baking, and spreading

Essential Equipment Guide
Muffin Tin: A quality muffin tin ensures even baking, which is crucial for achieving the perfect texture. Silicone muffin pans can be used as an alternative, but they may not brown the muffins as well.
Mixing Bowls: Use a set of mixing bowls to easily manage wet and dry ingredients separately before combining. Look for bowls with non-slip bases for easier mixing.
Whisk: A whisk is essential for properly blending wet ingredients and ensuring they are fully integrated with dry ingredients. A fork can work in a pinch, but a whisk is more efficient.
Recommended Products

Versatile Baking: Perfect 1:1 substitute for wheat flour in non-yeasted recipes, ideal for gluten-free cookies, cakes, muffins, and pancakes. Simplify your gluten-free baking with this all-purpose flour alternative.

Versatile Replacement: This gluten free flour 1 to 1 substitute for wheat flour can be used in yeasted recipes, allowing you to create delicious GF versions of artisan boules, bagels, cinnamon rolls, and burger buns with ease.


Ingredients
Recommended Products

Fruity & Flavorful Muffins – Enjoy soft, moist, and delicious Gluten-Free Apple Cinnamon Crumble Muffins, perfect for any time of the day.

Blueberry flavor bursts in each delicious bite… 4 snack packs for a crumb-free, on-the-go treat!

For the Dry Ingredients
|
| Amount | Ingredient | Notes |
|---|---|---|
| 1 1/2 cups | gluten-free all-purpose flour | provides structure |
| 1/2 cup | almond flour | adds moisture and a nutty flavor |
| 1 teaspoon | baking powder | helps muffins rise |
| 1/2 teaspoon | baking soda | aids in leavening |
| 1/4 teaspoon | salt | enhances overall flavor |
For the Wet Ingredients
| Amount | Ingredient | Notes |
|---|---|---|
| 2 large | eggs | provides structure and richness |
| 1/2 cup | coconut oil | melted, adds moisture |
| 1/2 cup | maple syrup | natural sweetener |
| 1 teaspoon | vanilla extract | adds depth of flavor |
| 1/2 cup | almond milk | dairy-free liquid |


Preparation Methods
Mixing Technique: Proper mixing is crucial to avoid overworking the batter, which can lead to tough muffins. Use a gentle folding technique to combine wet and dry ingredients until just incorporated.
Measuring Ingredients: Accurate measurement of flour is vital for the right texture. Use the spoon-and-level method to avoid packing too much flour into the measuring cup.
Cooling: Allowing muffins to cool in the pan for a few minutes before transferring them to a wire rack prevents them from becoming soggy at the bottom.
Recommended Products

Receive 1 box of Simple Mills Almond Flour Chocolate Cake Mix. Rich cocoa and coconut sugar come together to take your muffins, cupcakes, and cakes to the next level of baking goodness

BURSTING WITH BLUEBERRIES: Our new Gluten Free Blueberry Muffin and Bread Mix is bursting with juicy blueberries and a soft, moist crumb. Perfect for a tasty breakfast treat or a midday snack!

This golden, tender cornbread is easy to prepare with our mix (we've measured and mixed the same great ingredients you love for you!), loaded with whole grains (that means good and good for you) and is difficult to resist (trust us, we've tried)


Step 1: Preheat the Oven
Preheat your oven to 350°F (175°C).
This ensures that the muffins bake evenly and rise properly.
Make sure the oven rack is in the center position.
Use an oven thermometer to verify the correct temperature.
Recommended Products

Mix makes 20 scrumptious pancakes or 5 large and fluffy waffles

FLUFFY & SPICED: Stir up some deliciousness with Stellar Eats Carrot Cake + Muffin Mix. Perfectly spiced and not too sweet, it’s a nutritious treat that no one would guess is made from a mix.

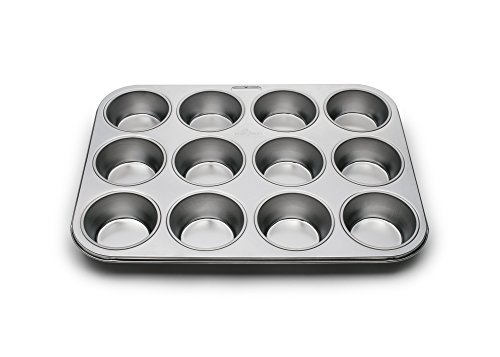
Step 2: Prepare the Muffin Tin
Line a 12-cup muffin tin with paper liners or lightly grease with non-stick spray.
This step ensures the muffins do not stick to the pan.
Make sure each cup is evenly lined or greased to prevent uneven baking.
Use a pastry brush for even application if greasing.
Recommended Products

Just six simple and nutrient-rich ingredients

RELIABLE QUALITY: Trustworthy spread recognized for its high standards. Our sesame tahini is USDA Organic, Kosher certified, and verified by the Non-GMO Project - meeting top industry benchmarks. A must-have high-grade kitchen pantry essential.


Step 3: Combine Dry Ingredients
In a large mixing bowl, whisk together the gluten-free flour, almond flour, baking powder, baking soda, and salt.
This helps distribute leavening agents evenly throughout the flour.
Ensure there are no clumps of baking powder or soda.
Use a fine-mesh sieve if necessary to break up any lumps.
Recommended Products

GLUTEN FREE MADE EASY: Bob’s Red Mill expertly crafted a one-to-one blend of gluten free flours, starches and xanthan gum; effortlessly transforms traditional cookies, cakes, brownies, muffins and pancakes into gluten free treats

King Arthur Gluten Free Flour is ideal for all gluten-free recipes, our carefully tested blend of white rice flour, whole grain brown rice flours, tapioca starch, and potato starch yields baked goods with no grittiness or aftertaste

CUP FOR CUP ALTERNATIVE: Replace your baking flour without replacing your recipes. Our All Purpose Cup For Cup substitute allows you to enjoy a gluten free version of all your favorite recipes. No extra ingredients or conversions required. Great for cookies, gravies, breading or custard!


Step 4: Mix Wet Ingredients
In a separate bowl, whisk together the eggs, melted coconut oil, maple syrup, vanilla extract, and almond milk.
Ensure the coconut oil is fully melted and cooled slightly to prevent cooking the eggs.
The mixture should be smooth and well-blended.
Use a whisk to achieve a homogenous mixture.
Recommended Products


One 16.9 oz. box of Glutino Gluten Free Original English Muffins, Frozen

Muffin Snacks, Chocolate Chip, Snack Packs
Step 5: Combine Wet and Dry Ingredients
Pour the wet ingredients into the dry ingredients.
Using a spatula, gently fold the mixture until just combined.
Be cautious not to overmix, as this can result in dense muffins.
Look for a few small streaks of flour remaining for the ideal texture.


Step 6: Fill Muffin Cups

Evenly distribute the batter into the prepared muffin cups, filling each about two-thirds full.
This allows room for the muffins to rise without overflowing.
Use an ice cream scoop for uniform portions.
Ensure all cups have equal amounts of batter.


Step 7: Bake the Muffins
Place the muffin tin in the preheated oven.
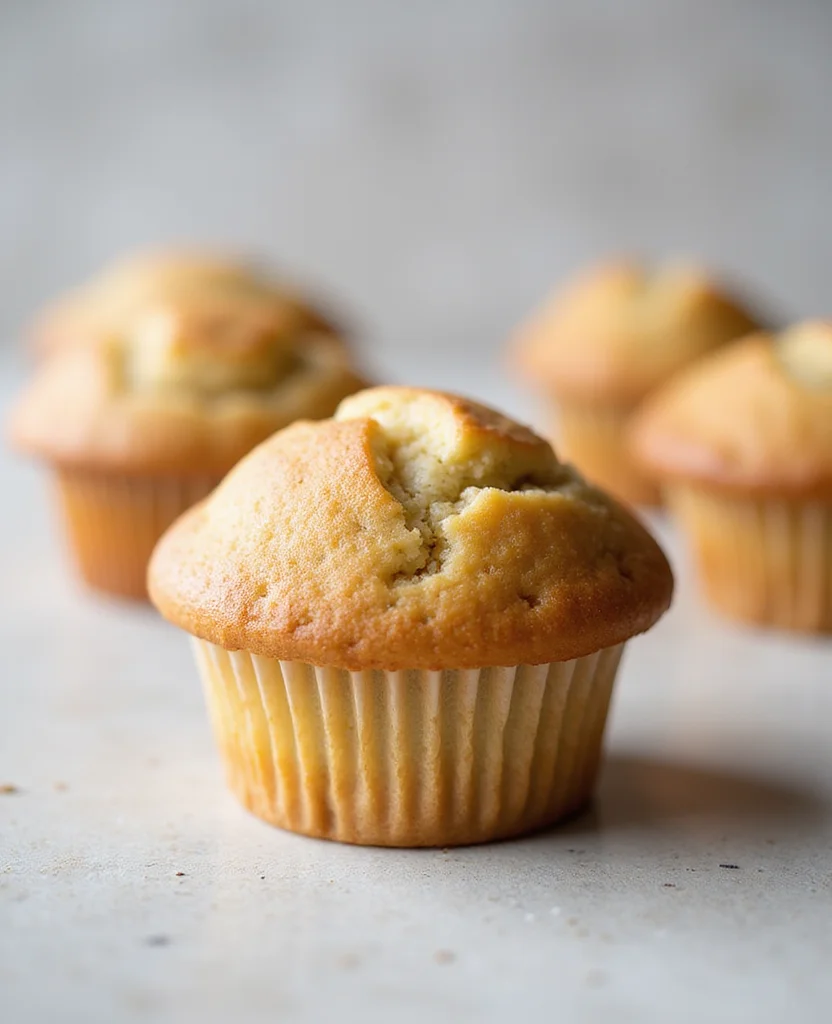
Bake for 20-25 minutes until the tops are golden brown.
Insert a toothpick into the center of a muffin; it should come out clean.
Rotate the pan halfway through baking for even browning.


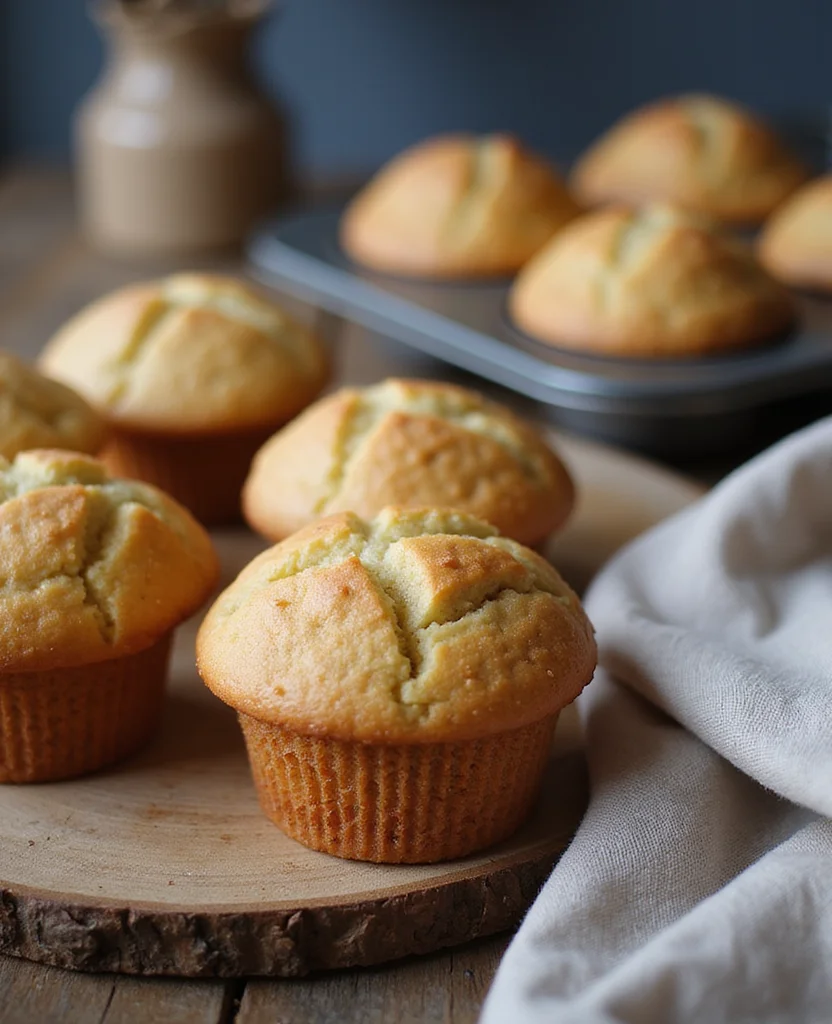
Step 8: Cool and Serve
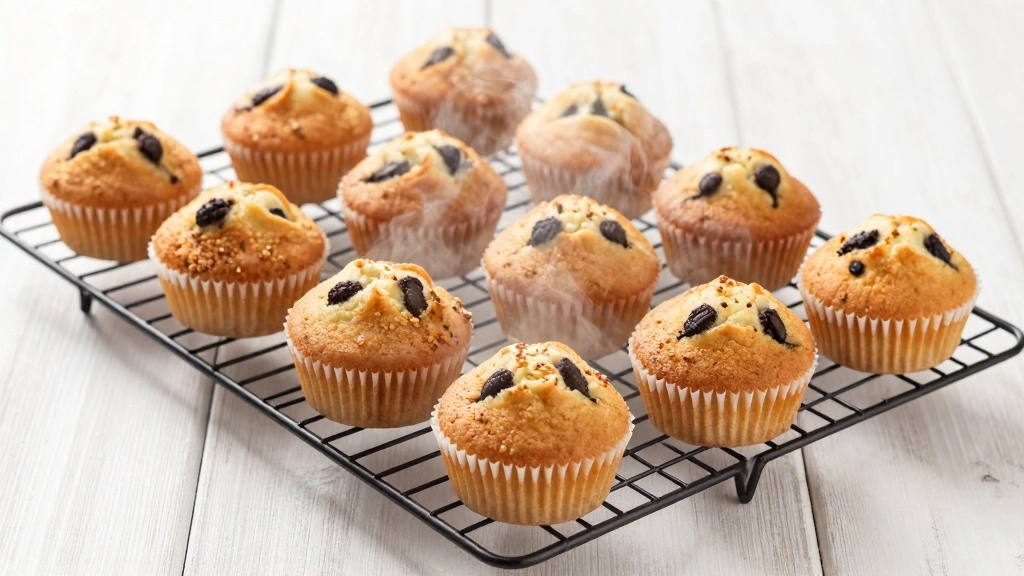
Remove the muffin tin from the oven and place on a wire rack.
Allow the muffins to cool in the tin for 5 minutes.
Transfer muffins to the wire rack to cool completely.
Serve warm or at room temperature for best flavor.


Critical Timing and Temperature Guide
Baking: Bake at 350°F for 20-25 minutes. Look for a golden-brown top and a clean toothpick test. Avoid opening the oven frequently to prevent temperature fluctuations.
Cooling: Cool muffins in the tin for 5 minutes, then transfer to a wire rack. This prevents the bottoms from becoming soggy and helps retain texture.
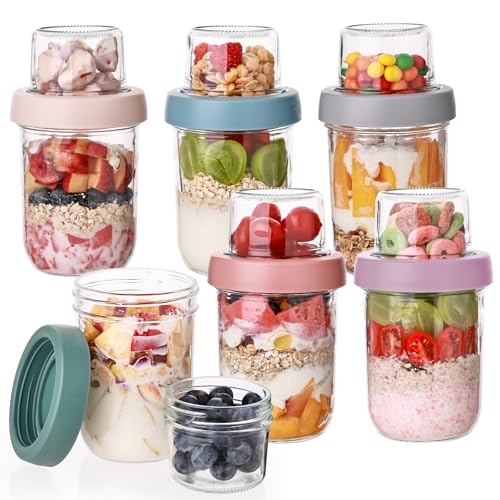
Storage: Store cooled muffins in an airtight container at room temperature for up to 3 days. For longer storage, freeze them and reheat before serving.


Pro Tips for Gluten-Free Dairy-Free Muffin
• Ingredient Selection: Use high-quality gluten-free flour blends specifically designed for baking to ensure the best texture.
• Preparation Secret: Let the batter rest for 10 minutes before baking to allow the flours to hydrate, resulting in a better crumb.
• Temperature Management: Ensure all wet ingredients are at room temperature to prevent the coconut oil from solidifying upon contact.
• Texture Enhancement: Gently fold ingredients to keep the batter airy, which contributes to a lighter muffin.
• Flavor Layering: Add a pinch of cinnamon or nutmeg to enhance the muffins' warmth and depth of flavor.
• Make-Ahead Strategies: Prepare the dry and wet ingredients separately the night before and combine them in the morning for fresh muffins.
• Restaurant-Quality Finishing Touches: Sprinkle raw sugar on top of the batter before baking for a crisp, sweet crust.
• Equipment Optimization: Use non-stick muffin tins for easier release and better browning.
Troubleshooting Common Issues
• Texture Too Dense: This is often caused by overmixing the batter. Use a gentle folding technique and stop mixing as soon as the ingredients are combined.
• Flavors Unbalanced: If the muffins taste too sweet or bland, adjust the maple syrup or add a pinch more salt in future batches.
• Tops Not Browning: Ensure the oven is fully preheated and positioned at the correct rack level. Adding a bit of sugar on top can help with browning.
• Muffins Sticking to Pan: Properly grease the muffin tin or use high-quality liners to prevent sticking.
• Sunken Centers: This can occur if the muffins are underbaked. Ensure the oven temperature is accurate and bake until a toothpick comes out clean.
• Uneven Baking: Rotate the muffin tin halfway through baking to ensure even heat distribution.
Variations and Regional Differences
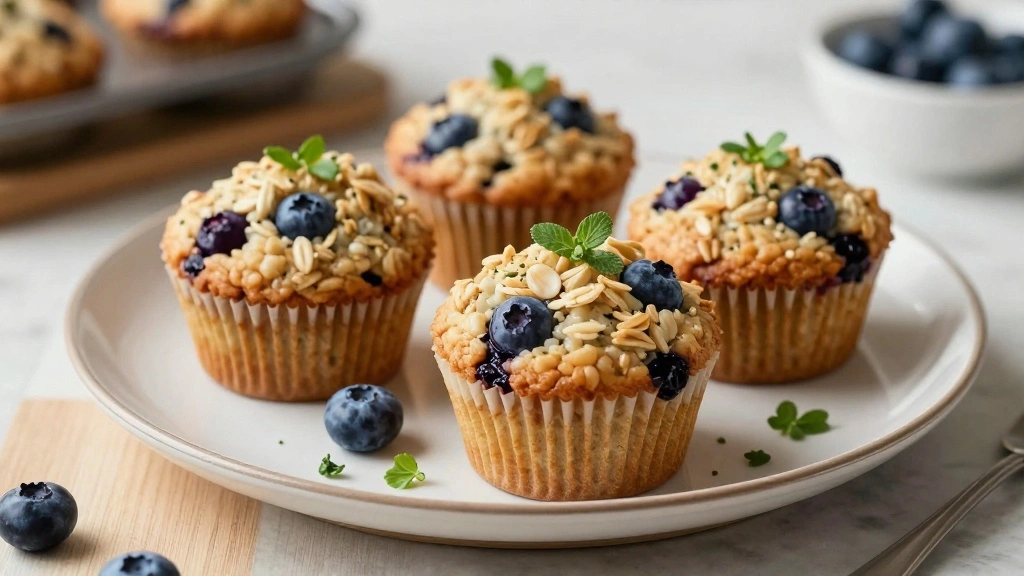
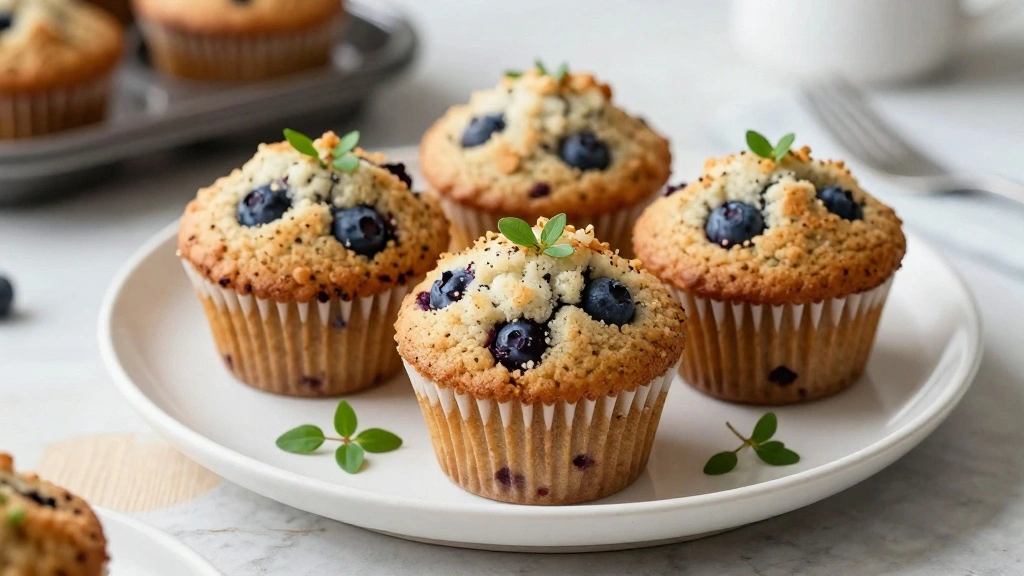
• American Blueberry Muffins: Incorporates fresh or frozen blueberries into the batter for a burst of fruity flavor and a classic American twist.
• British Tea-Time Muffins: Often includes dried fruits such as raisins or currants, and is spiced with cinnamon or nutmeg.
• Italian Polenta Muffins: Uses cornmeal and olive oil for a denser texture and a savory flavor, sometimes incorporating rosemary or lemon zest.
• French Almond Muffins: Adds almond extract and sliced almonds on top for a delicate, nutty aroma and flavor.
Food Science Behind the Recipe
• Gluten-Free Baking: Understanding the role of gluten-free flours is crucial; they need more hydration, which is why resting the batter is beneficial.
• Leavening Agents: Baking powder and soda create carbon dioxide bubbles that help the muffins rise and become fluffy.
• Emulsification: The combination of eggs and coconut oil helps to emulsify the batter, binding ingredients together for a cohesive texture.


Frequently Asked Questions
What's the most common mistake people make when preparing gluten-free dairy-free muffins? Overmixing the batter, which can lead to dense muffins.
Can I substitute almond milk with another non-dairy milk? Yes, any non-dairy milk such as oat or soy milk can be used.
Why did my muffins turn out dry? This can occur from overbaking or using too much flour. Measure ingredients accurately and check doneness early.
How do I store these muffins? Store in an airtight container at room temperature for up to 3 days or freeze for longer storage.
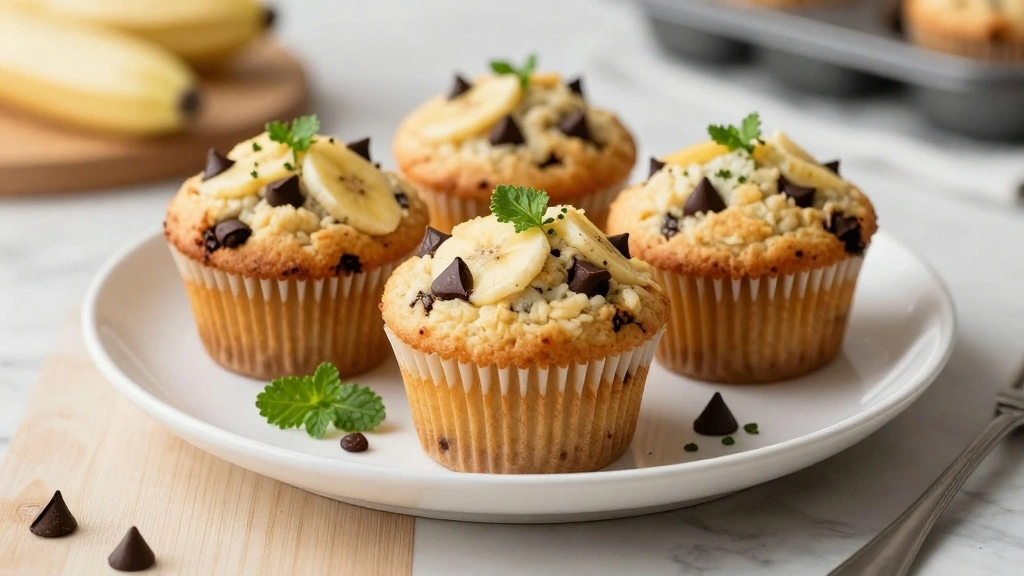
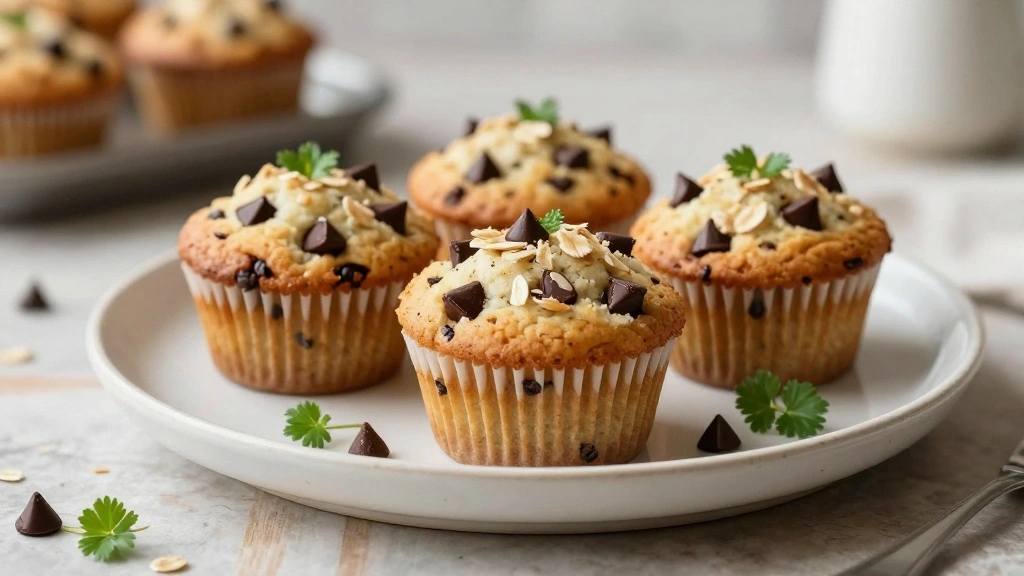
Can I add mix-ins like nuts or chocolate chips? Absolutely, just be sure to fold them in gently to avoid overmixing.
What can I use instead of coconut oil? Melted vegan butter or canola oil can be alternatives.
How can I make these muffins more flavorful? Adding spices like cinnamon or nutmeg, or a splash of citrus zest can enhance flavor.
Serving and Presentation Guide
• Traditional Presentation: Serve muffins on a wooden platter, garnished with fresh berries or a sprinkling of powdered sugar for a rustic touch.
• Modern Twist: Arrange muffins on a colorful plate with a side of fruit compote or jam for a pop of color.
• Minimalist Approach: Display muffins in simple white bowls, accentuating their natural beauty.
• Seasonal Decor: Use seasonal elements like autumn leaves or sprigs of rosemary for a festive presentation.
Conclusion
Creating these gluten-free dairy-free muffins is a rewarding experience that brings joy to the breakfast table.
Their delightful flavor and texture make them a hit with everyone, regardless of dietary needs.
Give this recipe a try and enjoy the perfect balance of health and taste in each bite.
You'll find yourself reaching for this recipe again and again.