
Slow Cooker Recipes: Easy Meals, Less Effort!
Family-friendly dishes for busy people — quick prep, delicious results.
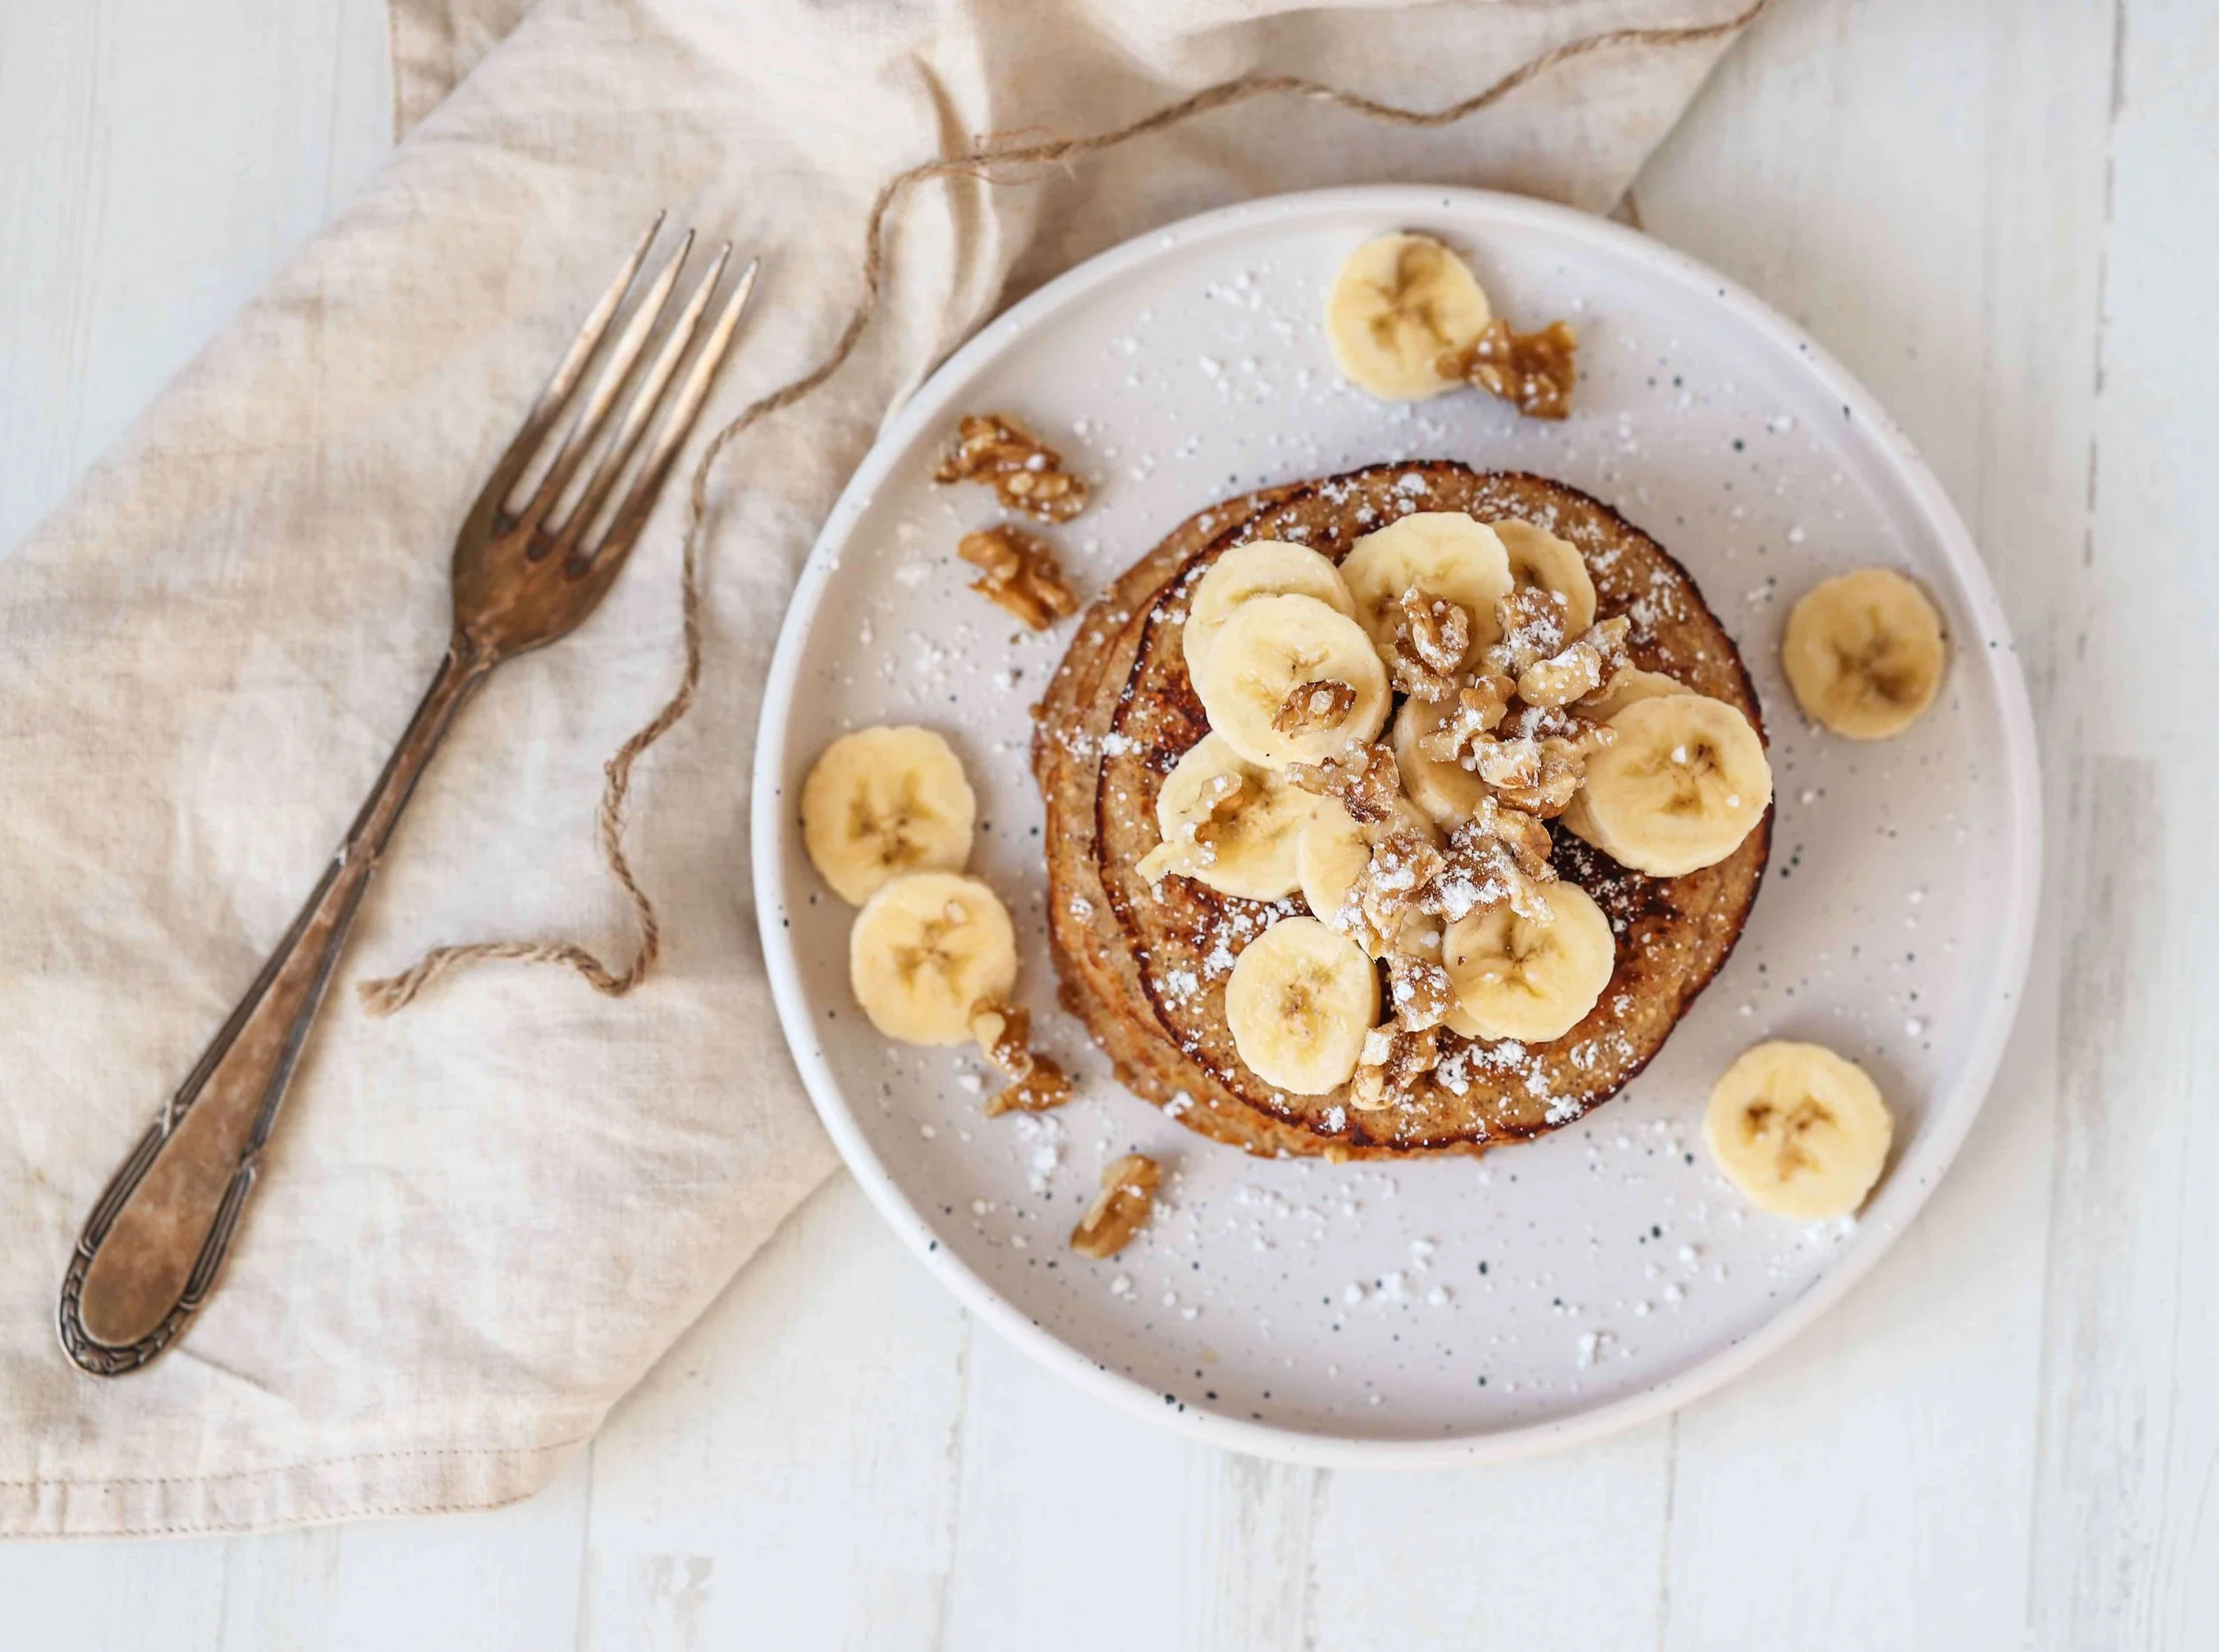
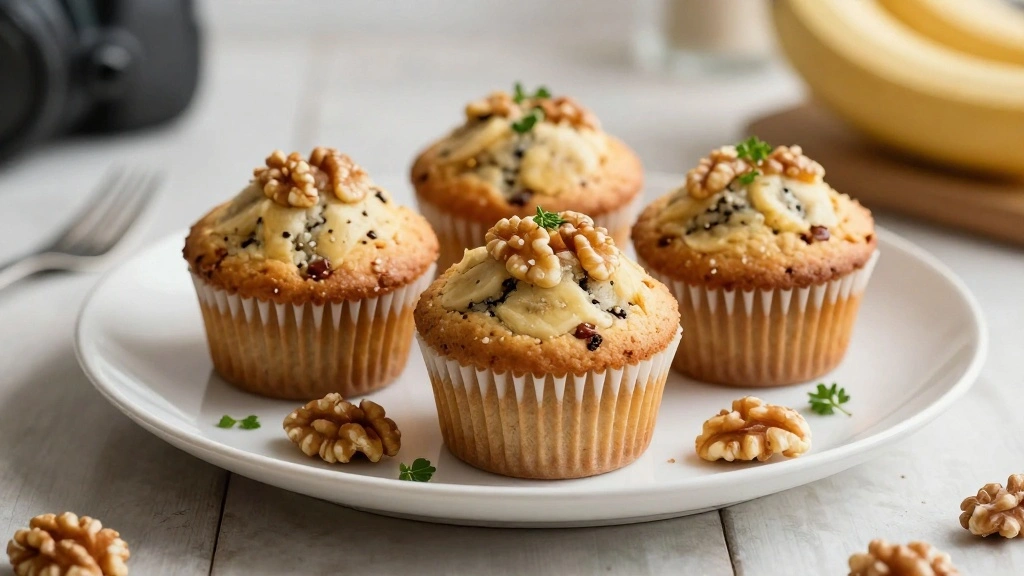
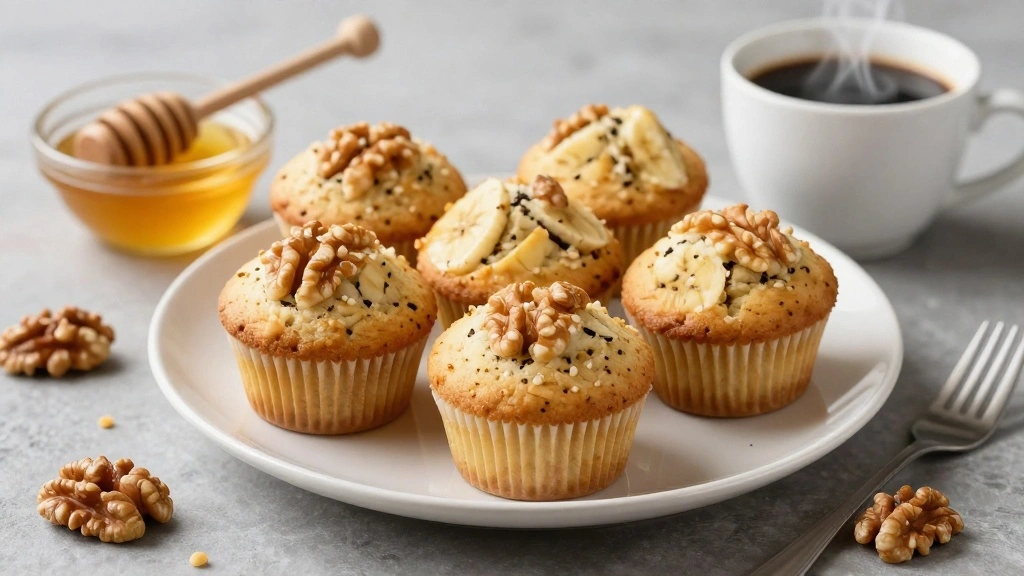
Grab yours for $4The first time I bit into a banana walnut muffin, I was instantly transported to a world of comforting flavors and nostalgic aromas.
These bakery-style muffins are a delightful combination of sweet, ripe bananas and crunchy walnuts, creating a texture and taste that’s simply irresistible.
Perfect for breakfast or an afternoon snack, the rich, nutty flavors paired with the softness of the banana offer a harmonious balance.
Whether it’s a cozy morning with a cup of coffee or a special brunch with friends, these muffins are sure to impress.
With a straightforward preparation process, you can recreate that bakery magic right in your own kitchen.
Let’s dive into the world of banana walnut muffins and discover what makes them a beloved classic.
The History and Cultural Significance
• Banana Walnut Muffins trace their origins to early 20th century America, where they were originally created by home bakers looking to use overripe bananas.
• The dish evolved over decades as baking powder became more common, eventually becoming the beloved version we know today.
• In American culture, this dish traditionally appears at brunches and bake sales, symbolizing homey comfort and tradition.
• While many variations exist across different regions, the authentic version maintains a moist texture and nutty flavor that sets it apart from imitations.


Recipe Overview
Nutritional Information (per serving)
Essential Equipment Guide
Muffin Tin: A standard muffin tin is crucial for achieving the classic shape and even baking of the muffins. Alternatives like silicone molds can work, but look for a non-stick surface for best results.
Mixing Bowls: Having a set of mixing bowls in various sizes helps manage ingredients efficiently. Look for bowls with a non-slip base for easier mixing.
Cooling Rack: A cooling rack allows air to circulate around the muffins, preventing them from becoming soggy. If unavailable, a clean oven rack can be used in a pinch.


Ingredients
For the Base
|
| Amount | Ingredient | Notes |
|---|---|---|
| 1 1/2 cups | all-purpose flour | sifted for light texture |
| 1 teaspoon | baking powder | helps muffins rise |
| 1/2 teaspoon | baking soda | reacts with banana acidity |
| 1/4 teaspoon | salt | enhances flavor |
Wet Ingredients
| Amount | Ingredient | Notes |
|---|---|---|
| 3 medium | bananas | overripe, mashed for sweetness |
| 1 large | egg | room temperature, binds ingredients |
| 1/2 cup | sugar | adds sweetness |
| 1/3 cup | butter | melted, adds richness |
Add-ins
| Amount | Ingredient | Notes |
|---|---|---|
| 3/4 cup | walnuts | chopped, provides crunch |
| 1 teaspoon | vanilla extract | enhances aroma |


Preparation Methods
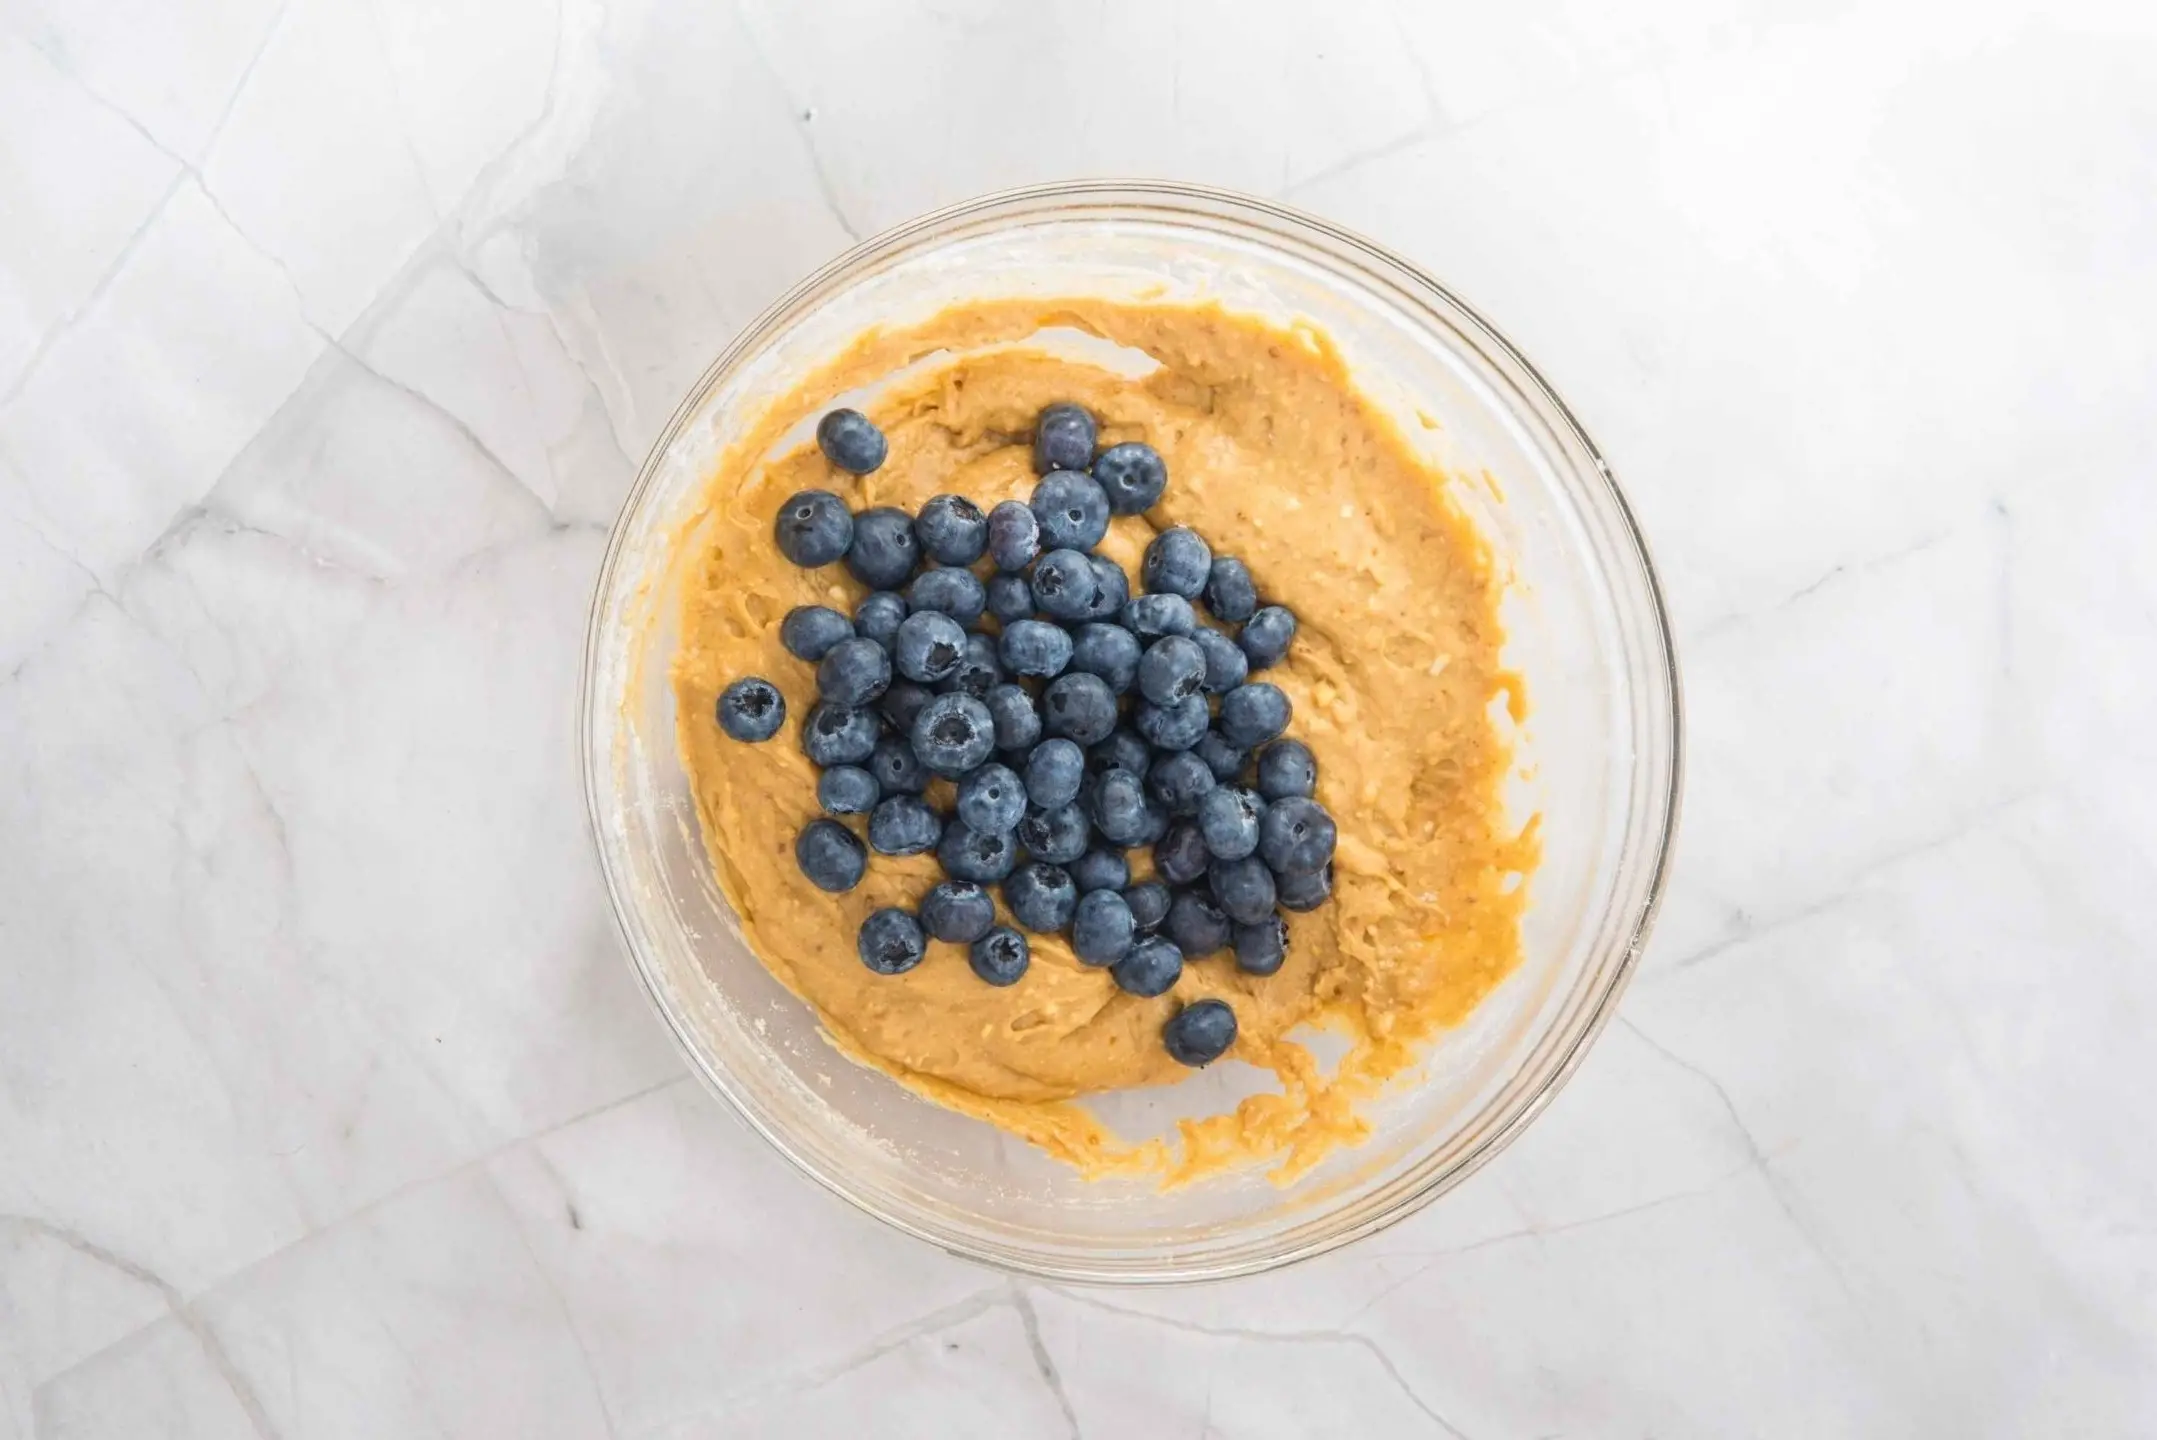
Mashing Bananas: Mashing bananas to the right consistency is crucial for the moisture and sweetness of the muffins. Use a fork or potato masher and aim for a few small chunks rather than a smooth puree.
Folding Technique: Folding the ingredients properly ensures even distribution without overworking the batter. Use a spatula to gently incorporate the dry ingredients into the wet mixture, folding rather than stirring.
Chopping Walnuts: Properly chopped walnuts provide even distribution and prevent large chunks. Use a knife to roughly chop the walnuts into small, uniform pieces for consistent texture.


Step 1: Prepare Ingredients
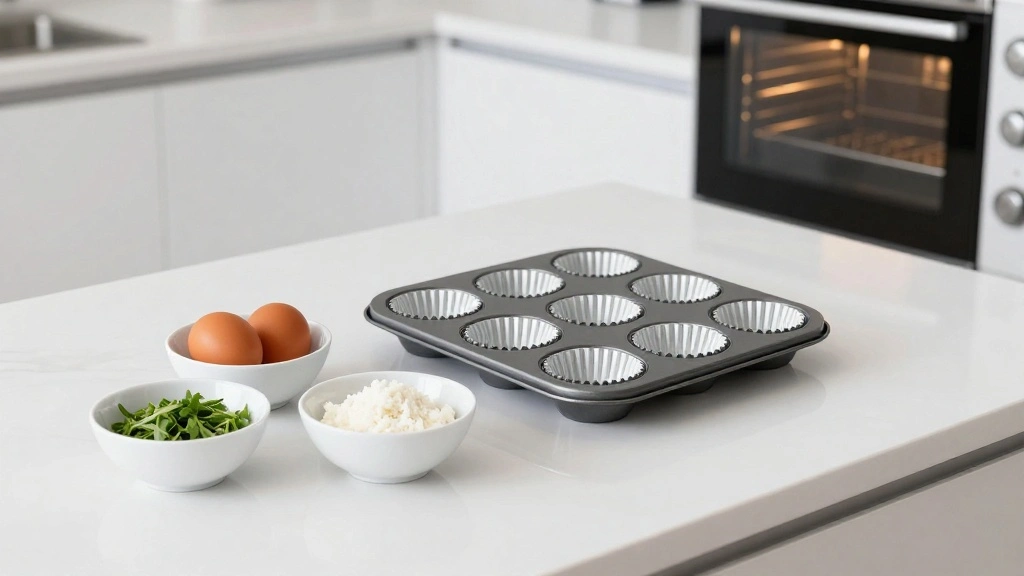
Gather all ingredients and ensure they are at room temperature.
Preheat your oven to 350°F (175°C).
Grease or line a 12-cup muffin tin with paper liners.
Having everything ready will streamline the baking process.


Step 2: Mash the Bananas
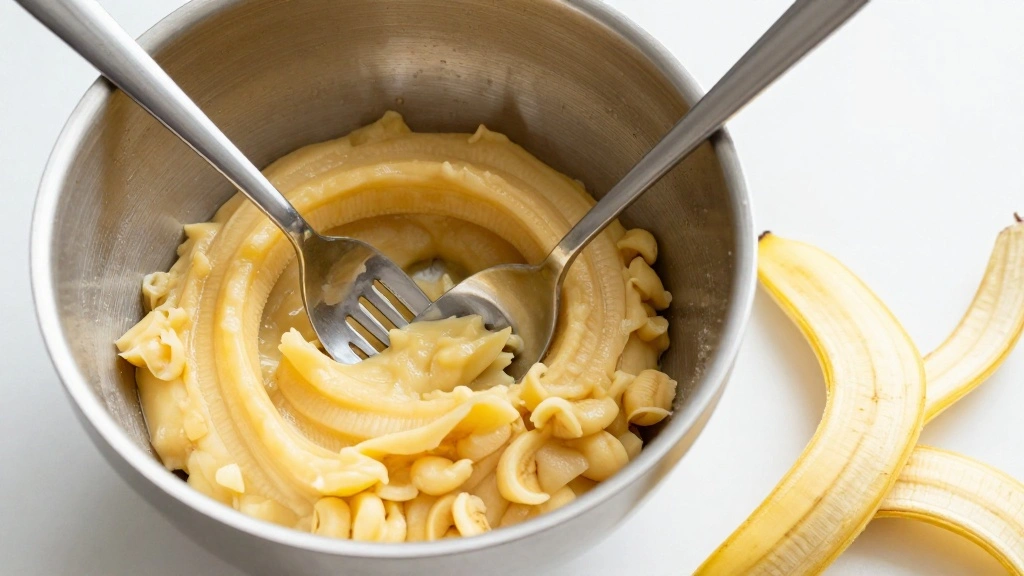
Peel the overripe bananas and place them in a large mixing bowl.
Use a fork or potato masher to mash them until they are mostly smooth with a few small lumps.
This texture will ensure moisture in the muffins.
Make sure not to over-mash, which can make the batter too runny.
Step 3: Mix Wet Ingredients
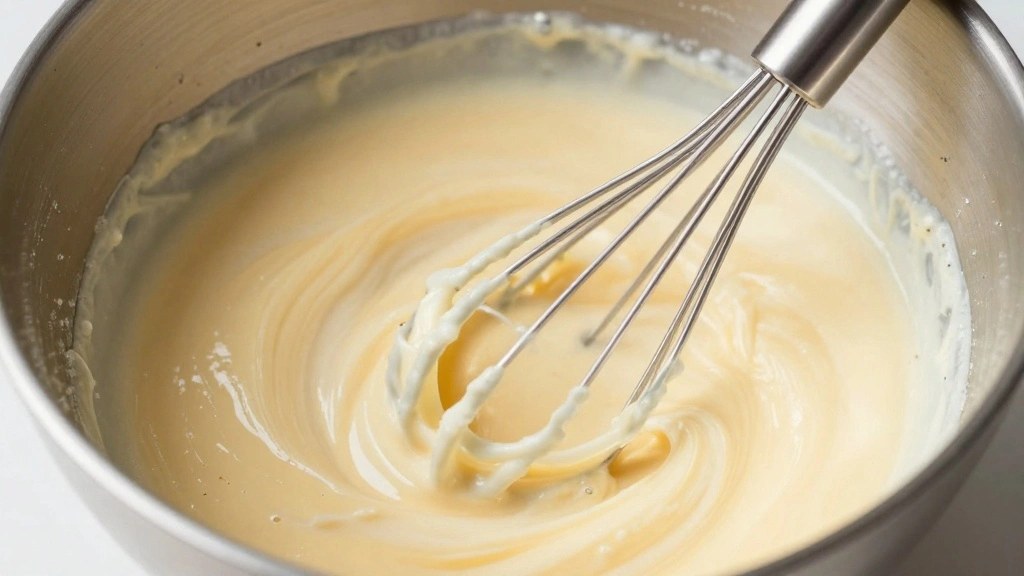
Add the egg, melted butter, sugar, and vanilla extract to the mashed bananas.
Use a whisk to combine them until the mixture is smooth and well incorporated.
Look for a uniform texture with no visible streaks of egg or butter.
Ensure the butter is not too hot to prevent cooking the egg.


Step 4: Combine Dry Ingredients
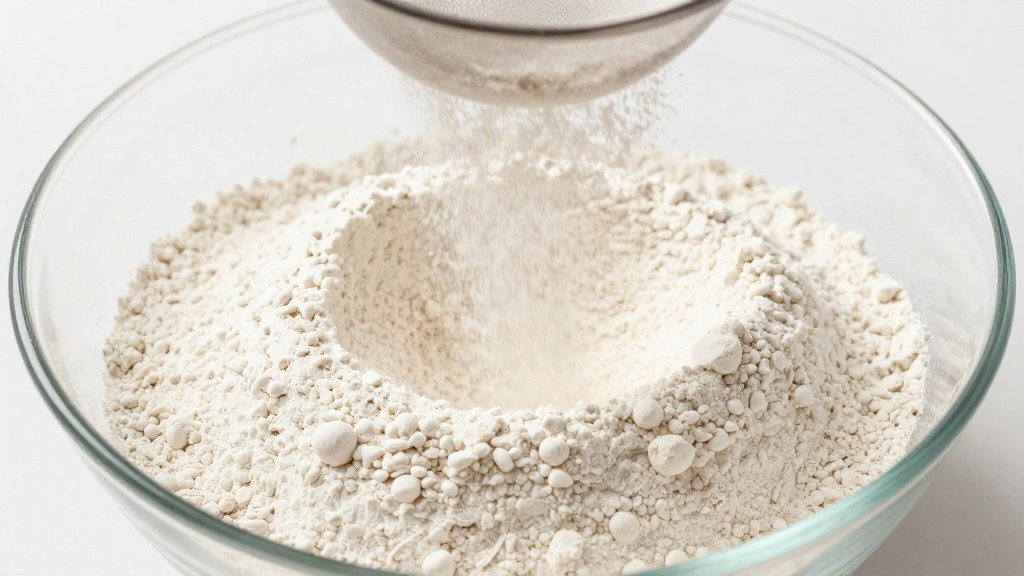
In a separate bowl, sift together the flour, baking powder, baking soda, and salt.
Sifting ensures the dry ingredients are well aerated and free of lumps.
This step is important for even rising of the muffins.
A fine mesh sieve works best for this task.


Step 5: Fold in Dry Ingredients
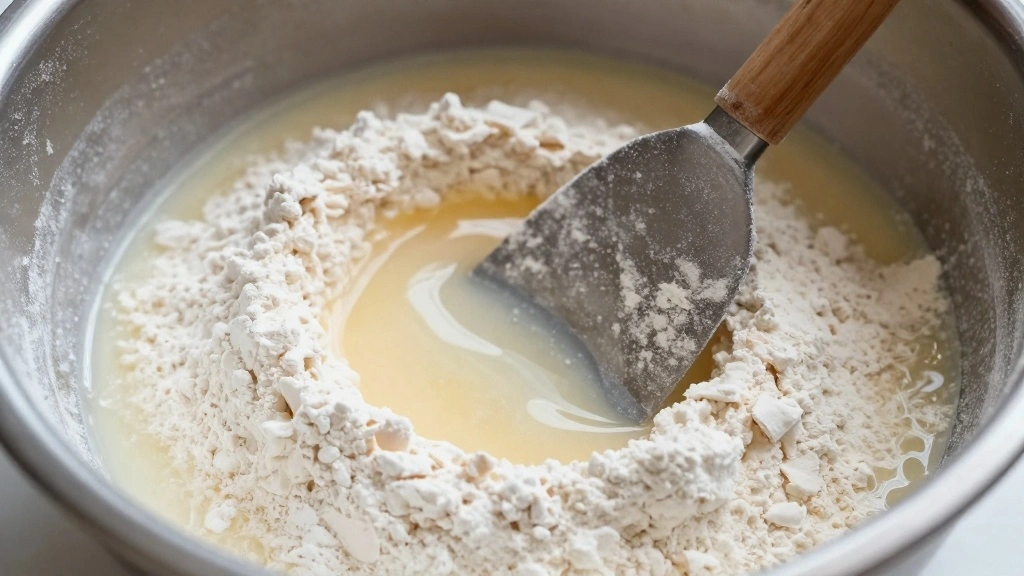
Gently fold the dry ingredients into the wet mixture using a spatula.
Use a gentle folding motion to avoid deflating the batter.
Stop mixing as soon as the flour is just incorporated.
Overmixing can lead to tough muffins.


Step 6: Add Walnuts
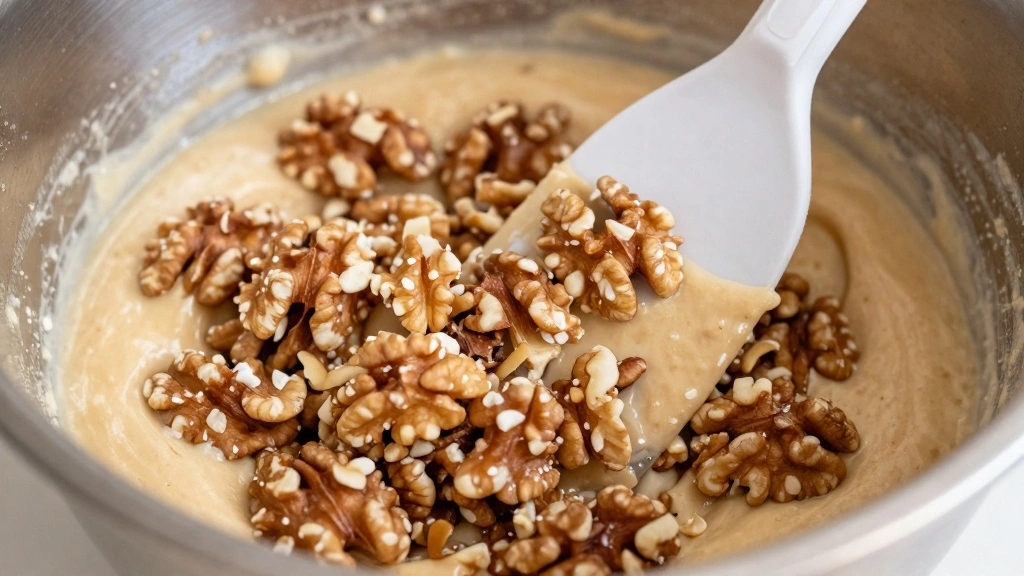
Fold the chopped walnuts into the batter until evenly distributed.
Ensure the walnuts are coated with batter to prevent them from sinking to the bottom.
This step adds texture and flavor to the muffins.
Make sure not to overmix, maintaining a light batter.


Step 7: Fill Muffin Tins
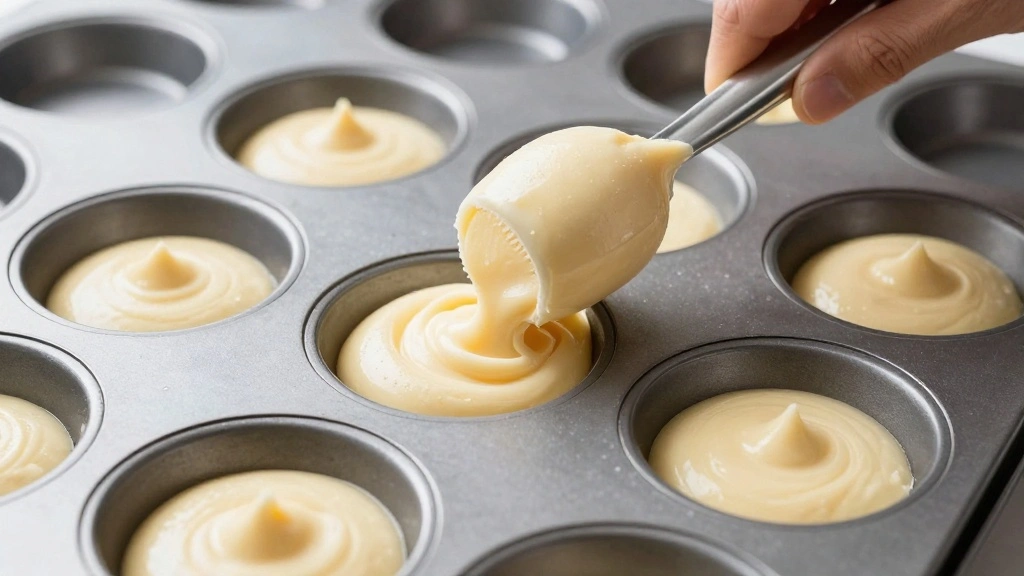
Use a spoon or ice cream scoop to fill each muffin cup about three-quarters full.
Evenly spaced batter ensures uniform baking.
Tap the muffin tin gently on the counter to remove air bubbles.
Avoid overfilling to prevent spilling over during baking.


Step 8: Bake the Muffins
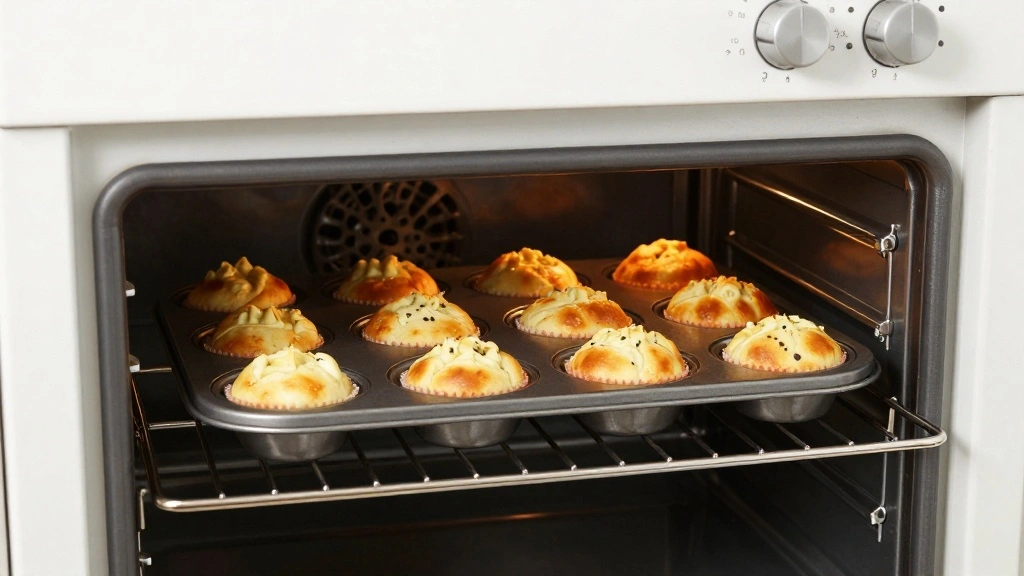
Place the muffin tin in the preheated oven on the middle rack.
Bake for 18-20 minutes until a toothpick inserted comes out clean.
Look for a golden brown top as an indicator of doneness.
Avoid opening the oven too early to prevent sinking.


Step 9: Cool the Muffins
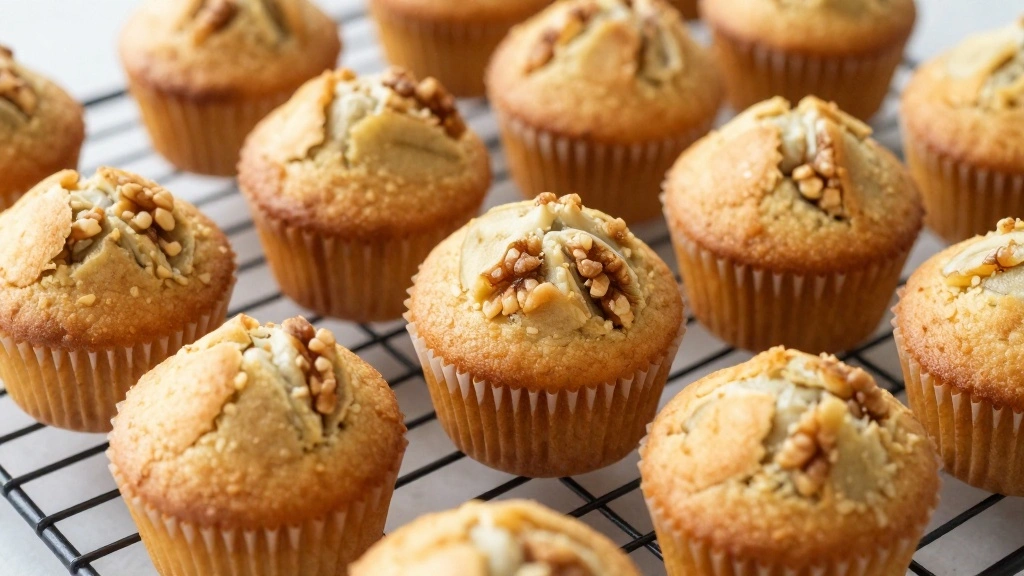
Remove the muffin tin from the oven and place it on a cooling rack.
Allow the muffins to cool in the tin for 5 minutes before transferring.
Transfer the muffins to the cooling rack to cool completely.
Cooling ensures the texture sets properly.
Step 10: Serve and Enjoy
Once cooled, serve the muffins with your choice of beverage.
Optionally, add a pat of butter or drizzle of honey for extra richness.
Enjoy the soft, moist texture with every bite.
Perfect for breakfast or a midday snack.


Critical Timing and Temperature Guide
Oven Preheating: Ensure the oven is preheated to 350°F (175°C) before placing muffins inside. Visual indicator: Muffins should rise steadily without browning too quickly. Common mistake: Under-heating the oven leads to uneven rising.
Baking Time: Bake for 18-20 minutes. Visual indicator: Tops should be golden brown and a toothpick should come out clean. Common mistake: Opening the oven door frequently causes temperature fluctuations.
Cooling Process: Allow to cool for 5 minutes in the tin, then transfer to a rack. Visual indicator: Muffins should be firm and easy to remove from liners. Common mistake: Removing too early may cause them to fall apart.


Pro Tips for Banana Walnut Muffins
• Ingredient Selection: Choose overripe bananas for maximum sweetness and moisture, and fresh walnuts for the best flavor.
• Preparation Secret: Rest the batter for 5 minutes before baking to allow the flour to absorb moisture for a better rise.
• Temperature Management: Ensure all ingredients are at room temperature for even mixing and baking.
• Texture Enhancement: Avoid overmixing the batter to maintain a light, airy texture.
• Flavor Layering: Add a pinch of cinnamon or nutmeg to the batter for a warm, spicy undertone.
• Make-Ahead Strategies: Store unbaked batter in the fridge for up to 24 hours; bake fresh muffins as needed.
• Restaurant-Quality Finishing Touches: Sprinkle a few extra walnut pieces on top before baking for a professional look.
• Equipment Optimization: Use a spring-loaded ice cream scoop for evenly portioning batter into muffin cups.
Troubleshooting Common Issues
• Texture Too Dense: Overmixing the batter can lead to dense muffins. Recognize this by a lack of rise and heaviness. To fix, fold ingredients gently.
• Flavors Unbalanced: If the muffins taste flat, it might be due to under-ripe bananas. Recognize by a lack of sweetness. Use overripe bananas and a touch more sugar next time.
• Muffins Sticking to Liners: This can occur if the muffins are not cooled properly. Recognize by difficulty removing from liners. Ensure proper cooling on a rack.
• Underbaked Centers: If the centers are still gooey, it could be due to uneven oven temperature. Recognize by wet batter on a toothpick. Ensure proper preheating and consistent oven temperature.
• Burnt Tops: This might happen if the oven rack is too high. Recognize by overly dark tops. Lower the rack position and check oven thermometer accuracy.
• Walnuts Sinking: If walnuts sink to the bottom, they may not be evenly distributed. Recognize by uneven nut distribution. Fold them in gently and ensure an even batter consistency.
Variations and Regional Differences
• Southern Style: This version includes pecans instead of walnuts and a hint of cinnamon, reflecting Southern baking traditions.
• Gluten-Free Variation: Use almond flour and gluten-free baking powder for a variant suitable for those with gluten sensitivities.
• Vegan Version: Replace the egg with a flaxseed meal and water mixture, and use coconut oil instead of butter for a plant-based option.
• Chocolate Chip Twist: Add dark chocolate chips for a rich, indulgent treat that pairs well with the banana base.
Food Science Behind the Recipe
• Leavening Agents: Baking powder and soda create carbon dioxide bubbles, helping the muffins rise. Understanding their role helps achieve the desired light texture.
• Maillard Reaction: The browning of the muffin tops is due to this chemical reaction, which enhances flavor. Controlling oven temperature maximizes this effect.
• Moisture Retention: Bananas contribute moisture, while fat from butter creates a tender crumb. Balancing these elements is key to moist muffins.
• Gluten Formation: Gentle mixing limits gluten development, preventing toughness in the muffins. Recognizing this helps achieve the ideal tender texture.


Frequently Asked Questions
What's the most common mistake people make when preparing Banana Walnut Muffins? Overmixing the batter, leading to dense muffins.
Can I use frozen bananas for this recipe? Yes, thaw them completely and drain excess liquid before mashing.
How do I store leftover muffins? Store in an airtight container at room temperature for up to 3 days or freeze for longer storage.
Can I substitute the walnuts with another nut? Yes, pecans or almonds work well as alternatives.
What's the best way to mash bananas? Use a fork or potato masher for a slightly chunky texture.
How do I prevent muffins from sticking to the liners? Ensure proper cooling before removing and use high-quality liners.
Is it necessary to use paper liners? While not necessary, liners make cleanup easier and prevent sticking.
Can these muffins be made sugar-free? Yes, substitute sugar with a natural sweetener like stevia or monk fruit.
Serving and Presentation Guide
• Traditional Presentation: Serve muffins on a wooden platter with a side of fresh fruit for a rustic look.
• Modern Twist: Plate muffins with a dollop of Greek yogurt and a drizzle of honey for a balanced breakfast.
• Elegant Display: Arrange muffins in a tiered stand for a sophisticated brunch setting.
• Casual Setting: Present muffins in a lined basket, perfect for a laid-back family gathering.
Conclusion
Banana Walnut Muffins are a timeless treat that brings warmth and comfort to any occasion.
With their delightful combination of flavors and textures, they are sure to become a favorite in your baking repertoire.
Don't hesitate to try this recipe and enjoy the homemade goodness of bakery-style muffins.
Happy baking!