

Slow Cooker Recipes: Easy Meals, Less Effort!
Family-friendly dishes for busy people — quick prep, delicious results.
Grab yours for $4There’s something truly magical about the aroma of freshly baked banana bread wafting through the house.
These Chocolate Chip Banana Bread Muffins take that comforting experience to a new level with the addition of luscious chocolate chips.
Perfectly moist with just the right amount of sweetness, these muffins are a delightful treat any time of the day.
I first encountered this recipe during a cozy winter morning, and it has since become my go-to for a quick yet indulgent snack.
Whether you’re enjoying them with a morning coffee or as an afternoon pick-me-up, these muffins promise satisfaction with every bite.
Get ready to transform a classic into a mouthwatering masterpiece that the whole family will love.
The History and Cultural Significance
• Chocolate Chip Banana Bread traces its origins to the 1930s in the United States, where it was originally created as a way to use overripe bananas and avoid food waste.
• The dish evolved over decades as chocolate chips were added to enhance the flavor and texture, eventually becoming the beloved version we know today.
• In American culture, this dish traditionally appears at family gatherings and bake sales, symbolizing comfort and homeliness.
• While many variations exist across different regions, the authentic version maintains a dense, moist texture that sets it apart from imitations.


Recipe Overview
Nutritional Information (per serving)
Essential Equipment Guide
Muffin Tin: A standard 12-cup muffin tin is essential for baking these muffins evenly. Silicone or non-stick tins are preferable to ensure easy removal, though metal tins with muffin liners work as well.
Mixing Bowls: A set of mixing bowls in various sizes is necessary for combining wet and dry ingredients separately for better texture. Glass or stainless steel are ideal choices.
Electric Mixer: While not mandatory, an electric mixer can help achieve a smoother batter quickly. A hand whisk can also be used but requires more effort to ensure all ingredients are well combined.


Ingredients
For the Muffins
|
| Amount | Ingredient | Notes |
|---|---|---|
| 1 cup | mashed bananas | overripe for sweetness |
| 1/2 cup | unsalted butter | melted |
| 1 cup | granulated sugar | adds sweetness |
| 2 large | eggs | room temperature for better mixing |
| 1 teaspoon | vanilla extract | for flavor depth |
| 1 1/2 cups | all-purpose flour | sifted for light texture |
| 1 teaspoon | baking soda | helps muffins rise |
| 1/4 teaspoon | salt | enhances flavor |
| 1 cup | chocolate chips | semi-sweet for balance |


Preparation Methods
Folding Technique: Folding is a gentle mixing method that helps incorporate dry ingredients into wet without deflating the batter. Use a spatula to lift and turn the mixture from the bottom to the top, ensuring a light texture.
Banana Mashing: Properly mashing bananas is crucial for consistency. Use a fork or potato masher to achieve a smooth puree, as this ensures even distribution in the batter.
Batter Portioning: To ensure even baking, use an ice cream scoop or large spoon to evenly distribute the batter into the muffin tin, filling each cup about three-quarters full.


Step 1: Preheat the Oven
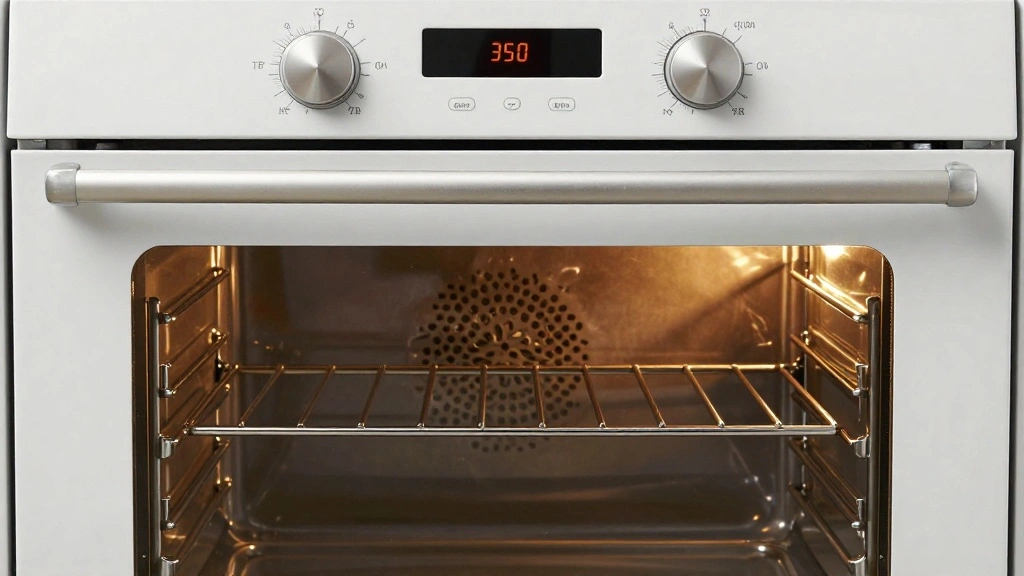
Preheat your oven to 350°F (175°C).
This ensures the muffins bake evenly from the start.
Check to make sure the oven rack is in the center position.
A properly preheated oven helps achieve a golden crust.


Step 2: Prepare the Muffin Tin
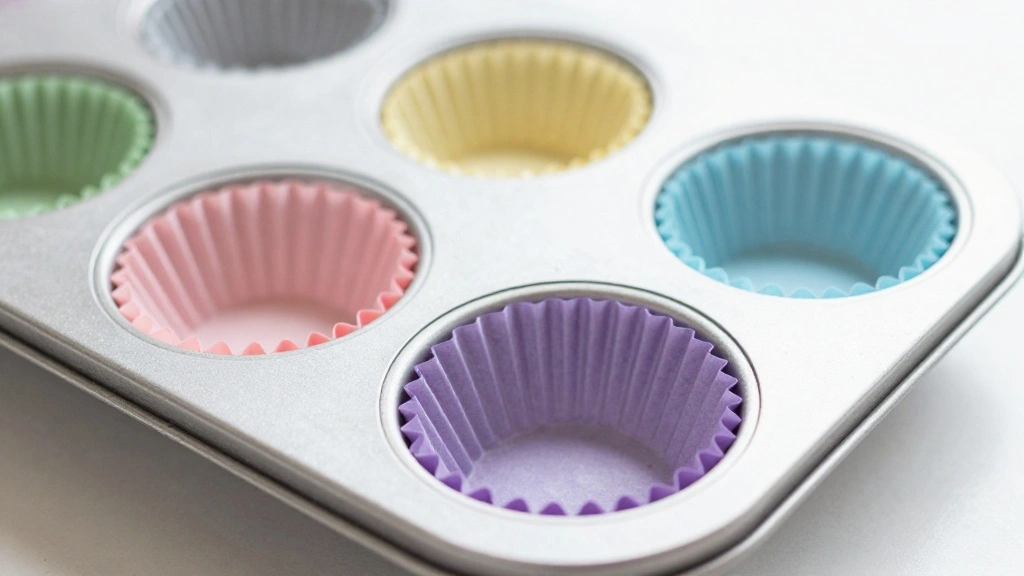
Line a 12-cup muffin tin with paper liners.
This prevents the muffins from sticking and makes cleanup easier.
Alternatively, you can lightly grease each cup with butter or cooking spray.
Ensure each cup is evenly coated to prevent tearing.
Step 3: Mash the Bananas
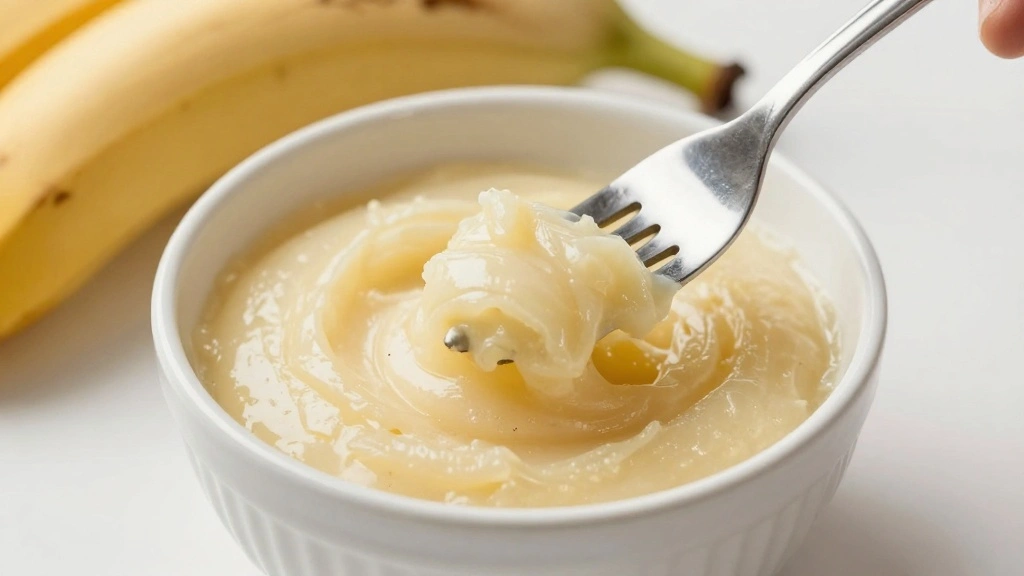
In a small bowl, mash the bananas until smooth.
Use a fork or potato masher for best results.
Look for a creamy, lump-free consistency.
This helps distribute the banana flavor evenly throughout the muffins.
Step 4: Mix Wet Ingredients

In a large bowl, combine the melted butter, sugar, eggs, and vanilla extract.
Whisk until the mixture is smooth and creamy.
Ensure there are no lumps of sugar remaining.
This forms the base of your muffin batter.


Step 5: Combine Wet and Dry Ingredients
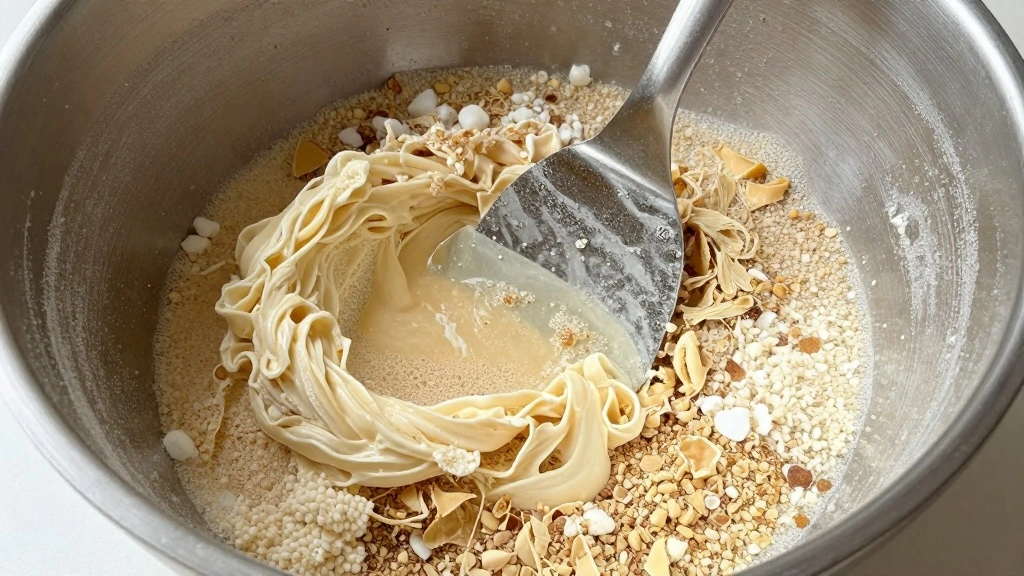
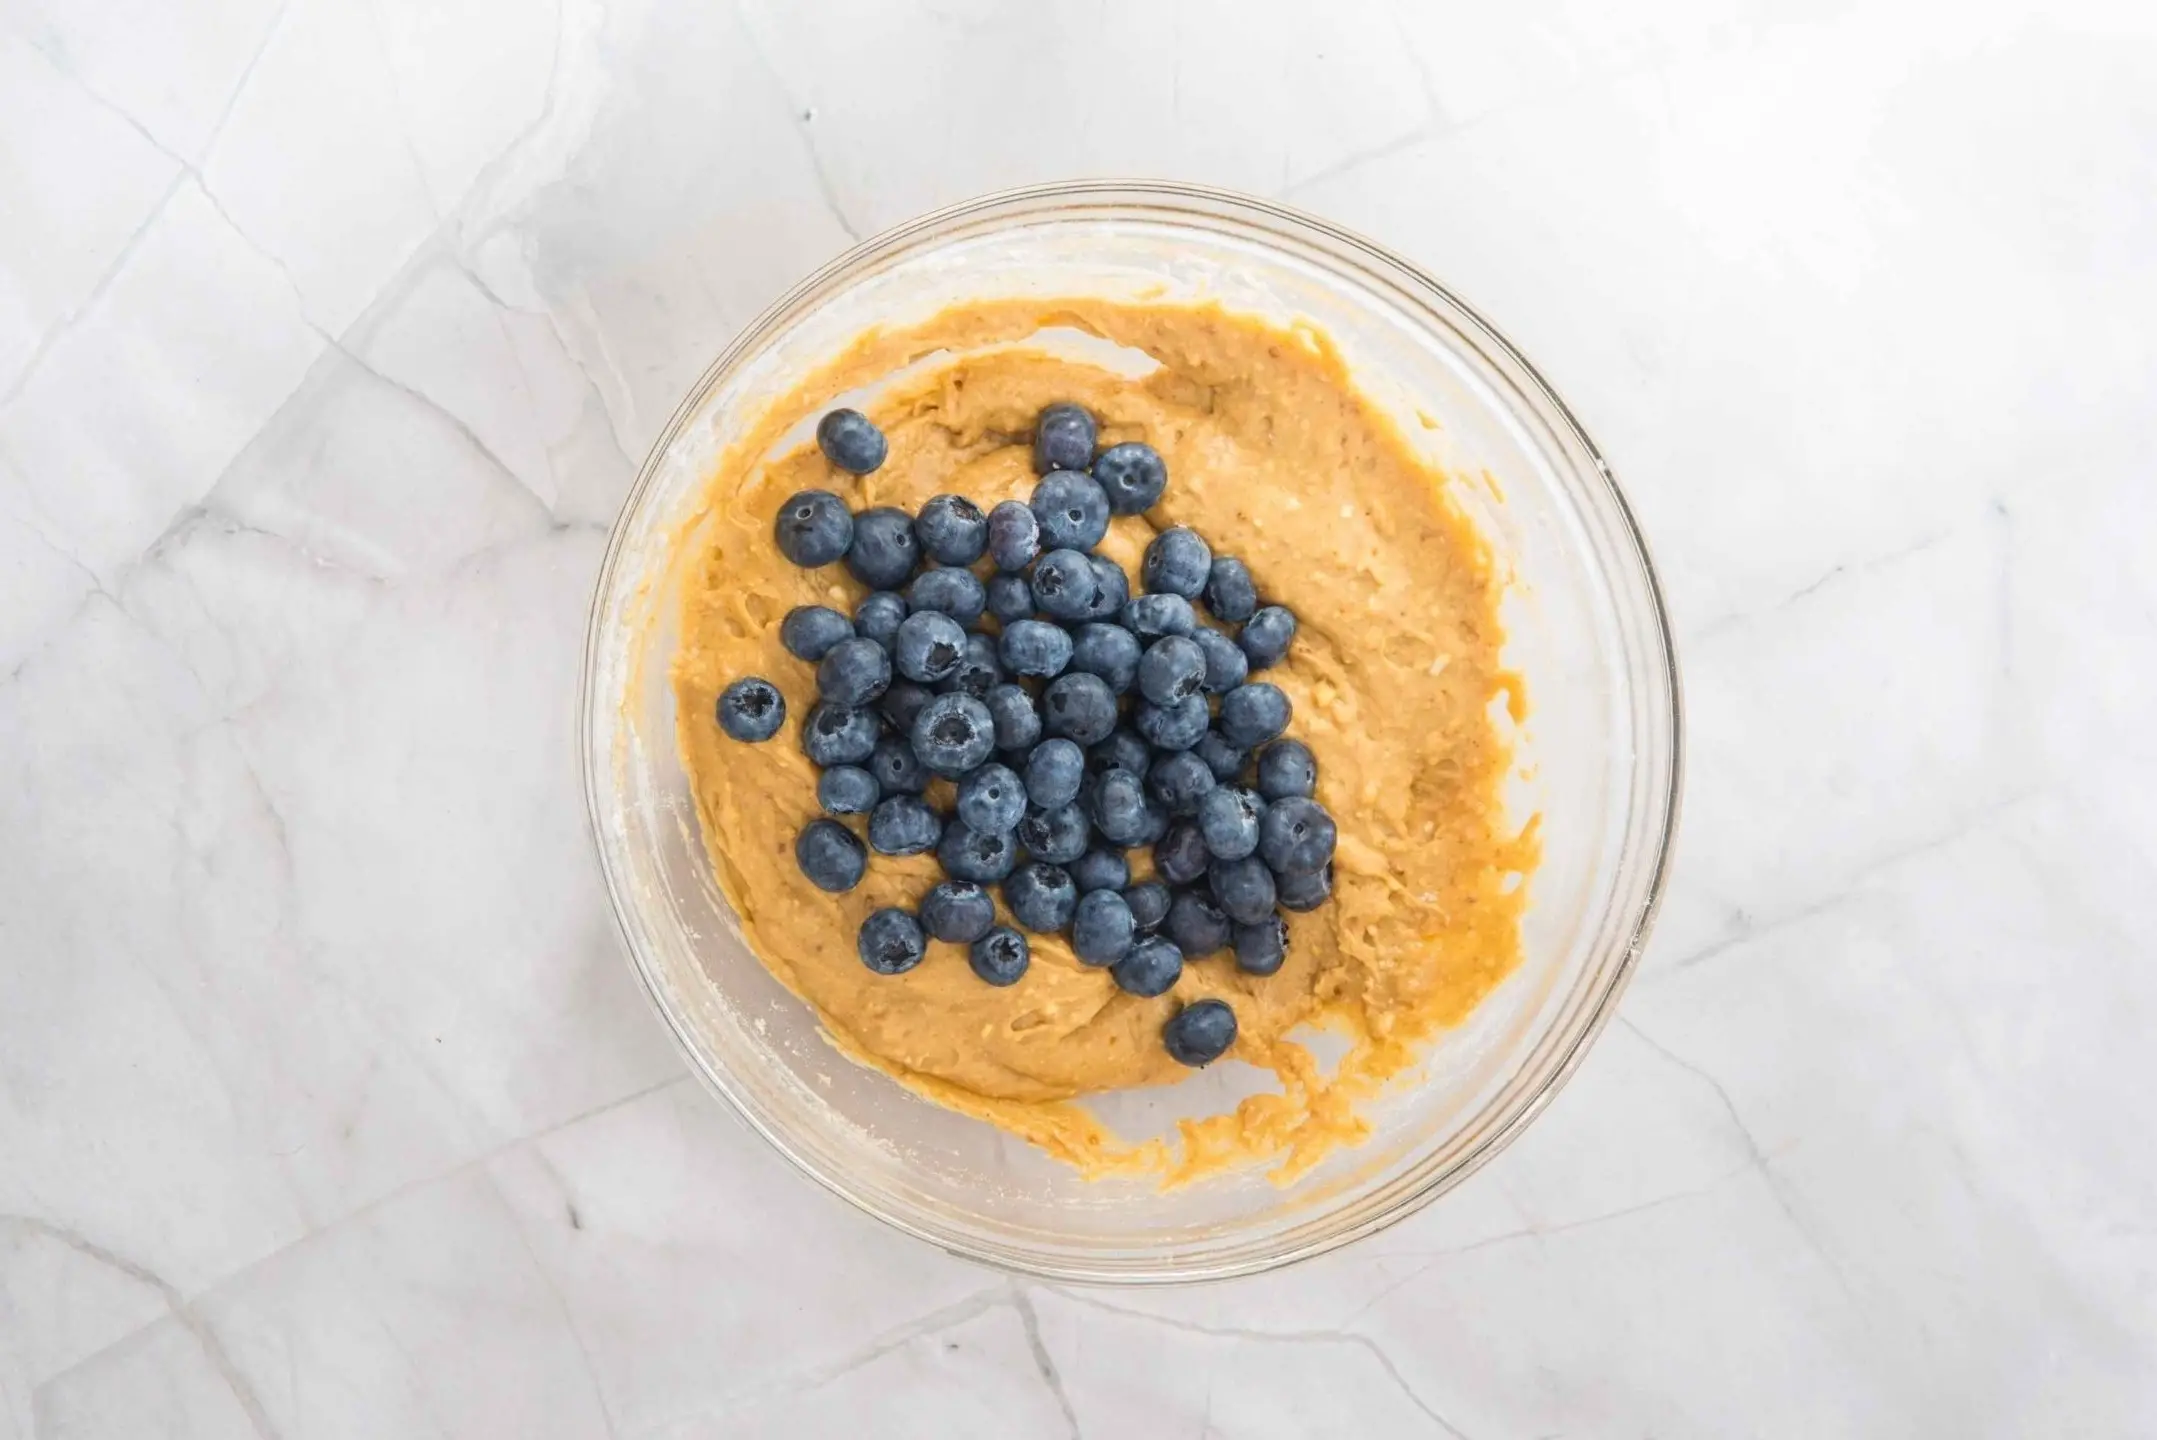
Add the mashed bananas to the wet mixture and stir to combine.
In another bowl, whisk together flour, baking soda, and salt.
Gradually fold the dry ingredients into the wet mixture using a spatula.
Be careful not to overmix to maintain the muffins' lightness.


Step 6: Add Chocolate Chips
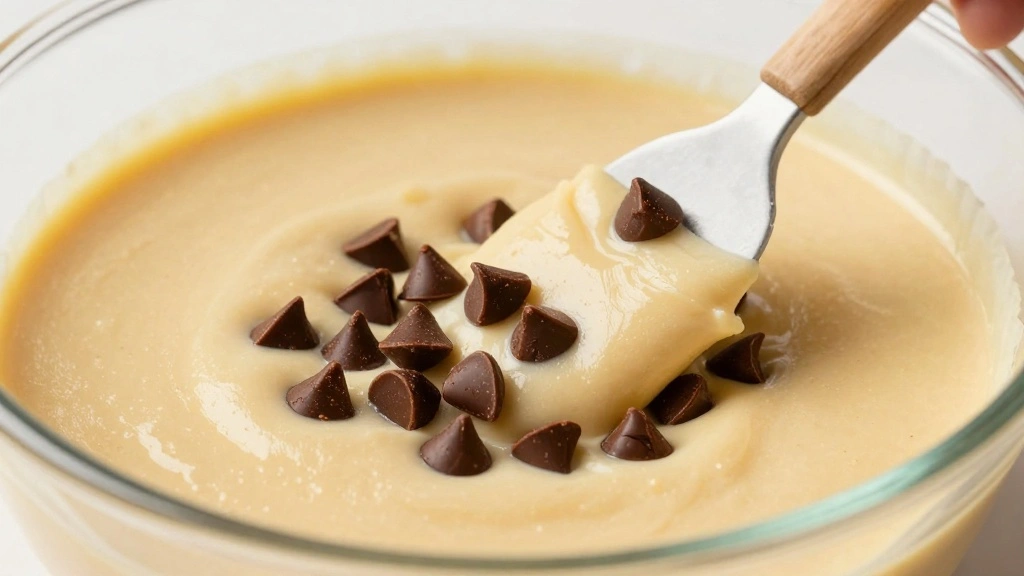
Fold in the chocolate chips gently.
Ensure they are evenly distributed throughout the batter.
Reserve a few chocolate chips to sprinkle on top of each muffin.
This adds a delightful chocolatey finish.


Step 7: Fill the Muffin Tin
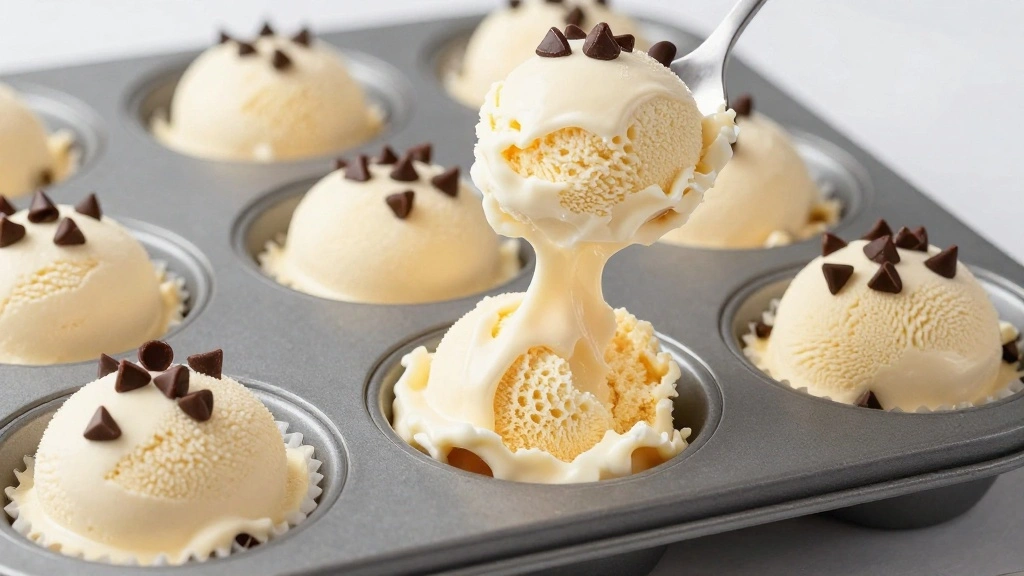
Use an ice cream scoop to fill each muffin cup about three-quarters full.
This ensures even baking and proper rise.
Top each muffin with reserved chocolate chips.
This creates an attractive and flavorful topping.


Step 8: Bake the Muffins
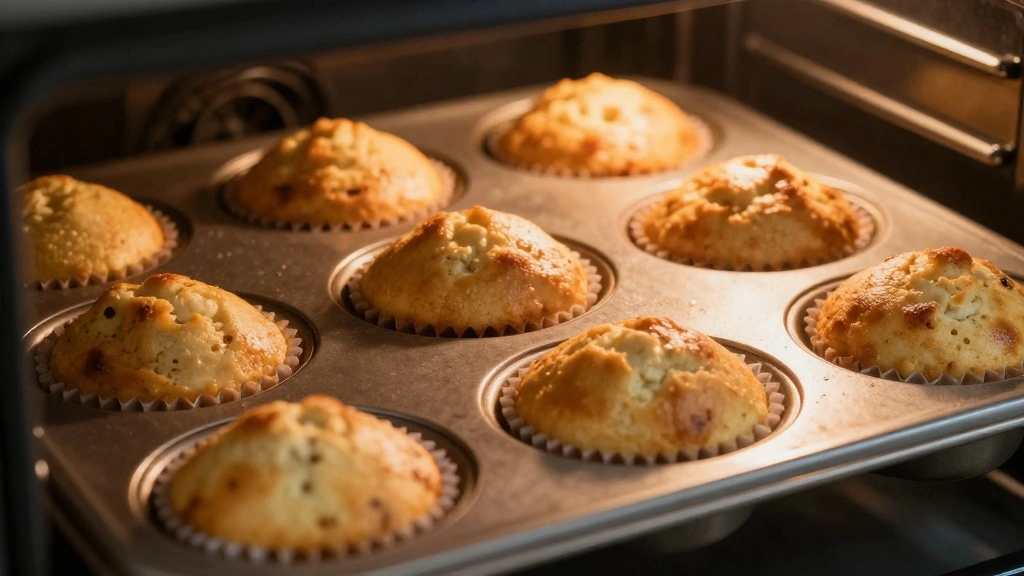
Place the muffin tin in the preheated oven.
Bake for 25 minutes or until a toothpick inserted into the center comes out clean.
Look for a golden-brown top as an indicator of doneness.
Avoid opening the oven door frequently to maintain consistent temperature.


Step 9: Cool the Muffins
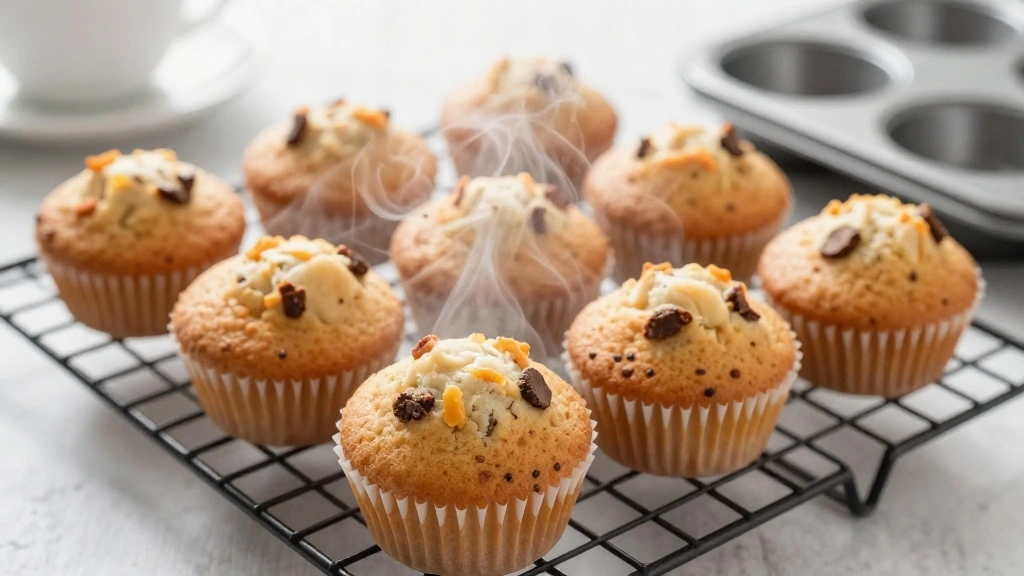
Remove the muffin tin from the oven and place it on a wire rack.
Allow muffins to cool in the tin for 5 minutes.
Transfer muffins to the wire rack to cool completely.
Cooling properly prevents sogginess and maintains texture.
Critical Timing and Temperature Guide
Baking: Bake at 350°F (175°C) for 25 minutes. Look for muffins to rise and tops to turn golden brown. Avoid underbaking to prevent gummy interiors.
Cooling: Allow muffins to cool in the tin for 5 minutes before transferring to a wire rack. This helps set their shape and prevents overbaking.
Storage: Store cooled muffins in an airtight container at room temperature for up to 3 days. Avoid refrigeration, which can dry them out.


Pro Tips for Chocolate Chip Banana
• Ingredient Selection: Choose overripe bananas with brown spots for maximum sweetness and flavor, and opt for high-quality chocolate chips to enhance the overall taste.
• Preparation Secret: Let the batter rest for 10 minutes before baking to allow the flour to hydrate, resulting in a more tender muffin.
• Temperature Management: Ensure all ingredients are at room temperature for smoother mixing and even baking.
• Texture Enhancement: Avoid overmixing the batter to keep the muffins light and airy.
• Flavor Layering: Add a pinch of cinnamon or nutmeg to the dry ingredients for a warm, spiced undertone.
• Make-Ahead Strategies: Prepare the dry and wet ingredients separately the night before, and combine them in the morning for fresh muffins.
• Restaurant-Quality Finishing Touches: Sprinkle a pinch of sea salt on top of the muffins before baking for a flavor contrast.
• Equipment Optimization: Use an oven thermometer to ensure accurate baking temperatures and avoid unevenly baked muffins.
Troubleshooting Common Issues
• Texture Too Dense: This is often caused by overmixing the batter. Mix just until ingredients are combined and avoid using a high-speed mixer.
• Muffins Stick to the Tin: Ensure the muffin tin is well-greased or use paper liners to prevent sticking.
• Uneven Baking: Check that your oven is properly preheated and that the rack is centered. Rotate the tin halfway through baking if necessary.
• Burnt Tops: This can occur if the oven temperature is too high. Use an oven thermometer to verify accuracy.
• Sunken Centers: This usually results from opening the oven door too early. Avoid disturbing the baking process until the final minutes.
Variations and Regional Differences
• Southern Style: This version includes chopped pecans or walnuts for added crunch and a touch of Southern hospitality.
• Gluten-Free: Substitute all-purpose flour with a gluten-free blend and add a teaspoon of xanthan gum to maintain structure.
• Vegan: Replace eggs with flaxseed meal mixed with water and use coconut oil instead of butter.
• Tropical Twist: Add shredded coconut and diced pineapple for a tropical flavor profile that’s perfect for summer.
Food Science Behind the Recipe
• Baking Soda Reaction: Baking soda reacts with the acidity in bananas, helping the muffins rise and develop a soft, fluffy texture.
• Moisture Retention: The natural sugars in overripe bananas help retain moisture, keeping the muffins soft and tender.
• Maillard Reaction: The browning of the muffin tops is due to the Maillard reaction, which enhances flavor through the caramelization of sugars.


Frequently Asked Questions
What's the most common mistake people make when preparing Chocolate Chip Banana Bread Muffins? Overmixing the batter, which can lead to dense muffins, is a common mistake. Mix just until combined.
Can I freeze these muffins? Yes, allow them to cool completely, wrap individually in plastic wrap, and store in a freezer-safe bag for up to 3 months.
What's the best way to reheat frozen muffins? Thaw at room temperature or microwave for 20-30 seconds until warmed through.
Can I use whole wheat flour instead? Yes, but the texture will be denser. Consider using half whole wheat and half all-purpose flour for a balance.
How do I know when the muffins are done? Insert a toothpick into the center; if it comes out clean, they're done.
Can I add nuts to the recipe? Absolutely, chopped nuts like walnuts or pecans can be folded into the batter for added texture.
What can I substitute for butter? Coconut oil or a neutral-tasting vegetable oil can be used in place of butter.
Serving and Presentation Guide
• Traditional Presentation: Serve muffins warm on a rustic wooden board, accompanied by a small dish of softened butter.
• Casual Brunch: Arrange muffins in a basket lined with a colorful cloth napkin for an inviting brunch spread.
• Afternoon Tea: Pair muffins with a selection of teas and serve on a tiered stand for an elegant presentation.
• Gift Presentation: Wrap muffins individually in parchment paper and tie with twine for a charming homemade gift.
Conclusion
These Chocolate Chip Banana Bread Muffins are a delightful fusion of classic banana bread and decadent chocolate.
With simple ingredients and straightforward steps, they're a joy to bake and share.
I hope this recipe becomes a cherished staple in your kitchen, just as it has in mine.