
Slow Cooker Recipes: Easy Meals, Less Effort!
Family-friendly dishes for busy people — quick prep, delicious results.
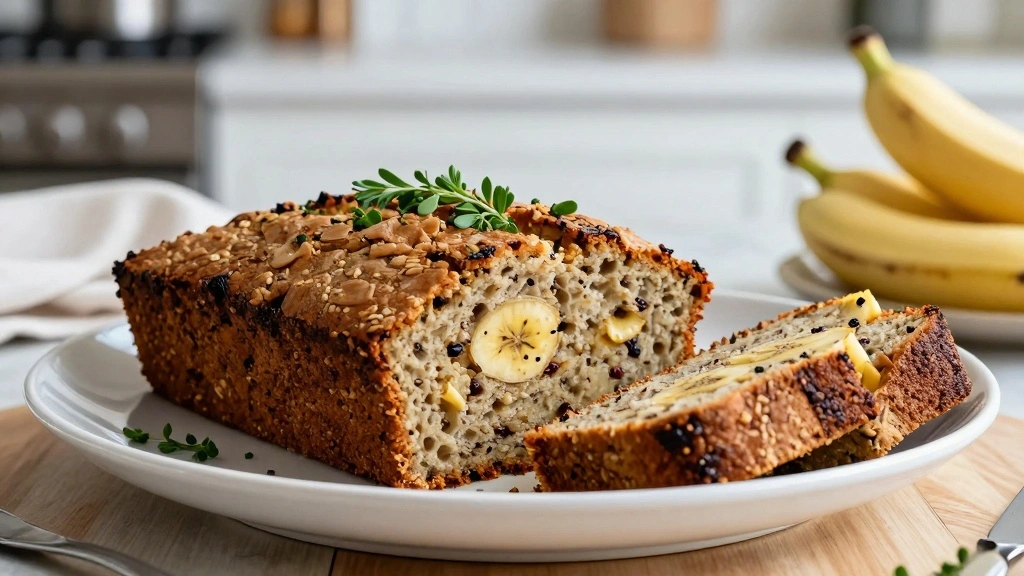
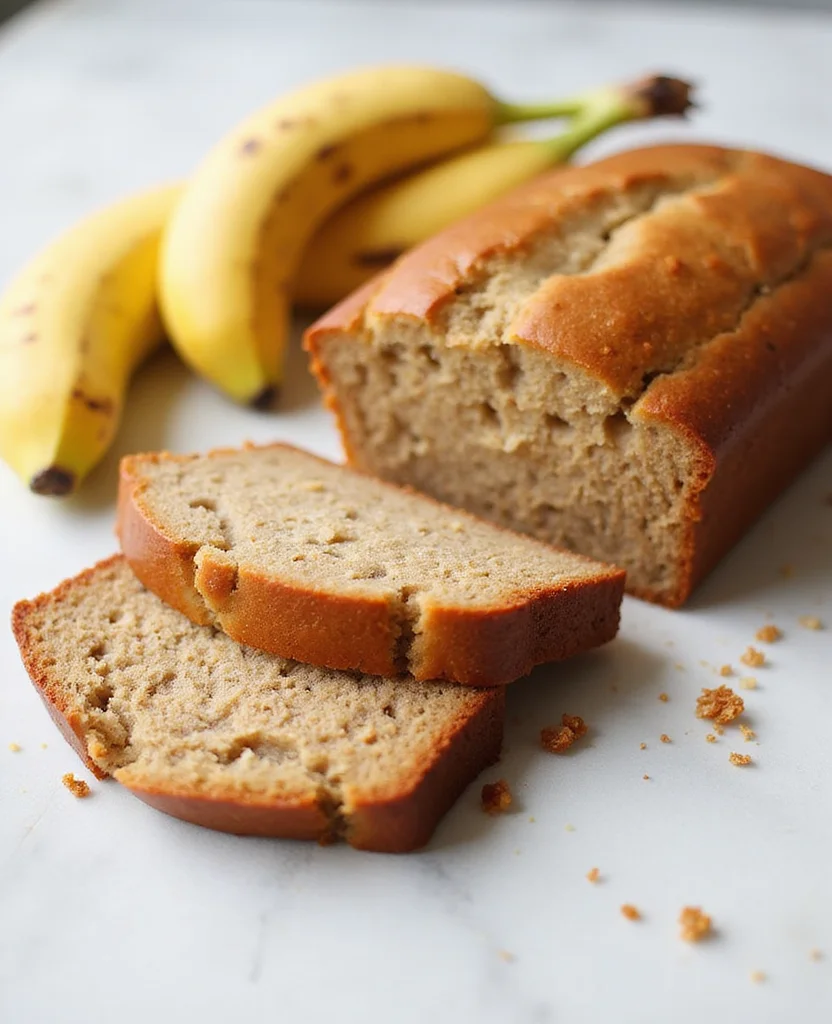
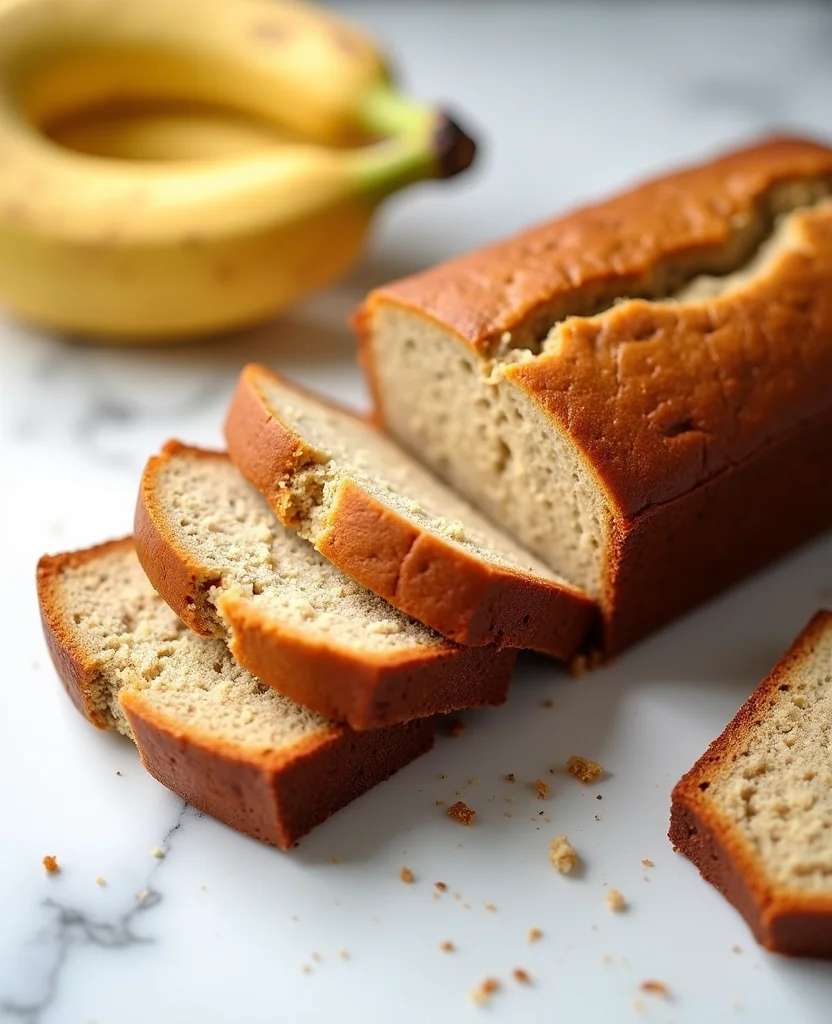
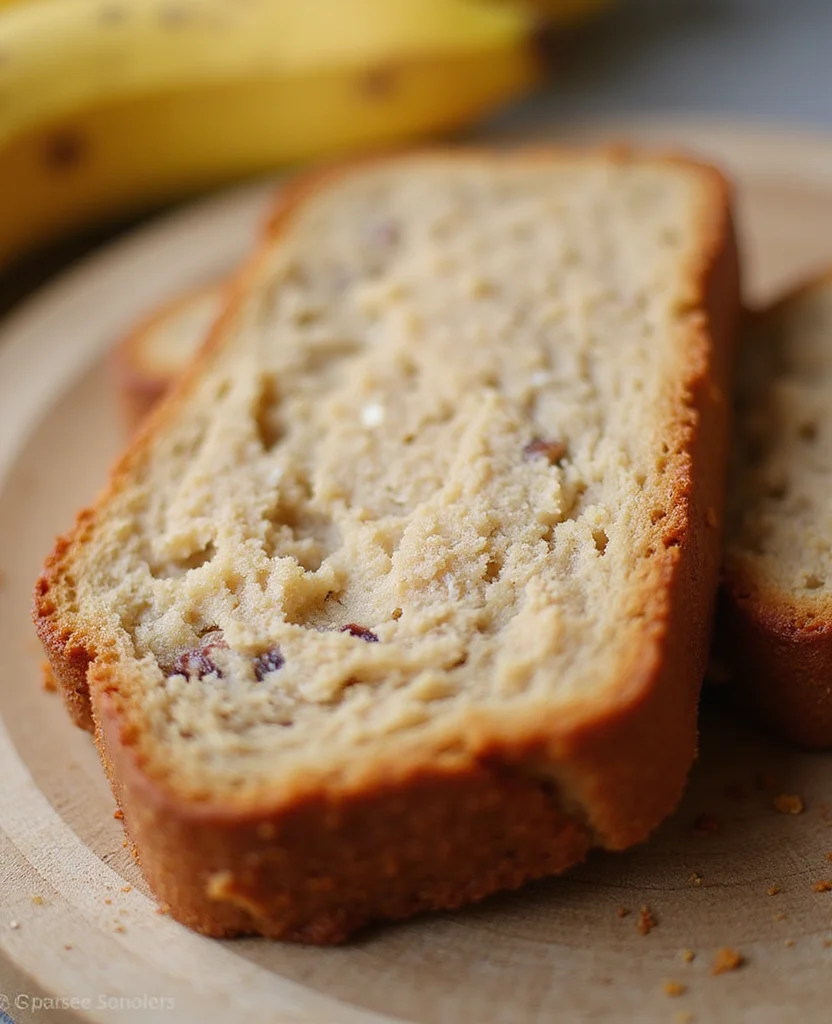
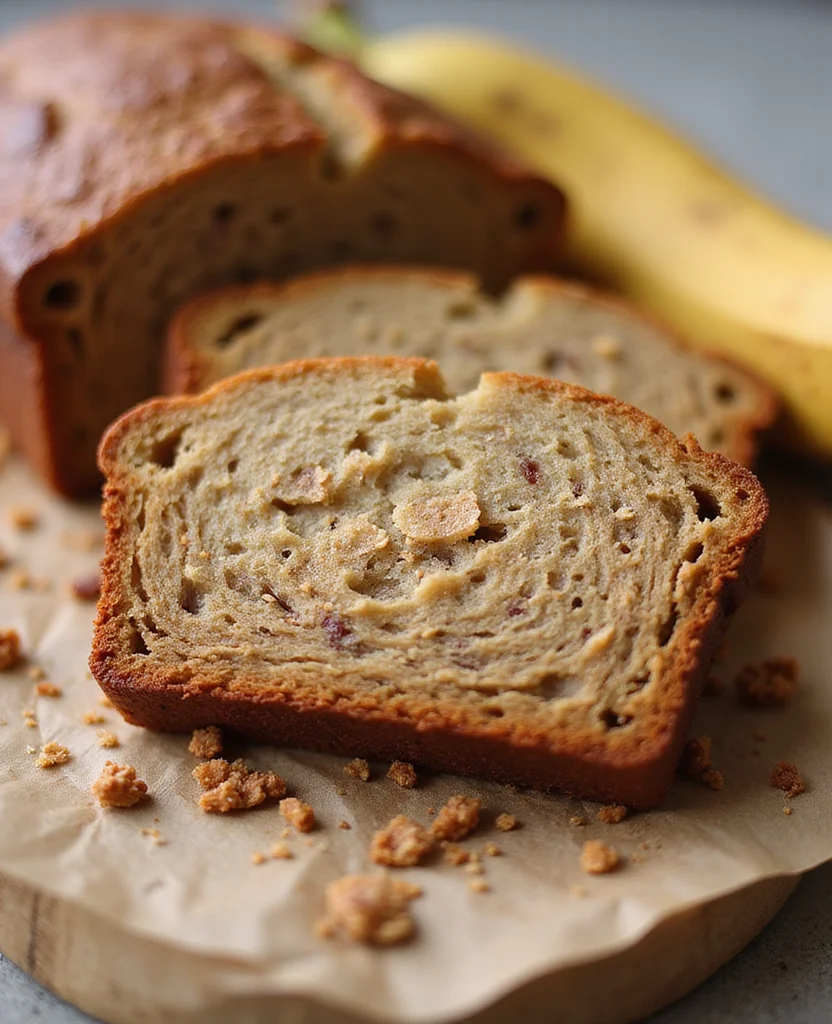
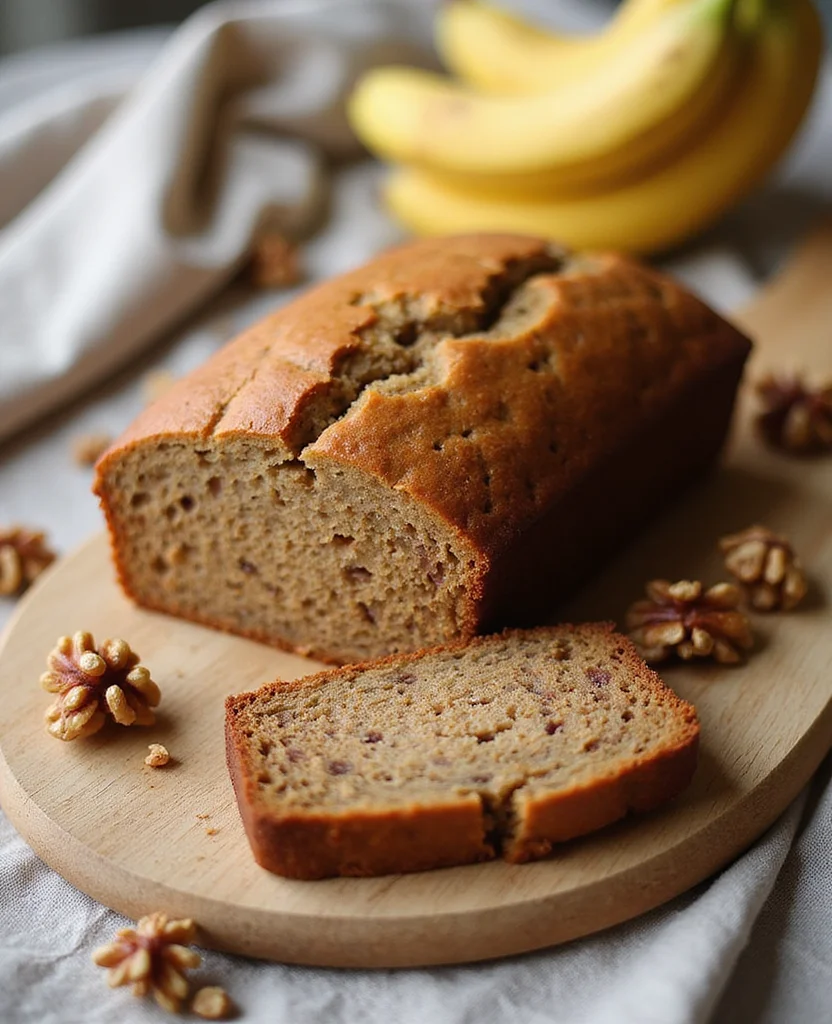
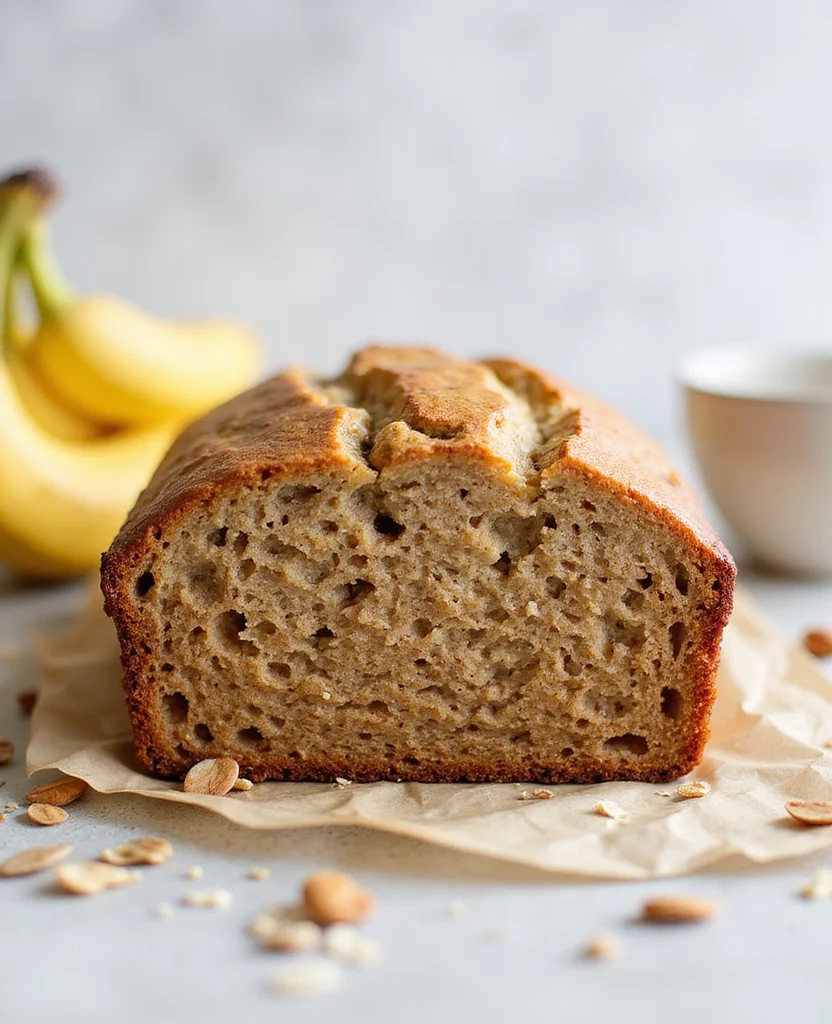
Grab yours for $4There’s something incredibly comforting about a slice of banana bread, its tender crumb and rich banana aroma offering a taste of nostalgia.
For those avoiding gluten, creating a moist, delicious banana bread might seem challenging, but this recipe proves that gluten-free can still be indulgent.
The key lies in using the right blend of flours and ripe bananas to ensure that each bite is as satisfying as the classic version.
Perfect for a cozy breakfast or a delightful afternoon snack, this banana bread will become a staple in your gluten-free baking repertoire.
Whether shared with friends or enjoyed solo, it promises to bring warmth and joy to any occasion.
The History and Cultural Significance
• Gluten-Free Banana Bread traces its origins to early 20th century America, where it was originally created by home bakers experimenting with quick breads.
• The dish evolved over decades as gluten-free flour blends became more accessible, eventually becoming the beloved version we know today.
• In American culture, this dish traditionally appears at family gatherings and potlucks, symbolizing comfort and togetherness.
• While many variations exist across different regions, the authentic version maintains a moist, dense texture that sets it apart from imitations.


Recipe Overview
Nutritional Information (per serving)
Essential Equipment Guide
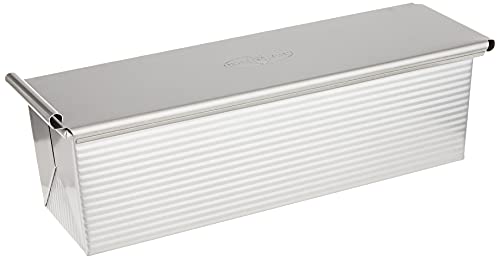
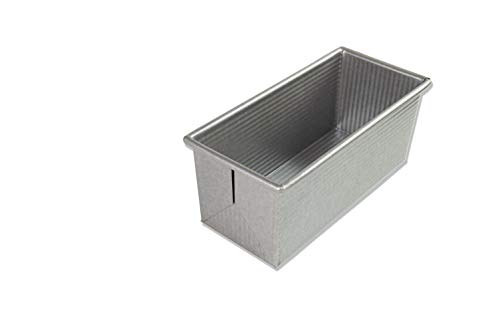
Loaf Pan: Essential for shaping the bread, a non-stick loaf pan ensures even baking and easy removal. Alternatives include silicone loaf pans, which also prevent sticking.
Mixing Bowls: Necessary for combining dry and wet ingredients separately. Look for bowls with a non-slip base for stability.
Whisk: Important for thoroughly blending the ingredients, ensuring an even distribution of baking soda and powder. A handheld electric mixer can be used as an alternative.


Ingredients
Dry Ingredients
|
| Amount | Ingredient | Notes |
|---|---|---|
| 1 1/2 cups | gluten-free all-purpose flour | sifted for a light texture |
| 1 teaspoon | baking soda | ensures rise |
| 1/2 teaspoon | salt | enhances flavor |
Wet Ingredients
| Amount | Ingredient | Notes |
|---|---|---|
| 3 medium | bananas | ripe, mashed for sweetness |
| 1/2 cup | sugar | adds sweetness |
| 1/3 cup | butter | melted, adds richness |
| 1 teaspoon | vanilla extract | adds aroma |
| 1 large | egg | beaten, binds ingredients |


Preparation Methods
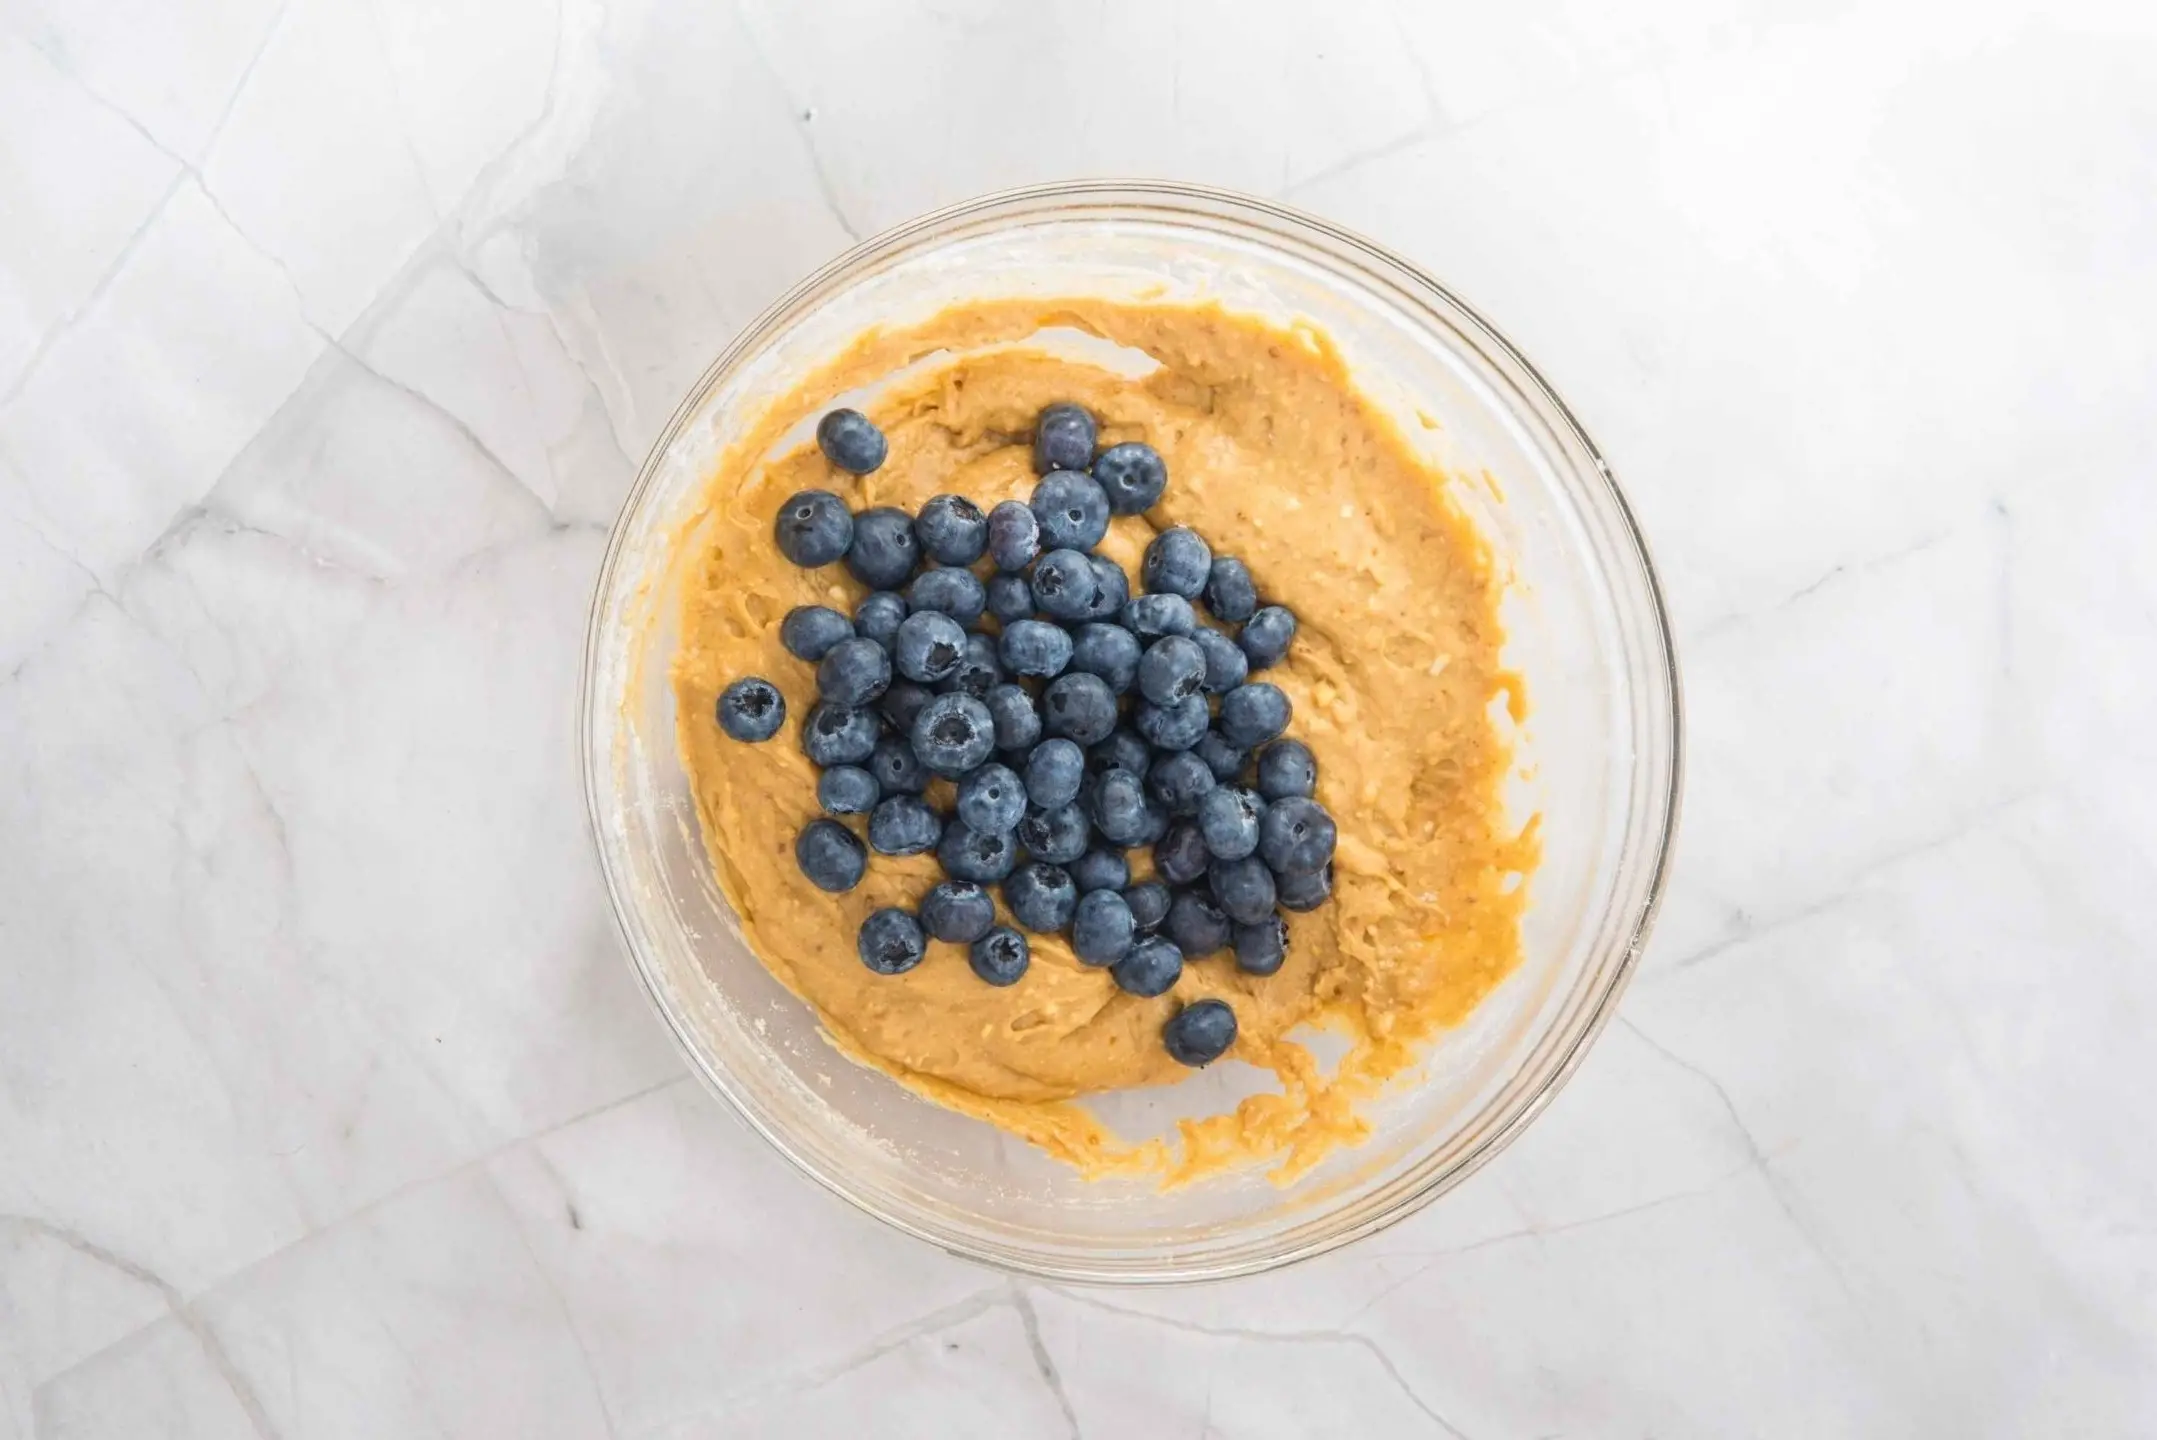
Mashing Bananas: Optimal mashing involves using a fork or potato masher to achieve a smooth, lump-free consistency. This ensures even distribution throughout the batter and contributes to a moist texture.
Folding Technique: Gently folding the wet and dry ingredients prevents overmixing, which can lead to a dense texture. Use a spatula to lift the mixture from the bottom, folding over the top.
Checking Doneness: Insert a toothpick into the center of the bread. If it comes out clean or with a few moist crumbs, the bread is done. This prevents overbaking and ensures a tender crumb.


Step 1: Preheat the Oven
Preheat your oven to 350°F (175°C).
This ensures even baking from the start.
Place the oven rack in the middle position.
Ensure your oven thermometer is accurate for precise temperature.


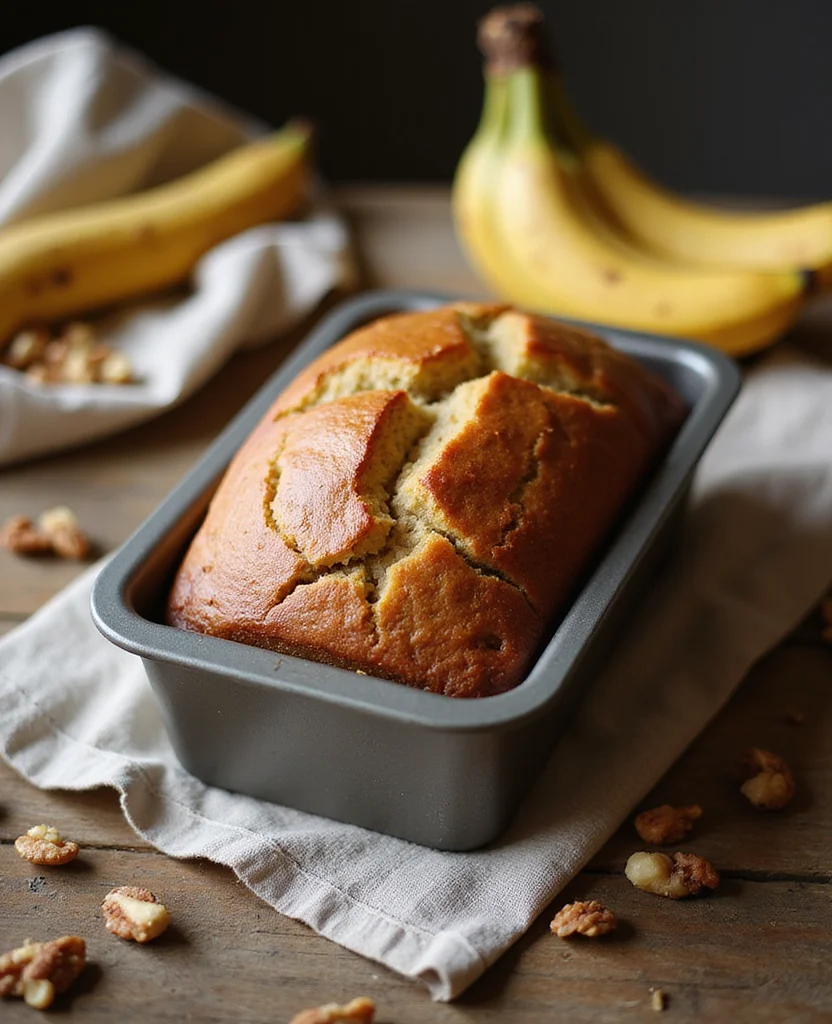
Step 2: Prepare the Loaf Pan
Grease a 9x5-inch loaf pan with butter or oil.
Ensure every corner is well-coated to prevent sticking.
Alternatively, line with parchment paper for easy removal.
Set the pan aside once prepared.

Step 3: Combine Dry Ingredients
In a medium bowl, sift together the gluten-free flour, baking soda, and salt.
Stir with a whisk to ensure even distribution.
Sifting prevents clumps and improves texture.
Set the dry mixture aside for later.


Step 4: Mash the Bananas
In a large bowl, mash the ripe bananas with a fork until smooth.
A few small lumps are acceptable, adding texture.
Ensure the bananas are ripe for maximum sweetness.
Set the mashed bananas aside.
Step 5: Mix Wet Ingredients
Add the sugar, melted butter, vanilla extract, and beaten egg to the mashed bananas.
Whisk until the mixture is smooth and well combined.
Ensure the butter is cool to prevent cooking the egg.
Set the wet mixture aside.


Step 6: Combine Wet and Dry Ingredients
Pour the dry ingredients into the wet mixture.
Gently fold with a spatula until just combined.
Avoid overmixing to prevent a dense loaf.
Stop folding once no flour streaks remain.


Step 7: Transfer Batter to Pan

Pour the batter into the prepared loaf pan.
Smooth the top with a spatula for even baking.
Tap the pan gently on the counter to remove air bubbles.
The batter should fill about three-quarters of the pan.
Step 8: Bake the Bread
Place the loaf pan in the preheated oven.
Bake for 60 minutes, checking at 50 minutes for doneness.
The top should be golden brown and a toothpick should come out clean.
Remove from oven and let cool in the pan for 10 minutes.


Step 9: Cool and Serve
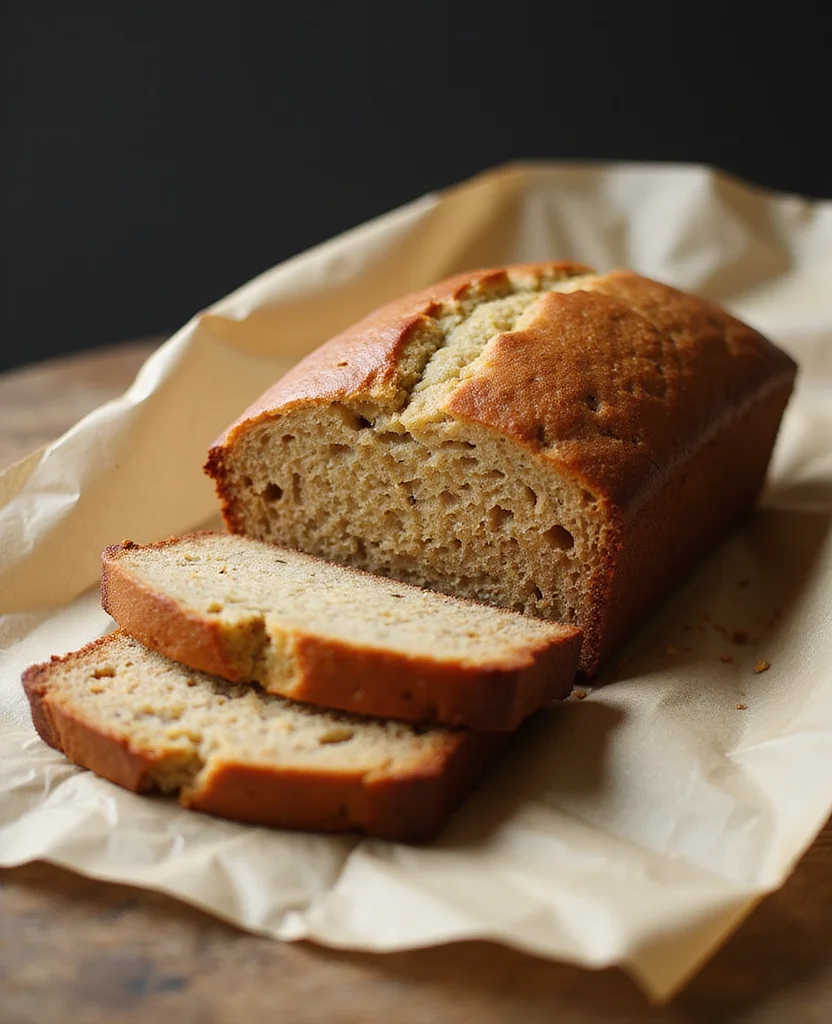
After cooling in the pan, transfer the bread to a wire rack.
Allow it to cool completely before slicing.
This prevents crumbling and ensures clean slices.
Serve the bread warm or at room temperature.


Critical Timing and Temperature Guide
Preheating: Preheat the oven to 350°F for at least 10 minutes before baking. Ensure the oven is at the right temperature to avoid uneven baking.
Baking: Bake at 350°F for 60 minutes. The loaf is done when the top is golden brown and a toothpick comes out clean. Avoid opening the oven door frequently, as this can cause the bread to sink.
Cooling: Allow the bread to cool in the pan for 10 minutes before transferring to a wire rack. This helps the bread set and prevents it from breaking apart.


Pro Tips for Gluten-Free Banana Bread
• Ingredient Selection: Choose ripe bananas with brown spots for maximum sweetness and flavor.
• Preparation Secret: Let the batter rest for 10 minutes before baking to hydrate the flour and improve texture.
• Temperature Management: Use room temperature ingredients to ensure even mixing and baking.
• Texture Enhancement: Add 1 tablespoon of yogurt for extra moisture and a tender crumb.
• Flavor Layering: Incorporate a pinch of cinnamon or nutmeg for a warm, aromatic depth.
• Make-Ahead Strategies: Store leftover bread tightly wrapped in foil for up to 3 days or freeze slices for longer storage.
• Restaurant-Quality Finishing Touches: Dust the top with powdered sugar or drizzle with a simple glaze before serving.
• Equipment Optimization: Use a silicone loaf pan to prevent sticking and provide even heat distribution.
Troubleshooting Common Issues
• Texture Too Dense: Overmixing the batter can cause a dense texture. Fold gently and stop as soon as the ingredients are combined.
• Flavors Unbalanced: If the bread tastes bland, ensure ripe bananas are used and consider adding a pinch of salt to enhance overall flavor.
• Bread Sinks in the Middle: This can occur if the oven temperature is too low or if the batter rests too long before baking. Ensure accurate oven temperature and bake promptly.
• Bread Sticks to the Pan: Grease the pan thoroughly and consider lining with parchment paper for easy removal.
• Uneven Baking: Check your oven's temperature with an oven thermometer and rotate the pan halfway through baking if necessary.
Variations and Regional Differences
• Southern Style: Often includes pecans or walnuts for added crunch and flavor, reflecting Southern culinary traditions.
• Caribbean Variation: Incorporates shredded coconut and a dash of rum, offering a tropical twist to the classic loaf.
• Chocolate Chip Version: Adds semi-sweet chocolate chips to the batter, creating a dessert-like treat perfect for chocoholics.
• Vegan Adaptation: Uses flaxseed meal mixed with water to replace eggs and coconut oil instead of butter, catering to plant-based diets.
Food Science Behind the Recipe
• Gluten-Free Chemistry: Gluten-free flours lack the elasticity of gluten, so alternative binders like eggs are crucial for structure and moisture retention.
• Ripeness and Sugar Content: Ripe bananas contain higher levels of natural sugars, reducing the need for additional sweeteners and enhancing flavor.
• Baking Soda Reaction: Reacts with the acidity in bananas, helping the bread rise and creating a light texture.


Frequently Asked Questions
What's the most common mistake people make when preparing gluten-free banana bread? Overmixing the batter, which can lead to a dense and heavy loaf.
Can I use regular flour in this recipe? Yes, but it will no longer be gluten-free. Adjust the liquid content slightly to maintain the right texture.
How can I make this recipe vegan? Replace the egg with a flax egg (1 tablespoon flaxseed meal + 2.5 tablespoons water) and use coconut oil instead of butter.
What's the best way to store gluten-free banana bread? Wrap it tightly in plastic wrap or foil and store at room temperature for up to 3 days, or freeze for longer storage.
Why does my banana bread taste bitter? This could be due to too much baking soda. Measure carefully and ensure balanced ratios.
Can I add nuts or chocolate chips? Absolutely! Fold in 1/2 cup of your choice before transferring the batter to the pan.
How do I know if my bananas are ripe enough? Look for bananas with brown spots and a strong banana smell; they should be soft to the touch.
Serving and Presentation Guide
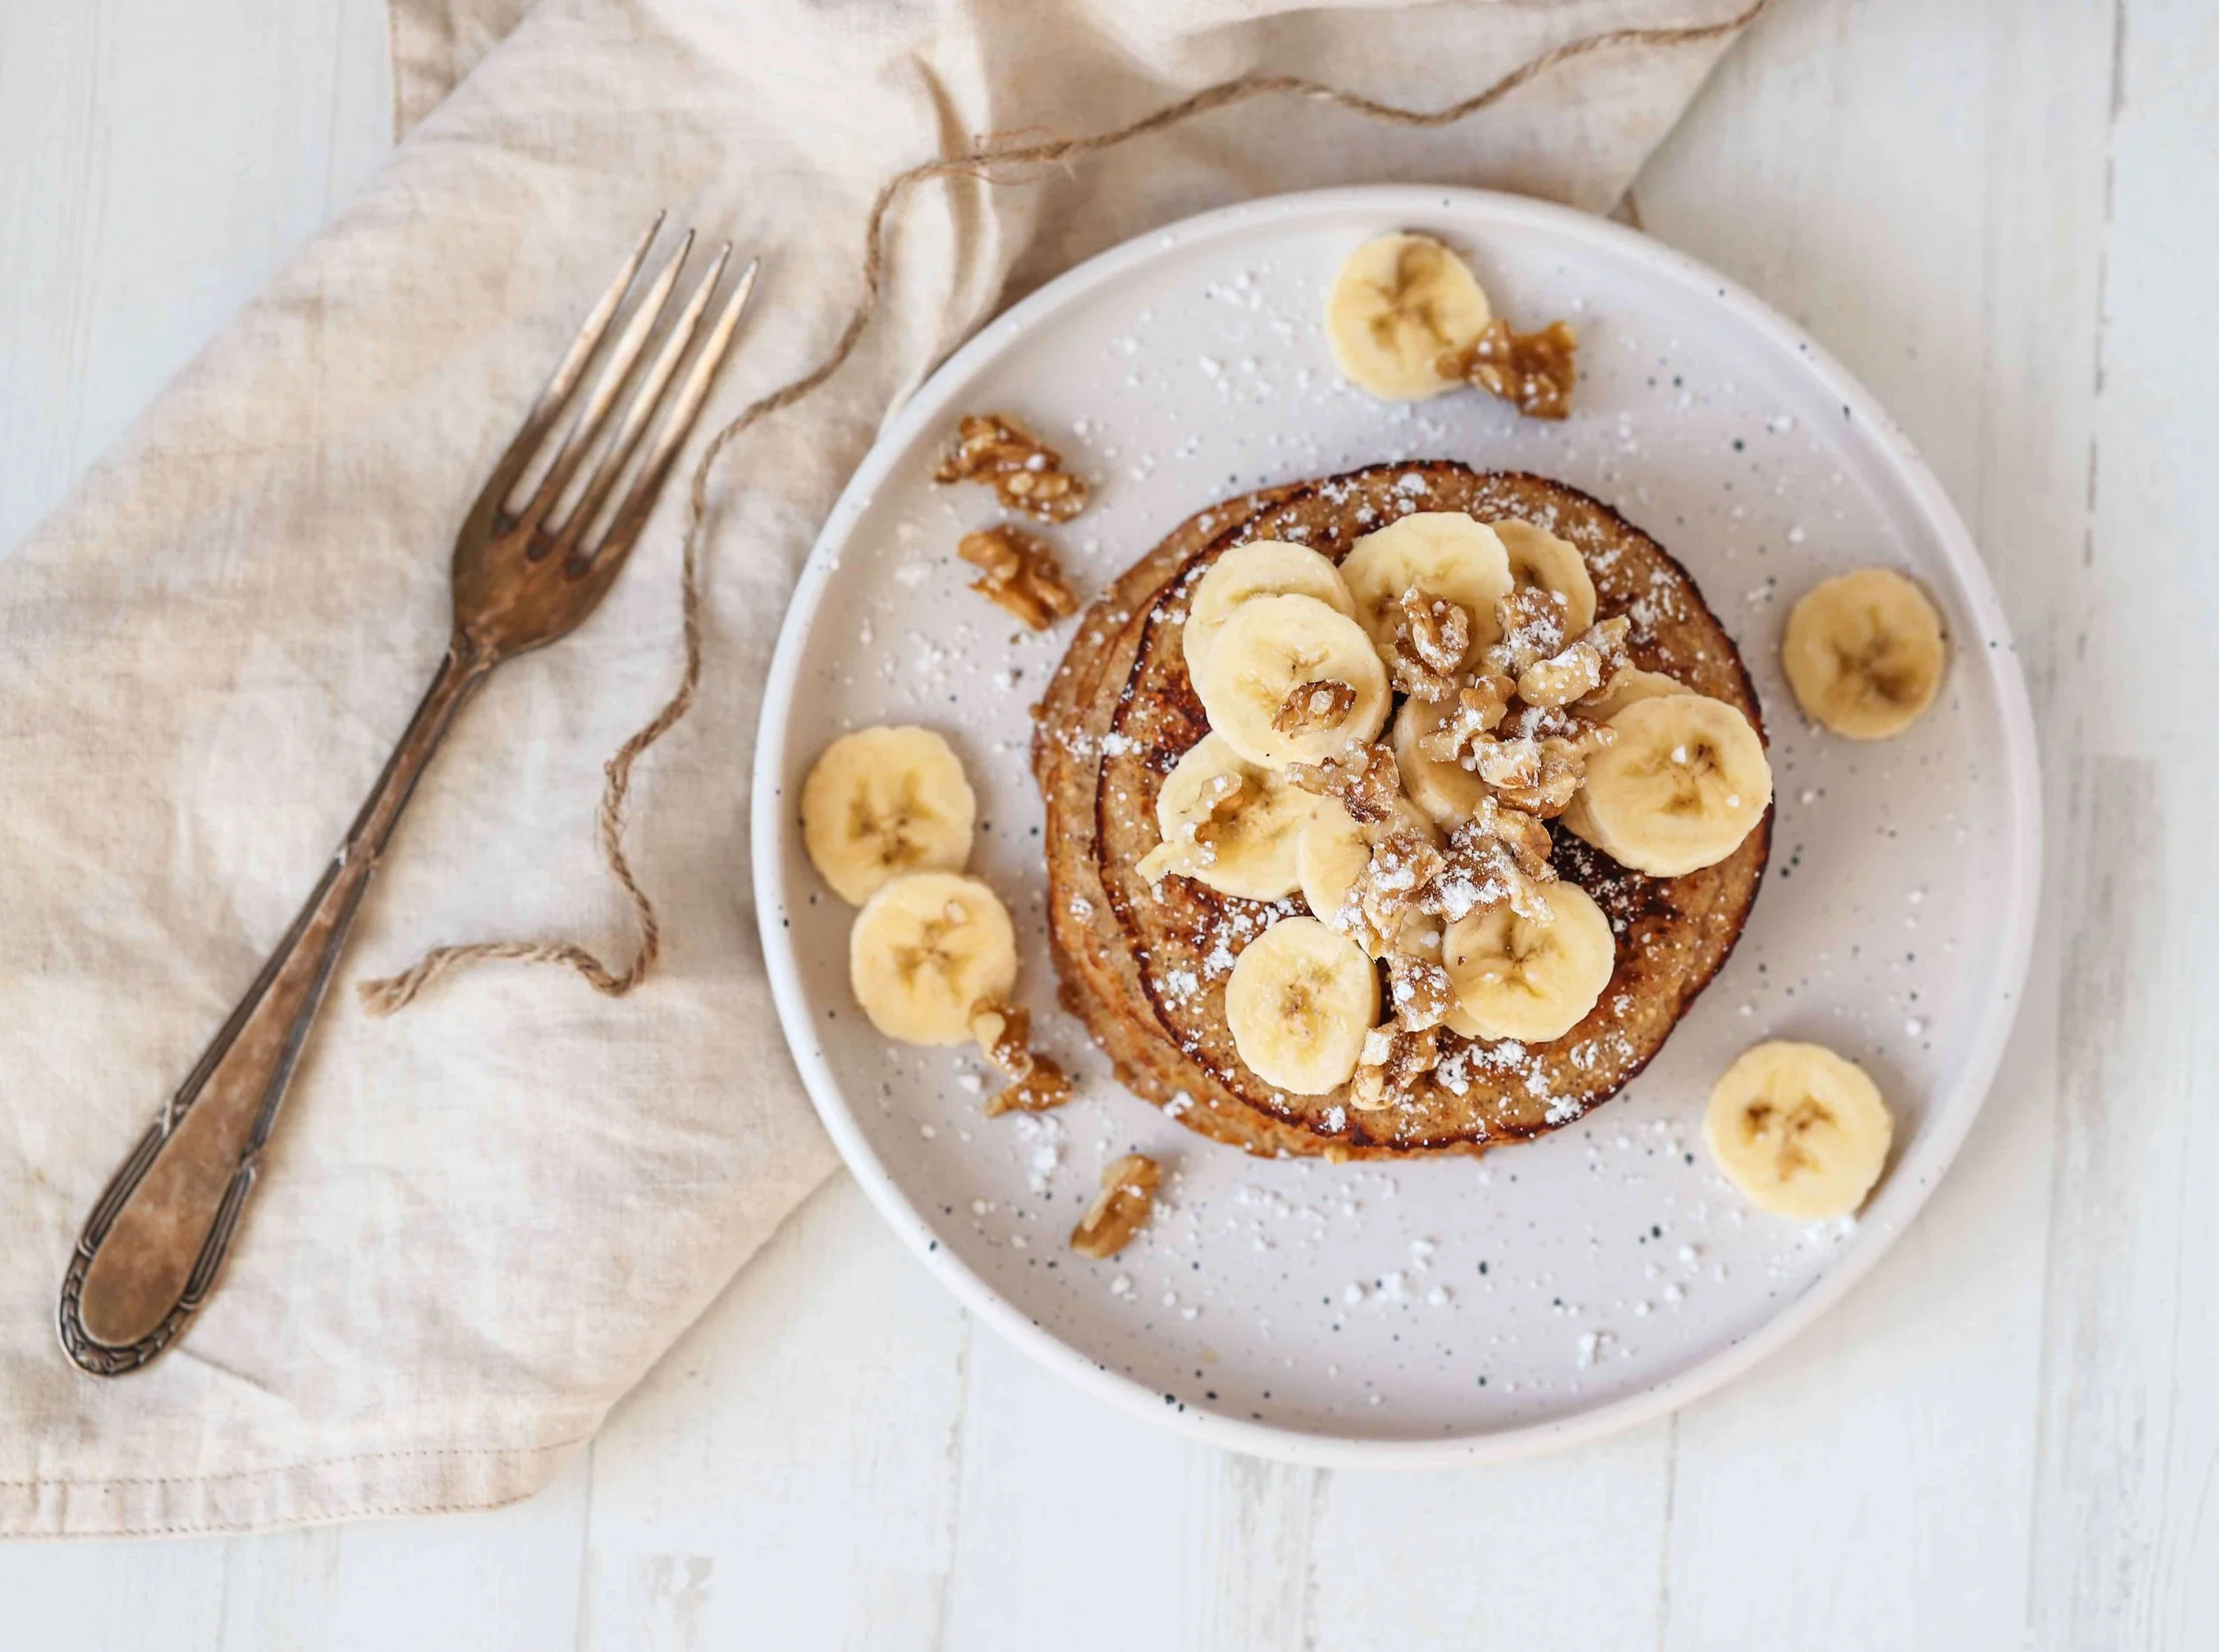
• Traditional Presentation: Serve sliced on a wooden board, garnished with fresh banana slices and a dusting of powdered sugar.
• Modern Style: Plate with a dollop of Greek yogurt and a sprinkle of chopped nuts for added texture.
• Casual Gathering: Arrange slices on a platter with small bowls of honey or jam for guests to add as desired.
• Elegant Touch: Serve with a small scoop of vanilla ice cream on the side for a dessert presentation.
Conclusion
This gluten-free banana bread recipe offers a perfect balance of moistness and flavor, proving that you don't need gluten for delicious results.
With a few simple ingredients and techniques, you can enjoy a classic treat tailored to dietary needs.
So why not give it a try and bring some warmth and nostalgia to your kitchen today?
Share it with friends and family, and watch their faces light up with delight.