
Slow Cooker Recipes: Easy Meals, Less Effort!
Family-friendly dishes for busy people — quick prep, delicious results.
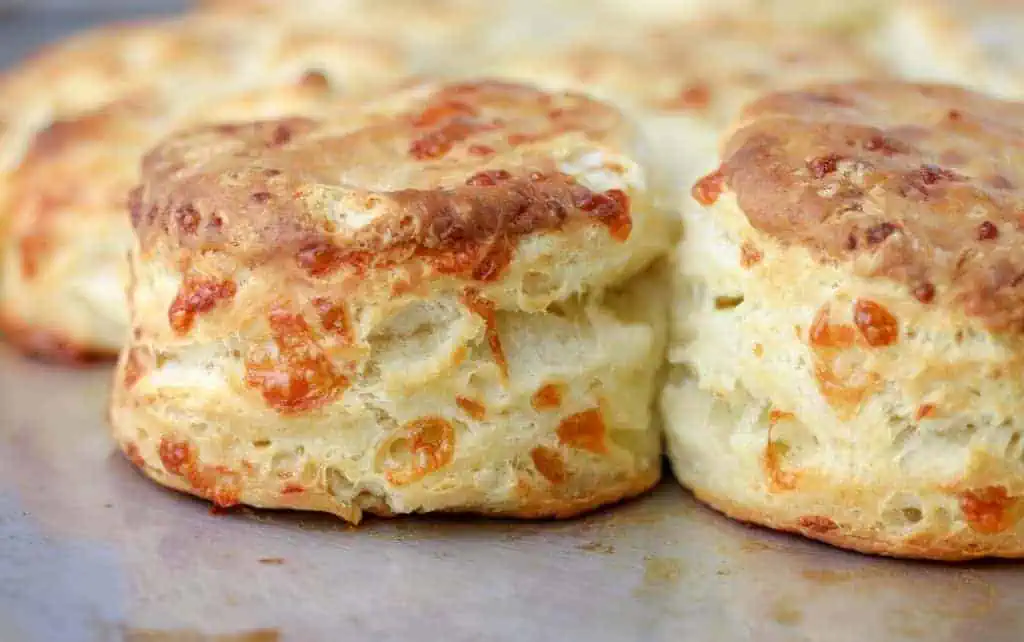
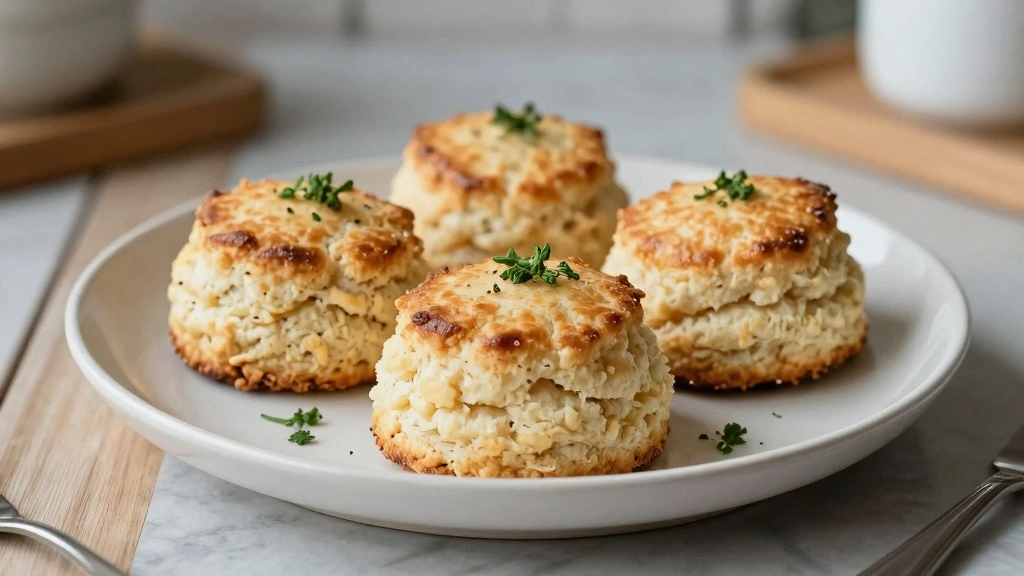
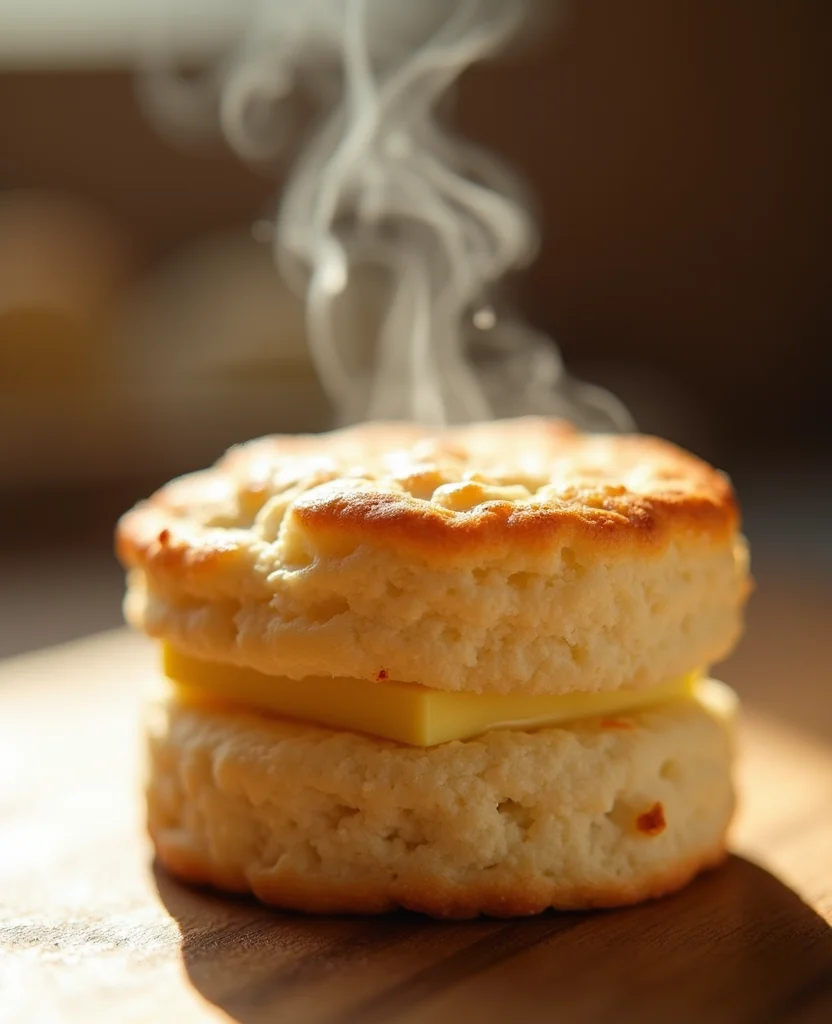
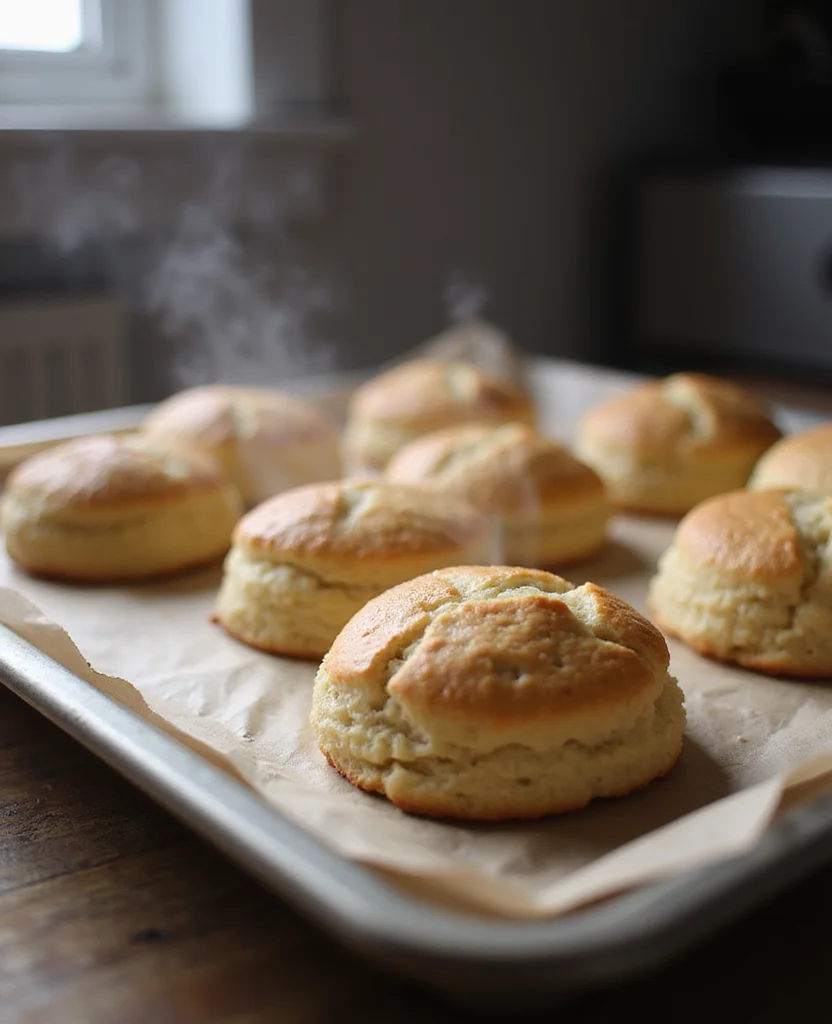
Grab yours for $4There’s nothing quite like the warm, comforting aroma of freshly baked biscuits wafting through the kitchen.
These Easy Gluten-Free Biscuits are a revelation for anyone following a gluten-free diet, offering all the fluffiness and buttery goodness without the gluten.
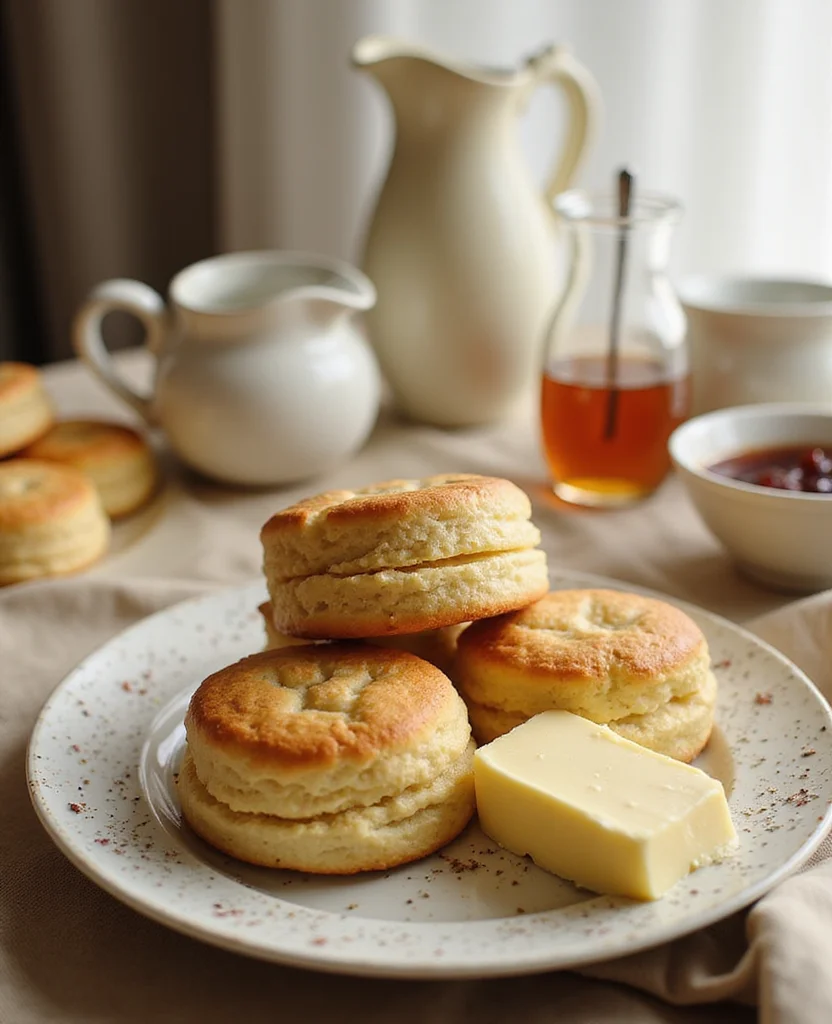
Inspired by Southern baking traditions, these biscuits are perfect for breakfast, as a side dish, or a savory snack.
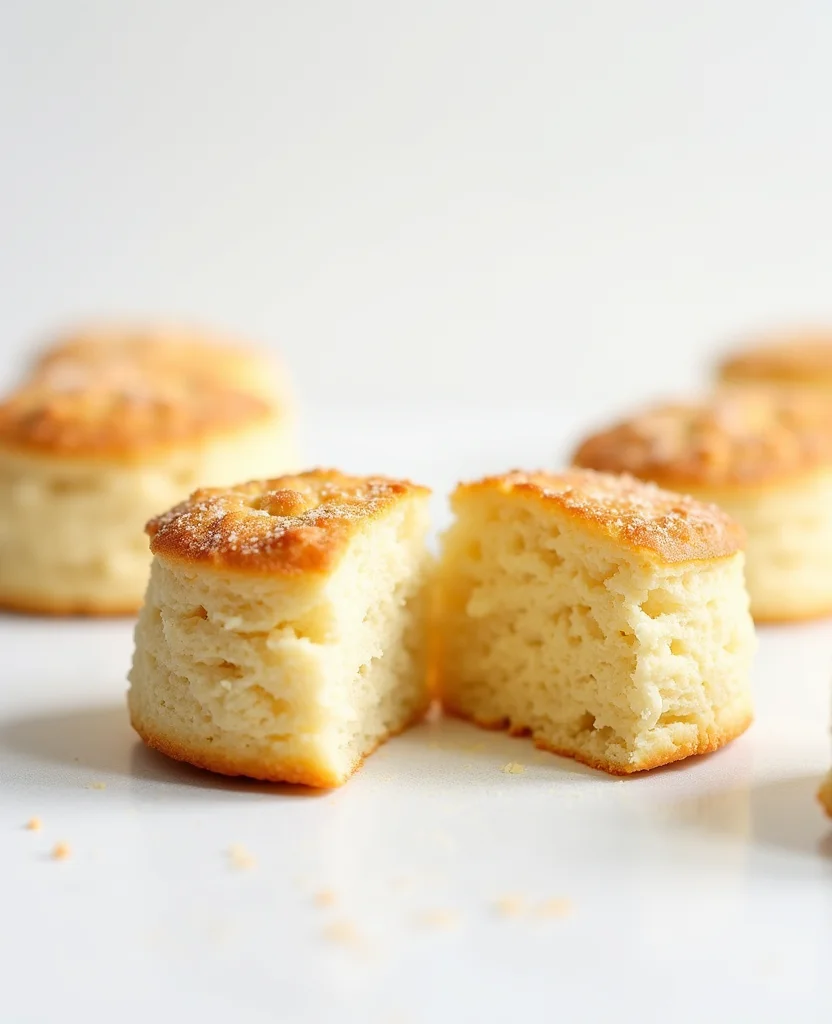
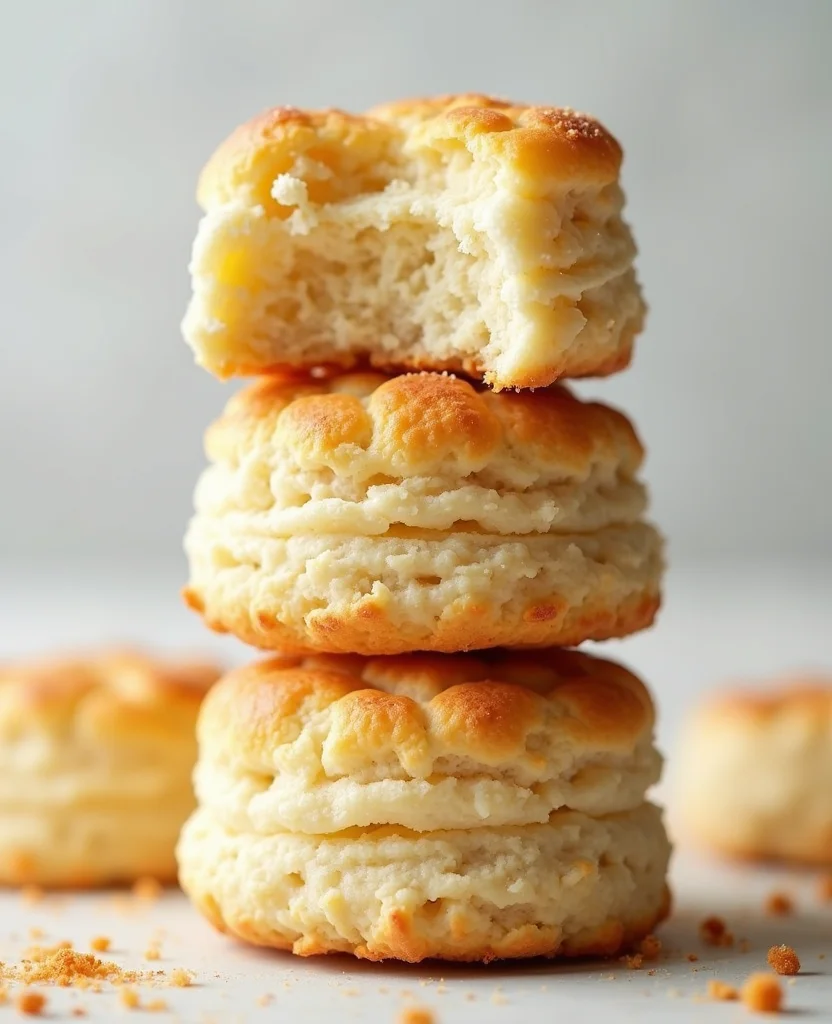
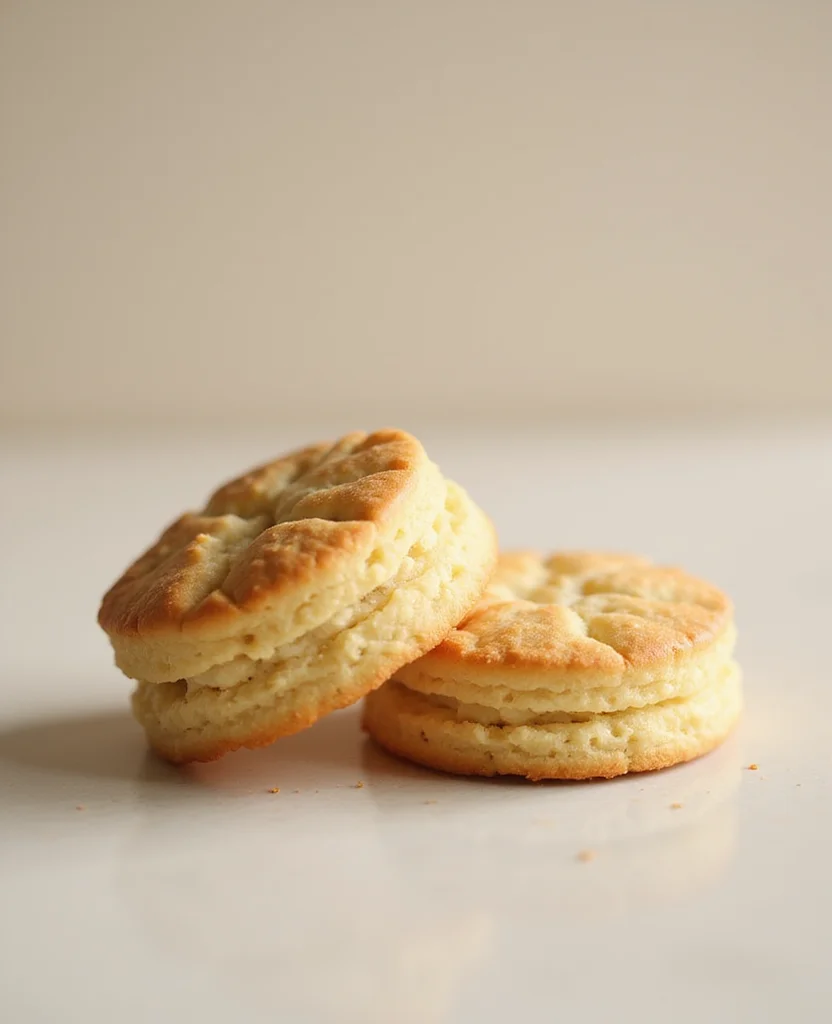
The golden, crisp exterior gives way to a soft, tender inside, making them irresistible to kids and adults alike.
Whether you’re new to gluten-free baking or a seasoned pro, this recipe is straightforward and rewarding.
Get ready to impress your family and friends with these delightful homemade biscuits.
The History and Cultural Significance
• Gluten-Free Biscuits: Fluffy, traces its origins to the Southern United States, where it was originally created by home bakers adapting traditional recipes for dietary needs.
• The dish evolved over decades as gluten-free flours and baking techniques improved, eventually becoming the beloved version we know today.
• In Southern culture, this dish traditionally appears at family breakfasts and holiday gatherings, symbolizing hospitality and warmth.
• While many variations exist across different regions, the authentic version maintains a fluffy texture and buttery flavor that sets it apart from imitations.


Recipe Overview
Nutritional Information (per serving)
Essential Equipment Guide
Mixing Bowl: A large mixing bowl is crucial for combining ingredients evenly and effectively. Stainless steel or glass bowls are preferable as they do not retain odors. Alternatively, a ceramic bowl can be used.
Biscuit Cutter: A round biscuit cutter ensures uniformity in size and shape, which helps in even baking. If a biscuit cutter is unavailable, a drinking glass or cookie cutter can serve as alternatives.
Baking Sheet: A heavy-duty baking sheet provides even heat distribution, crucial for achieving a golden brown crust. Opt for a non-stick surface to avoid the need for excess greasing.


Ingredients
For the Biscuits
|
| Amount | Ingredient | Notes |
|---|---|---|
| 2 cups | gluten-free all-purpose flour | provides structure |
| 1 tablespoon | baking powder | leavens the dough |
| 1/2 teaspoon | baking soda | enhances leavening |
| 1/2 teaspoon | salt | enhances flavor |
| 1/2 cup | unsalted butter | cold and cubed for flakiness |
| 3/4 cup | buttermilk | adds tanginess and moisture |


Preparation Methods
Cutting in Butter: This technique involves incorporating cold butter into flour until the mixture resembles coarse crumbs, which is essential for a flaky texture. Use a pastry cutter or two knives, and work quickly to keep the butter from softening.
Folding the Dough: Gently folding the dough over itself multiple times builds layers, contributing to a fluffy texture. Be careful not to overwork the dough, which can lead to tough biscuits.
Preheating the Oven: Ensuring the oven is fully preheated before baking is critical for proper rise and texture. Use an oven thermometer to verify the correct temperature, as home ovens can vary.


Step 1: Preheat the Oven
Preheat your oven to 425°F (220°C).
Ensure the oven rack is in the center position.
This allows for even baking and optimal rise.
Preheating is crucial for the biscuits to cook properly from the start.


Step 2: Mix Dry Ingredients
In a large mixing bowl, combine the gluten-free flour, baking powder, baking soda, and salt.
Use a whisk to blend the ingredients thoroughly.
This ensures an even distribution of leavening agents.
A well-mixed dry base is key for even biscuit texture.


Step 3: Cut in the Butter
Add the cold, cubed butter to the dry ingredients.
Use a pastry cutter to cut in the butter until the mixture resembles coarse crumbs.
The butter pieces should be pea-sized for optimal flakiness.
Work quickly to keep the butter cold, preserving the texture.


Step 4: Add Buttermilk
Pour the buttermilk into the flour mixture.
Stir gently with a spatula until the dough just comes together.
Avoid overmixing to prevent tough biscuits.
The dough will be slightly sticky, which is normal.
Step 5: Knead the Dough
Turn the dough out onto a floured surface.
Gently knead the dough 3-4 times until it holds together.
This minimal kneading helps maintain a tender texture.
Dust with additional flour if necessary to prevent sticking.


Step 6: Roll and Fold
Roll out the dough to about 1/2-inch thickness.
Fold the dough into thirds like a letter.
Repeat the rolling and folding process 2 more times.
This technique creates layers for a fluffy biscuit.


Step 7: Cut the Biscuits
Using a biscuit cutter, cut out rounds from the dough.
Press straight down without twisting for clean edges.
Re-roll scraps as needed to cut additional biscuits.
Place biscuits on a baking sheet, close together for better rise.


Step 8: Bake the Biscuits
Place the baking sheet in the preheated oven.
Bake for 12-15 minutes until biscuits are golden brown.
Check for a golden top and lightly browned bottom.
Remove from oven and cool slightly before serving.


Critical Timing and Temperature Guide
Baking: Bake at 425°F for 12-15 minutes, ensuring biscuits are golden brown. Overbaking can lead to dryness, so watch for browning as a sign of doneness.
Preheating: Ensure oven is preheated to the correct temperature before inserting biscuits. An underheated oven may prevent proper rise and texture.
Butter Incorporation: Work quickly when cutting in butter to keep it cold. Warm butter will not create the desired flaky layers.


Pro Tips for Gluten-Free Biscuits: Fluffy,
• Ingredient Selection: Use a high-quality gluten-free all-purpose flour blend with xanthan gum for structure.
• Preparation Secret: Freeze the butter before cubing to ensure it stays cold throughout the dough preparation.
• Temperature Management: Use buttermilk straight from the fridge to maintain dough temperature.
• Texture Enhancement: Folding the dough multiple times creates layers that enhance the biscuit's flaky texture.
• Flavor Layering: Add a pinch of sugar to the dough for a subtle sweetness that complements the buttery flavor.
• Make-Ahead Strategies: Prepare the dough up to the cutting stage, then freeze. Bake directly from frozen, adding a few extra minutes to the bake time.
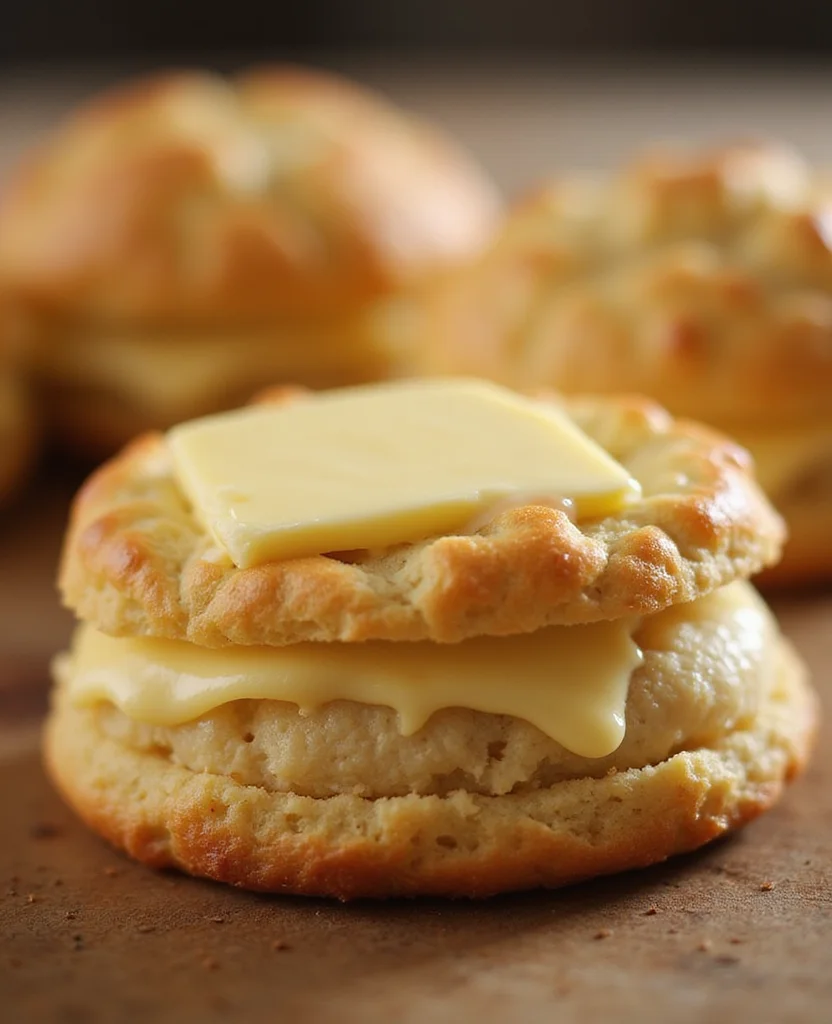
• Restaurant-Quality Finishing Touches: Brush the tops of the biscuits with melted butter immediately after baking for a glossy finish.
• Equipment Optimization: Use a heavy baking sheet to promote even baking and avoid burning the bottoms.
Troubleshooting Common Issues
• Texture Too Dense: This can occur if the dough is overworked. To fix, handle the dough as little as possible during mixing and shaping.
• Biscuits Spread Too Much: This often results from butter being too warm. Ensure butter is cold before cutting into the flour.
• Biscuits Too Dry: Overbaking or insufficient buttermilk can cause dryness. Check biscuits early and adjust liquid if needed.
• Flat Biscuits: This can be caused by insufficient baking powder. Check the freshness of the baking powder.
• Uneven Baking: Ensure that biscuits are of uniform thickness and placed close together on the baking sheet.
• Flavor Lacking: Add a pinch more salt or a touch of sugar to enhance the flavor profile.
Variations and Regional Differences
• Southern-Style: Incorporates lard instead of butter for a richer flavor and flakier texture, often served with sausage gravy.
• Cheddar and Chive: Add sharp cheddar cheese and chopped chives to the dough for a savory twist, popular in the Midwest.
• Herb-Infused: Incorporate fresh rosemary or thyme for an aromatic version, common in Mediterranean-inspired cuisine.
• Sweet Potato: A Southern variation using mashed sweet potatoes for a subtly sweet flavor and moist texture.
Food Science Behind the Recipe
• Butter and Flakiness: Cold butter creates steam during baking, leading to flaky layers. Understanding this helps achieve the perfect texture.
• Acid and Leavening: The acid in buttermilk reacts with baking soda to produce carbon dioxide, aiding in rising. This balance is crucial for light biscuits.
• Gluten-Free Flour: Lacks the elasticity of wheat flour, so xanthan gum or guar gum is used to mimic gluten's properties, providing structure.
• Heat Transfer: A well-preheated oven ensures rapid heat transfer, crucial for achieving the right rise and texture.


Frequently Asked Questions
What's the most common mistake people make when preparing Gluten-Free Biscuits? Overworking the dough, which can lead to dense, tough biscuits.
Can I use regular milk instead of buttermilk? Yes, but add a tablespoon of lemon juice or vinegar to the milk to mimic buttermilk's acidity.
How do I store leftover biscuits? Store them in an airtight container at room temperature for up to two days or freeze for longer storage.
Why are my biscuits not rising? Check the freshness of your baking powder and ensure the oven is preheated properly.
Can I add other flavors? Yes, ingredients like cheese, herbs, or spices can be incorporated into the dough.
Is it necessary to use a biscuit cutter? While not essential, a biscuit cutter ensures even cooking by creating uniform shapes.
Why is cold butter important? Cold butter helps create steam during baking, which is essential for flaky biscuits.
Can I prepare the dough in advance? Yes, prepare and shape the biscuits, then freeze and bake from frozen when ready.
Serving and Presentation Guide
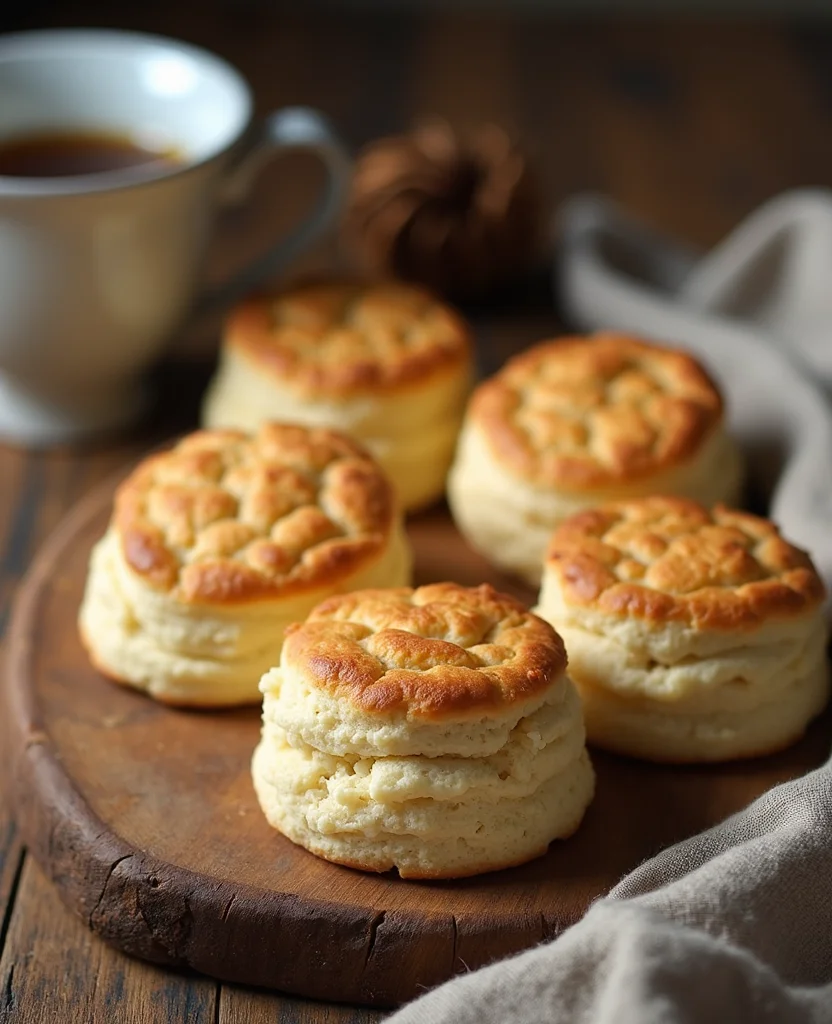
• Traditional Presentation: Serve warm biscuits in a woven basket lined with a cloth napkin to keep them warm.
• Casual Brunch: Arrange biscuits on a rustic wooden board with small bowls of butter and jam.
• Elegant Dinner: Place biscuits on a fine china platter, garnished with fresh herbs for a touch of elegance.
• Family-Style Breakfast: Serve alongside a variety of toppings like honey, gravy, and assorted jams for a self-serve experience.
Conclusion
Gluten-Free Biscuits are a true testament to the joy of baking, offering warmth and comfort in every bite.
With this recipe, you can create a delicious, fluffy, and buttery treat that everyone will love.
Whether for breakfast or a special occasion, these biscuits are sure to impress.
Try them today and discover the magic of homemade gluten-free baking.