
The journey to creating the perfect gluten-free pizza dough has been both a challenge and a delight for me.
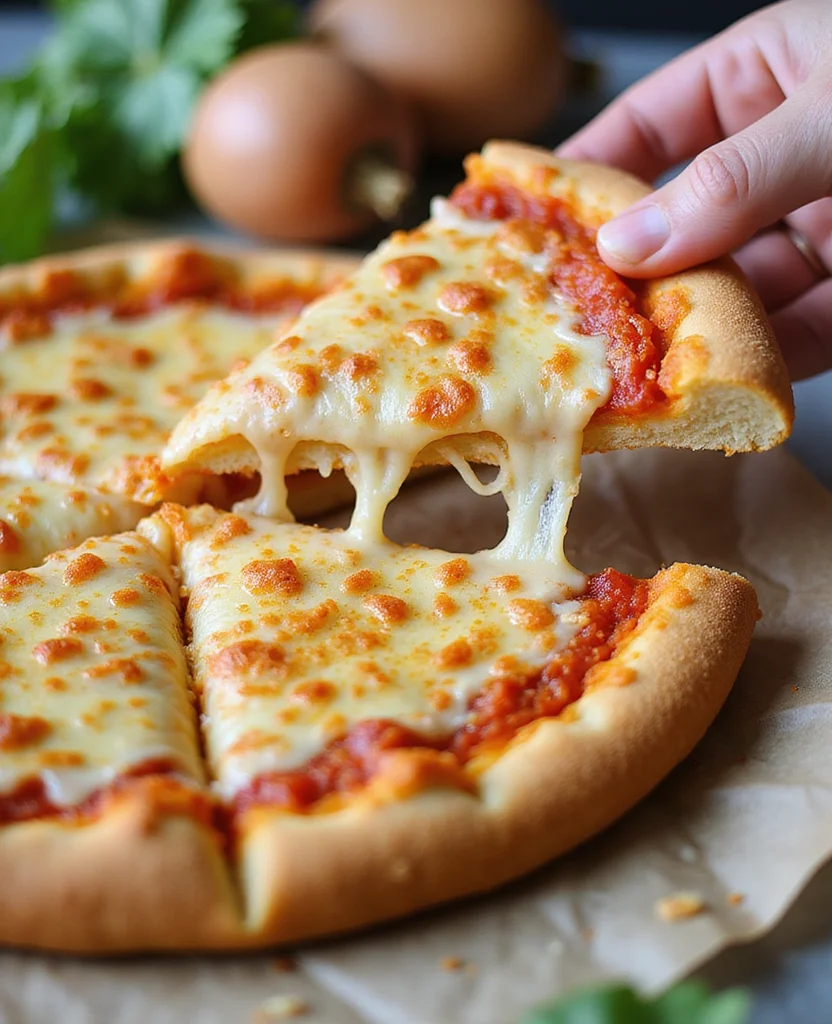
Through countless trials and experiments, I discovered a recipe that offers both a crispy and chewy crust—just like a traditional pizza.
This gluten-free option ensures that everyone at the table can enjoy the same flavorful experience.
The blend of flours and careful preparation result in a dough that is as versatile as it is delicious.
Whether you’re a gluten-free veteran or new to this dietary choice, this recipe will exceed your expectations.
Get ready to enjoy a pizza night that’s inclusive and full of flavor.
The History and Cultural Significance
• Gluten-Free Pizza Dough traces its origins to the early 21st century, where it was originally created by innovative chefs seeking to accommodate dietary restrictions.
• The dish evolved over decades as gluten-free flours like almond, rice, and tapioca became more accessible, eventually becoming the beloved version we know today.
• In many cultures, this dish traditionally appears at family gatherings and casual dinners, symbolizing the inclusivity of modern dining.
• While many variations exist across different regions, the authentic version maintains a balance of crispiness and chewiness that sets it apart from imitations.
Recipe Overview
Nutritional Information (per serving)
Essential Equipment Guide
Mixing Bowl: A large mixing bowl helps combine ingredients evenly. If you don’t have one, any large container with enough space to mix without spilling will work. Look for a bowl with a non-slip base.
Rolling Pin: A rolling pin is crucial for flattening the dough evenly. Alternatives include using a wine bottle or a straight-sided glass. Ensure it’s smooth and free of any debris.
Pizza Stone: Using a pizza stone creates a crispy crust by evenly distributing heat. If unavailable, an upside-down baking sheet can mimic similar results. Preheat it for best results.
Ingredients
For the Base
|
| Amount | Ingredient | Notes |
|---|---|---|
| 1 cup | rice flour | provides structure |
| 1 cup | tapioca starch | adds chewiness |
| 1/2 cup | almond flour | adds richness |
| 1 teaspoon | salt | enhances flavor |
| 1 tablespoon | olive oil | adds moisture |
| 1 tablespoon | honey | aids in browning |
| 1 tablespoon | baking powder | provides lift |
| 1 cup | warm water | activates ingredients |
Preparation Methods
Gluten-Free Flour Blending: Blending different gluten-free flours creates a balanced dough texture. It matters because each flour type contributes a unique property. Master it by experimenting with ratios until you achieve the desired consistency.
Hydration Technique: Properly hydrating gluten-free dough is crucial for texture. It matters because gluten-free flours absorb water differently. Add water gradually and mix until the dough is sticky but not overly wet.
Heat Transfer Maximization: Using preheated surfaces like a pizza stone maximizes heat transfer. It matters for achieving a crispy exterior. Preheat the stone in the oven for at least 30 minutes before baking.
Step 1: Prepare Ingredients
Gather all dry ingredients, including rice flour, tapioca starch, and almond flour.
Measure each ingredient accurately for consistency.
Place them into a large mixing bowl.
Mix them together thoroughly to ensure even distribution.
Step 2: Combine Dry Ingredients
Add the baking powder and salt to the dry ingredients.
Stir them well to incorporate fully.
Use a whisk to break up any clumps.
Ensure the mixture is uniform before proceeding.
Step 3: Add Liquids
Pour the warm water into the dry mix slowly.
Add olive oil and honey to the bowl.
Mix the ingredients with a wooden spoon until a dough forms.
Check for a sticky consistency that holds together.
Step 4: Knead the Dough
Turn the dough out onto a lightly floured surface.
Knead it gently for about 5 minutes.
Ensure the dough is smooth and elastic.
Avoid over-kneading to prevent toughness.
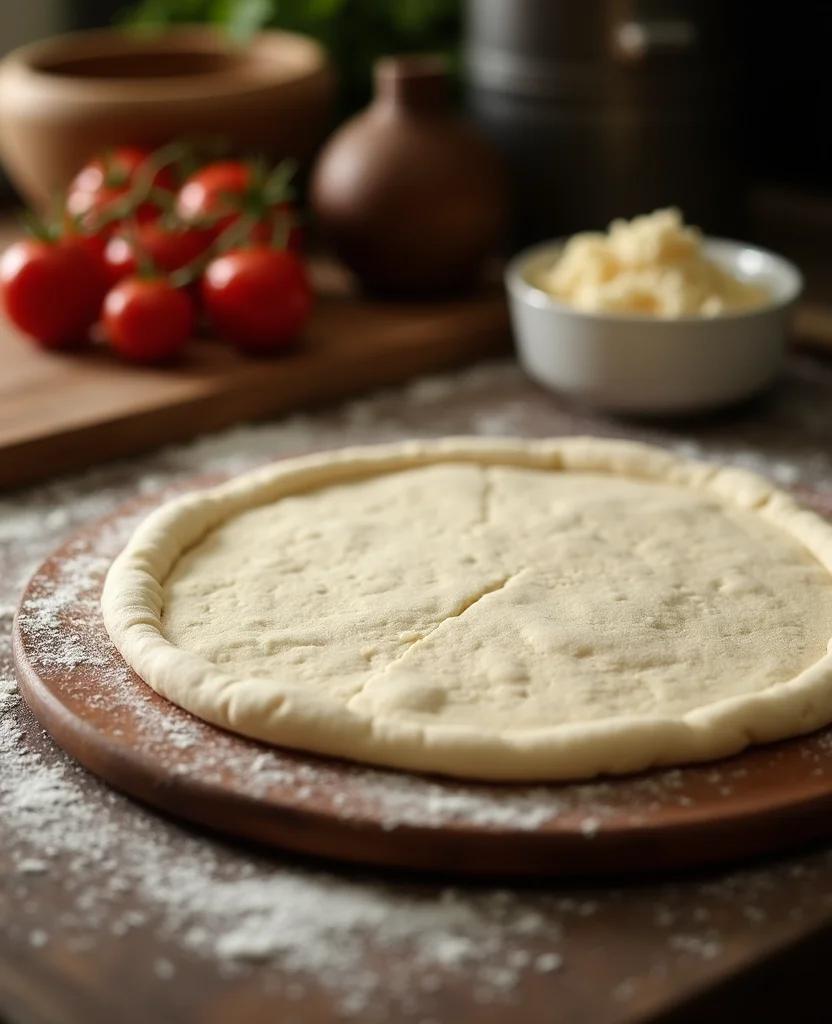
Step 5: Shape the Dough
Divide the dough into two equal portions.
Roll each portion into a ball.
Use a rolling pin to flatten each ball into a circle.
Aim for an even thickness of about 1/4 inch.
Step 6: Preheat the Oven
Set your oven to 475°F (245°C).
Place a pizza stone inside to preheat.
Allow it to heat for at least 30 minutes.
This ensures a crispy crust when baking.
Step 7: Transfer the Dough
Carefully transfer the rolled-out dough onto a piece of parchment paper.
Use a pizza peel if available for ease.
Ensure the dough is centered and even.
Trim any excess parchment for safety.
Step 8: Bake the Dough
Slide the parchment paper with dough onto the preheated pizza stone.
Bake in the oven for 12-15 minutes.
Check for a golden-brown crust.
Remove from oven and cool slightly before adding toppings.
Critical Timing and Temperature Guide
Preheating the Oven: Preheat the oven to 475°F (245°C) for at least 30 minutes, ensuring the pizza stone is hot enough to create a crispy crust. Avoid opening the oven frequently to maintain temperature.
Baking the Dough: Bake the dough for 12-15 minutes, watching for a golden-brown color as an indicator of doneness. Avoid overbaking as it can lead to a dry texture.
Cooling the Crust: Allow the crust to cool for 5 minutes after baking to avoid soggy toppings. This ensures the crust remains crisp when the pizza is fully assembled.
Pro Tips for Gluten-Free Pizza Dough
• Ingredient Selection: Choose high-quality rice and almond flours as they significantly impact the dough's structure and flavor.
• Preparation Secret: Letting the dough rest for a few minutes after kneading enhances hydration and improves texture.
• Temperature Management: Ensure all liquid ingredients are warm to aid in proper dough formation.
• Texture Enhancement: Using a small amount of tapioca starch creates a chewy texture that mimics gluten.
• Flavor Layering: Adding a touch of honey to the dough introduces a subtle sweetness that enhances overall taste.
• Make-Ahead Strategies: Prepare the dough in advance and store it in the fridge for up to 24 hours. Allow it to come to room temperature before baking.
• Restaurant-Quality Finishing Touches: Brush the crust with olive oil immediately after baking for a glossy finish.
• Equipment Optimization: If a pizza stone isn't available, use an inverted baking sheet for similar results.
Troubleshooting Common Issues
• Crust Too Hard: This may occur if the dough is over-kneaded or over-baked. Ensure you knead just until smooth and monitor closely during baking.
• Dough Too Sticky: If the dough is overly sticky, add a little more rice flour during kneading until it reaches a manageable consistency.
• Uneven Baking: Ensure the dough is rolled out evenly and adjust oven racks to promote consistent heat distribution.
• Crust Too Pale: Increase oven temperature slightly or bake a few minutes longer while watching closely.
• Flavor Lacking Depth: Ensure salt and honey are measured accurately and consider adding herbs or spices to the dough for additional flavor.
Variations and Regional Differences
• Italian Gluten-Free Pizza: Often uses chickpea flour for a denser, more rustic crust. This variation is popular in Liguria, Italy.
• New York Style: Incorporates a bit of cornmeal into the dough for a unique texture and flavor, catering to the American palate.
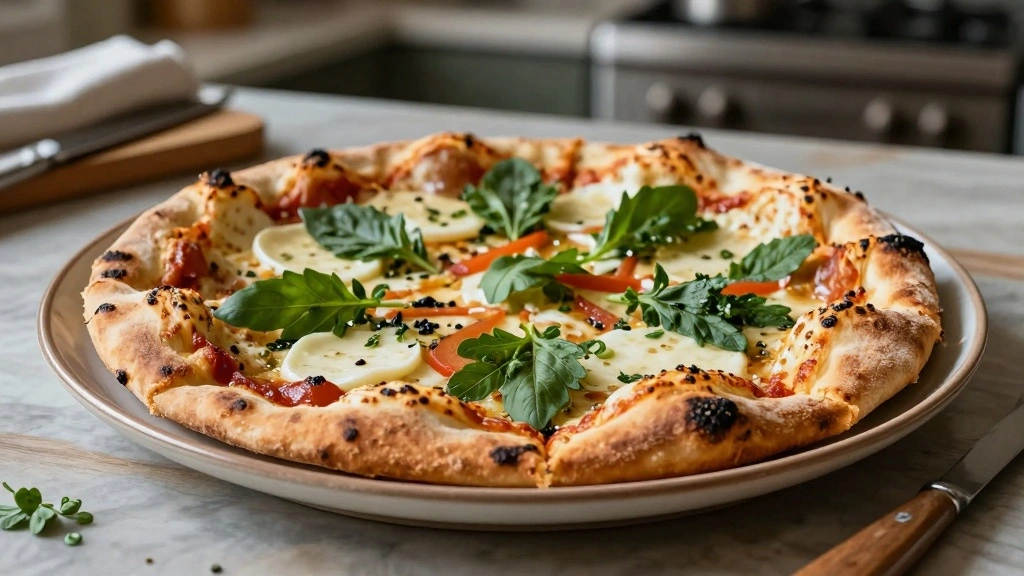
• Neapolitan Style: Uses a higher hydration dough and often features toppings like fresh mozzarella and basil, focusing on simplicity and quality.
• California Style: Known for innovative toppings, this variation often uses a lighter crust with ingredients like quinoa flour for added nutrition.
Food Science Behind the Recipe
• Hydration and Starch Interaction: The combination of starches in the flours holds water effectively, creating a chewy texture without gluten.
• Baking Powder Reaction: As a leavening agent, baking powder produces carbon dioxide, helping the dough rise and creating a light texture.
• Heat Transfer: The pizza stone's ability to retain and evenly distribute heat results in a uniformly cooked crust, crucial in gluten-free baking.
Frequently Asked Questions
What's the most common mistake people make when preparing gluten-free pizza dough? Over-kneading the dough, which can lead to a tough crust.
Can I use all-purpose gluten-free flour instead of the blend? Yes, but the texture might differ slightly. Custom blends are often optimized for texture.
How can I store leftover dough? Wrap it tightly in plastic wrap and refrigerate for up to 24 hours.
Is it possible to freeze the dough? Yes, freeze the dough portions in airtight containers for up to one month. Thaw in the fridge overnight before using.
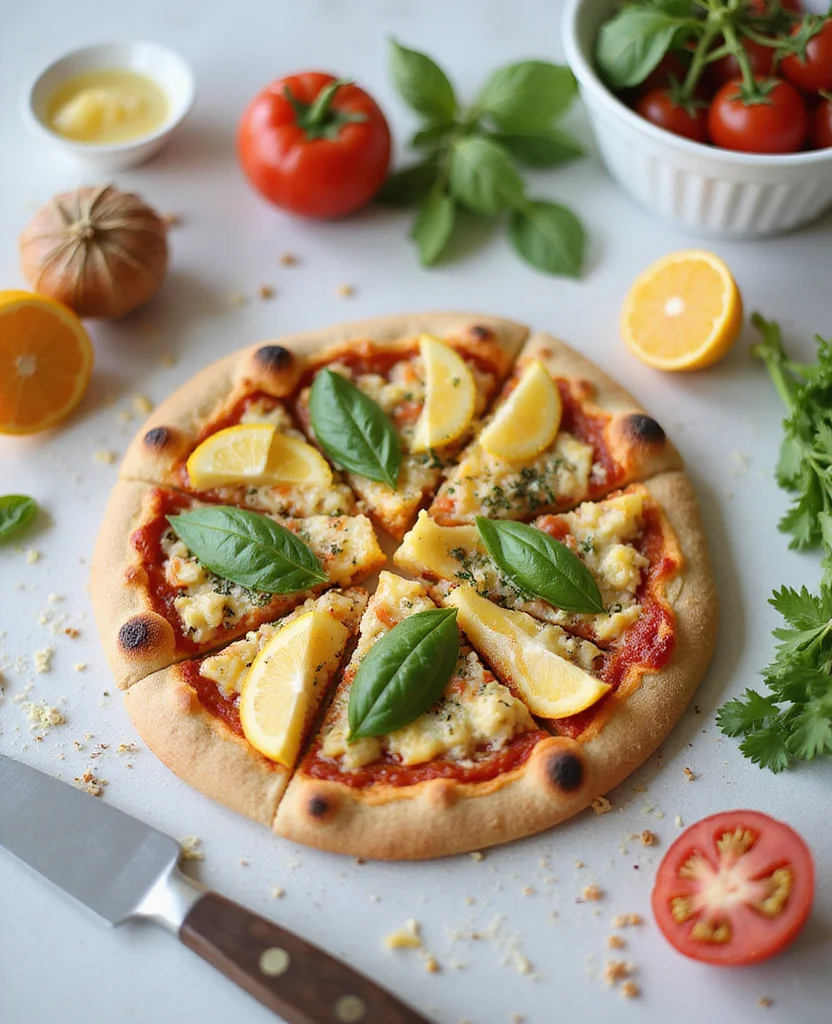
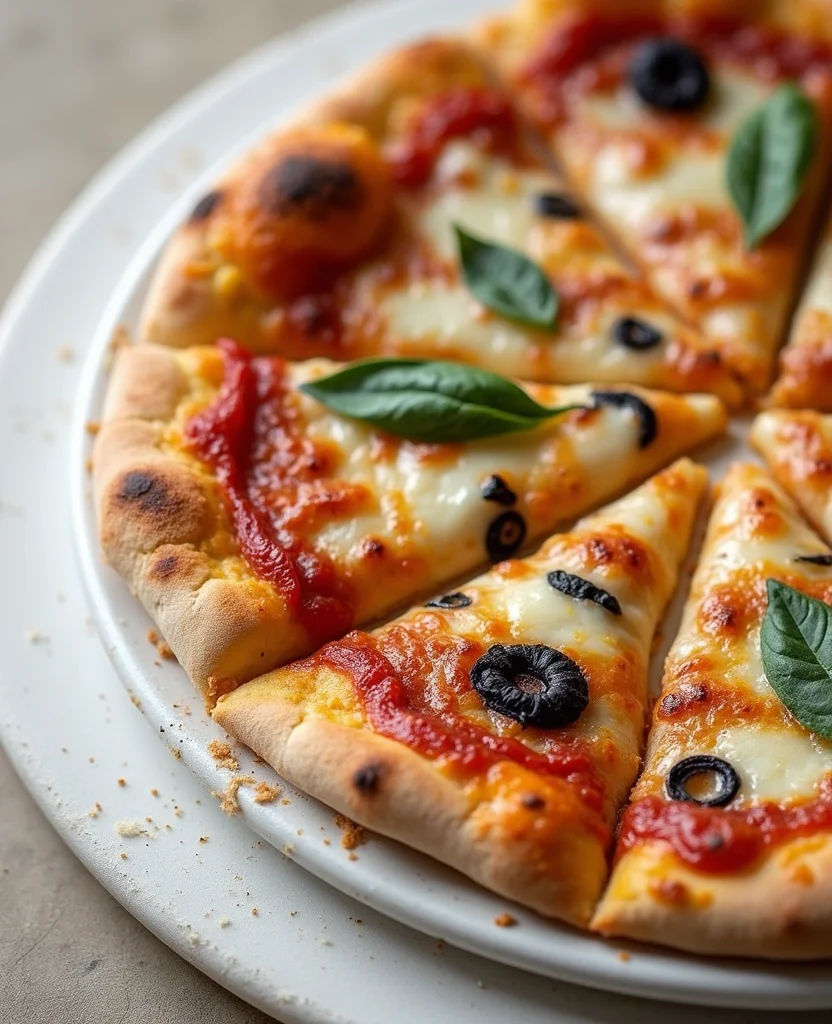
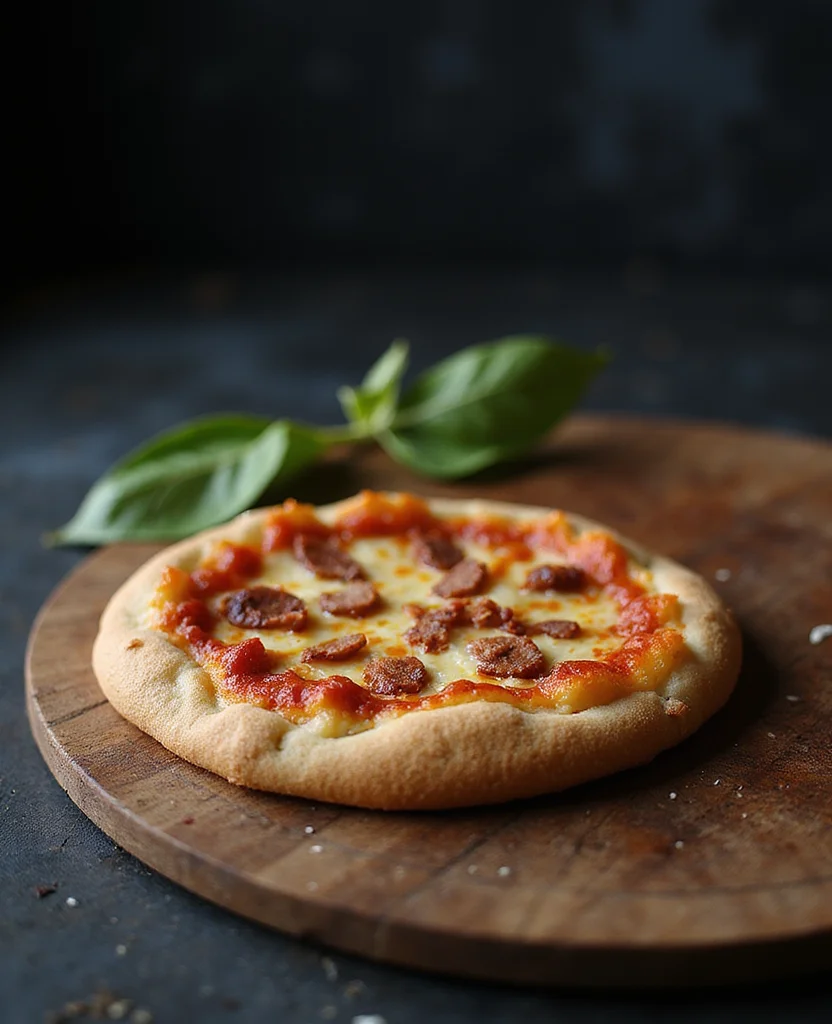
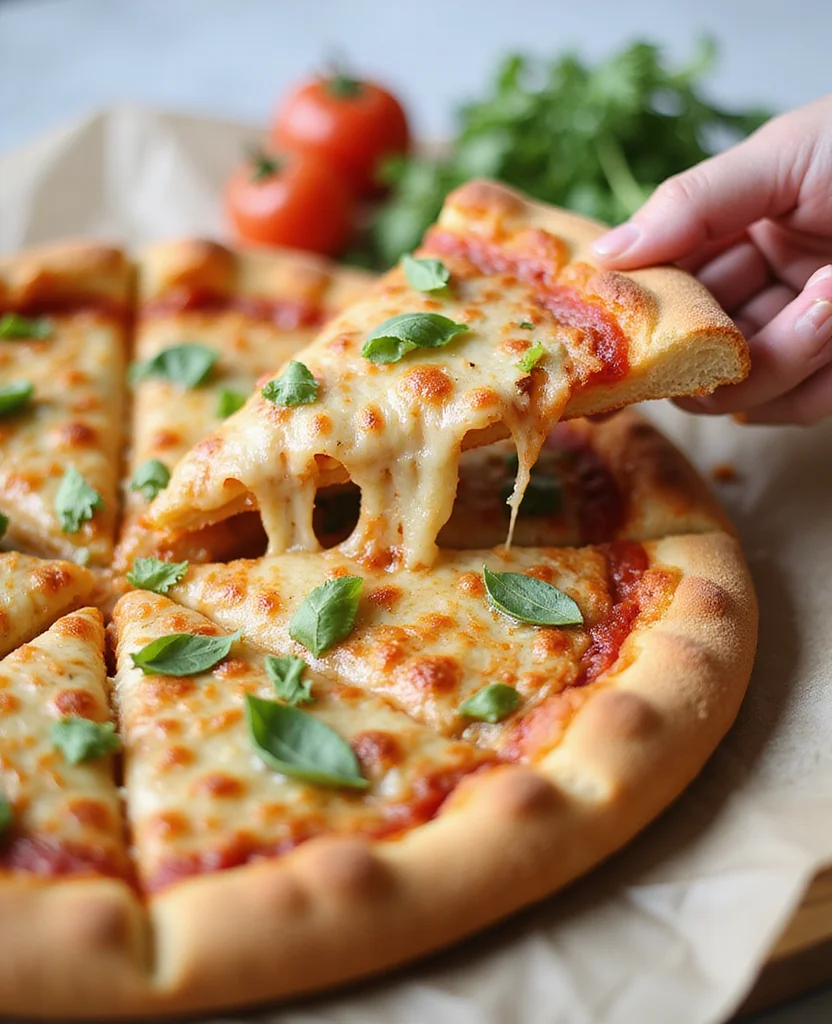
What toppings work best with this crust? Traditional toppings like tomato sauce, mozzarella, and basil complement it well, but feel free to experiment.
Why is my dough not rising? Check the freshness of your baking powder and ensure water is warm enough to activate the ingredients.
Can I make the dough ahead of time? Absolutely, prepare and refrigerate it up to a day in advance for convenience.
Serving and Presentation Guide
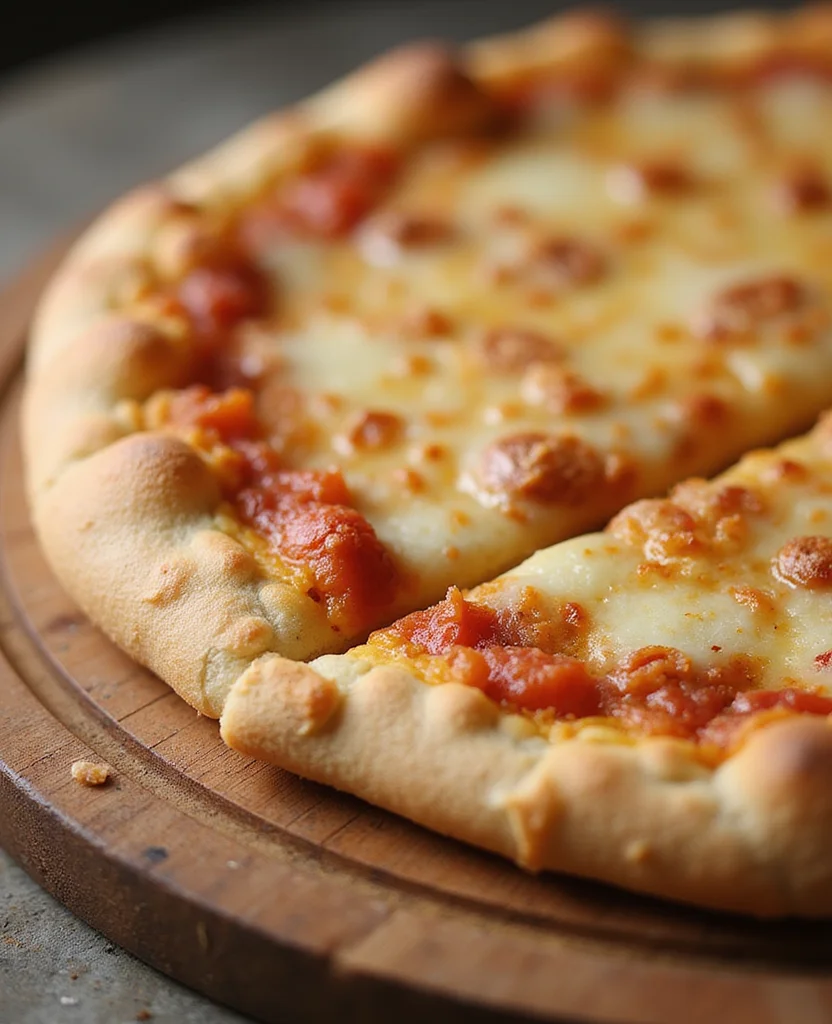
• Traditional Presentation: Serve on a wooden board for a rustic feel, slicing with a pizza cutter for clean edges.
• Casual Gathering: Present on a large platter, allowing guests to choose slices and add toppings to their liking.
• Elegant Dinner: Slice into small squares or wedges and serve on individual plates with fresh basil as garnish.
• Family Style: Set on a large cutting board in the center of the table, encouraging sharing and interaction.
Conclusion
This gluten-free pizza dough recipe offers a delicious and inclusive dining experience that everyone will enjoy.
With its crispy and chewy crust, it's sure to become a favorite in your household.
Don't hesitate to experiment with toppings and make this recipe your own.
Get ready to impress your family and friends with a homemade pizza that's both satisfying and flavorful.