
Slow Cooker Recipes: Easy Meals, Less Effort!
Family-friendly dishes for busy people — quick prep, delicious results.
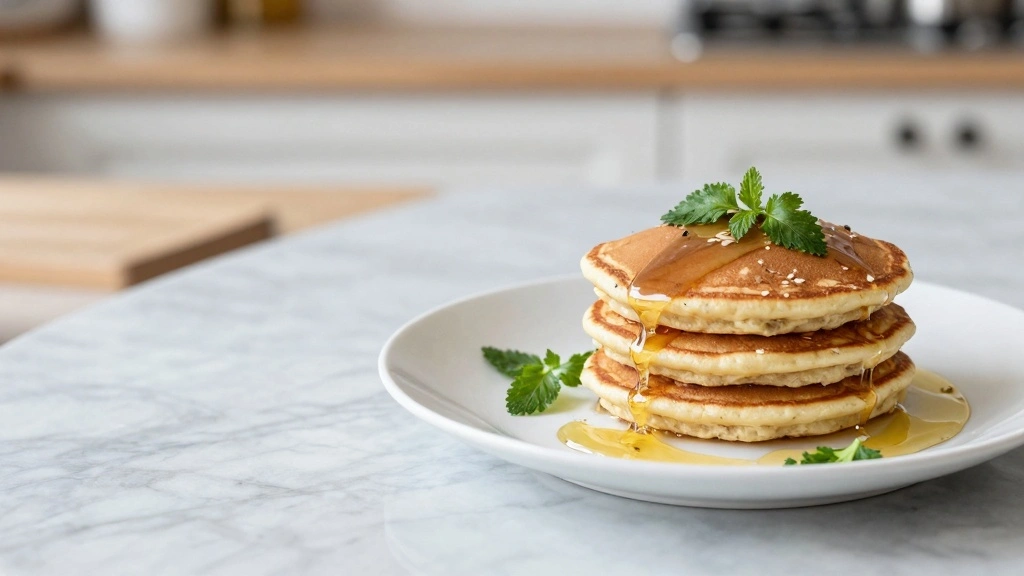
Grab yours for $4There’s nothing quite like starting your day with a stack of warm, fluffy pancakes.
But for those looking to keep things gluten-free, finding the perfect recipe can be a challenge.
These Easy Gluten-Free Protein Pancakes are the perfect solution, offering a delicious and hearty breakfast option.
With a balance of lightness and satisfying protein content, they cater to both taste and nutritional needs.
Whether you’re looking to fuel up for a busy day or enjoy a leisurely weekend breakfast, this recipe won’t disappoint.
So grab your spatula and let’s get cooking!
The History and Cultural Significance
• Gluten-Free Protein Pancakes trace their origins to the health-conscious movements of the early 21st century, where they were created to cater to dietary restrictions and fitness enthusiasts.
• The dish evolved over decades as alternative flours and protein powders became more popular, eventually becoming the beloved version we know today.
• In many health-focused communities, this dish traditionally appears at breakfast gatherings, symbolizing a commitment to wellness and inclusive eating.
• While many variations exist across different regions, the authentic version maintains a high protein content and light texture that sets it apart from imitations.


Recipe Overview
Nutritional Information (per serving)
Essential Equipment Guide
Non-stick Skillet: A non-stick skillet is crucial for ensuring that your pancakes cook evenly and don’t stick. Alternatives like cast iron skillets can work if properly seasoned. Look for one with a smooth, even surface for best results.
Blender: Using a blender ensures that the pancake batter is smooth and well-mixed, which is essential for texture. Hand mixers or a whisk can be used, but might not achieve the same consistency. Opt for a powerful blender if possible.
Spatula: A good spatula helps in flipping pancakes without breaking them. Silicone spatulas are ideal due to their heat resistance and flexibility. A thin, wide blade is preferable for easy maneuvering under the pancakes.


Ingredients
For the Base
|
| Amount | Ingredient | Notes |
|---|---|---|
| 1 cup | gluten-free flour | provides structure |
| 1 scoop | protein powder | adds protein |
| 1 teaspoon | baking powder | helps pancakes rise |
| 1 teaspoon | baking soda | aids in leavening |
| 1/4 teaspoon | salt | enhances flavor |
Liquids
| Amount | Ingredient | Notes |
|---|---|---|
| 1 cup | almond milk | for moisture |
| 2 large | eggs | binds ingredients |
| 2 tablespoons | melted coconut oil | adds richness |
Sweeteners
| Amount | Ingredient | Notes |
|---|---|---|
| 2 tablespoons | maple syrup | natural sweetness |


Preparation Methods
Blending the Batter: Using a blender to mix your ingredients ensures a smooth batter. This method is key for achieving a uniform texture in gluten-free pancakes. Blend until all ingredients are just combined to avoid over-mixing.
Resting the Batter: Allowing the batter to rest for a few minutes before cooking helps the flour absorb the liquid. This leads to a better texture and prevents the pancakes from being too dense. A 5-minute rest period is optimal.
Flipping Technique: Mastering the art of flipping pancakes without breaking them is crucial. Wait until you see bubbles forming on the surface before flipping. This indicates that the underside is cooked.


Step 1: Gather Ingredients

Measure out all the ingredients and place them within reach.
This will streamline the process and ensure nothing is forgotten.
Check that all ingredients are fresh, especially the gluten-free flour and protein powder.
Having everything prepared makes the cooking experience more enjoyable.
Step 2: Blend the Dry Ingredients
Add the gluten-free flour, protein powder, baking powder, baking soda, and salt into a blender.
Pulse the blender a few times to combine the dry ingredients evenly.
Ensure there are no clumps of flour or protein powder left.
This pre-mixing step ensures an even distribution of leavening agents.


Step 3: Mix in the Liquids
Pour the almond milk, eggs, and melted coconut oil into the blender with the dry mix.
Blend on medium speed until the mixture is smooth and creamy.
Pause to scrape down the sides if necessary to incorporate all ingredients.
This step is crucial for achieving a lump-free batter.


Step 4: Sweeten the Batter
Add maple syrup to the blender and blend briefly to combine.
Ensure the maple syrup is well integrated into the batter.
Taste the batter and adjust sweetness if needed.
This step adds natural sweetness without overpowering the pancakes.
Step 5: Rest the Batter
Let the batter sit in the blender for about 5 minutes.
This allows the gluten-free flour to hydrate fully.
You'll notice a slight thickening of the batter as it rests.
This resting period prevents dense pancakes and ensures a light texture.
Step 6: Preheat the Skillet
Place a non-stick skillet over medium heat on the stove.
Allow the skillet to heat for about 3 minutes until evenly hot.
Test the heat by sprinkling a few drops of water; they should sizzle.
Proper preheating is key for even cooking and browning.
Step 7: Cook the Pancakes
Pour about 1/4 cup of batter onto the skillet for each pancake.
Cook until bubbles form on the surface and the edges start to set.
Use a spatula to gently flip the pancake over.
Cook the other side until golden brown, about 2 minutes.


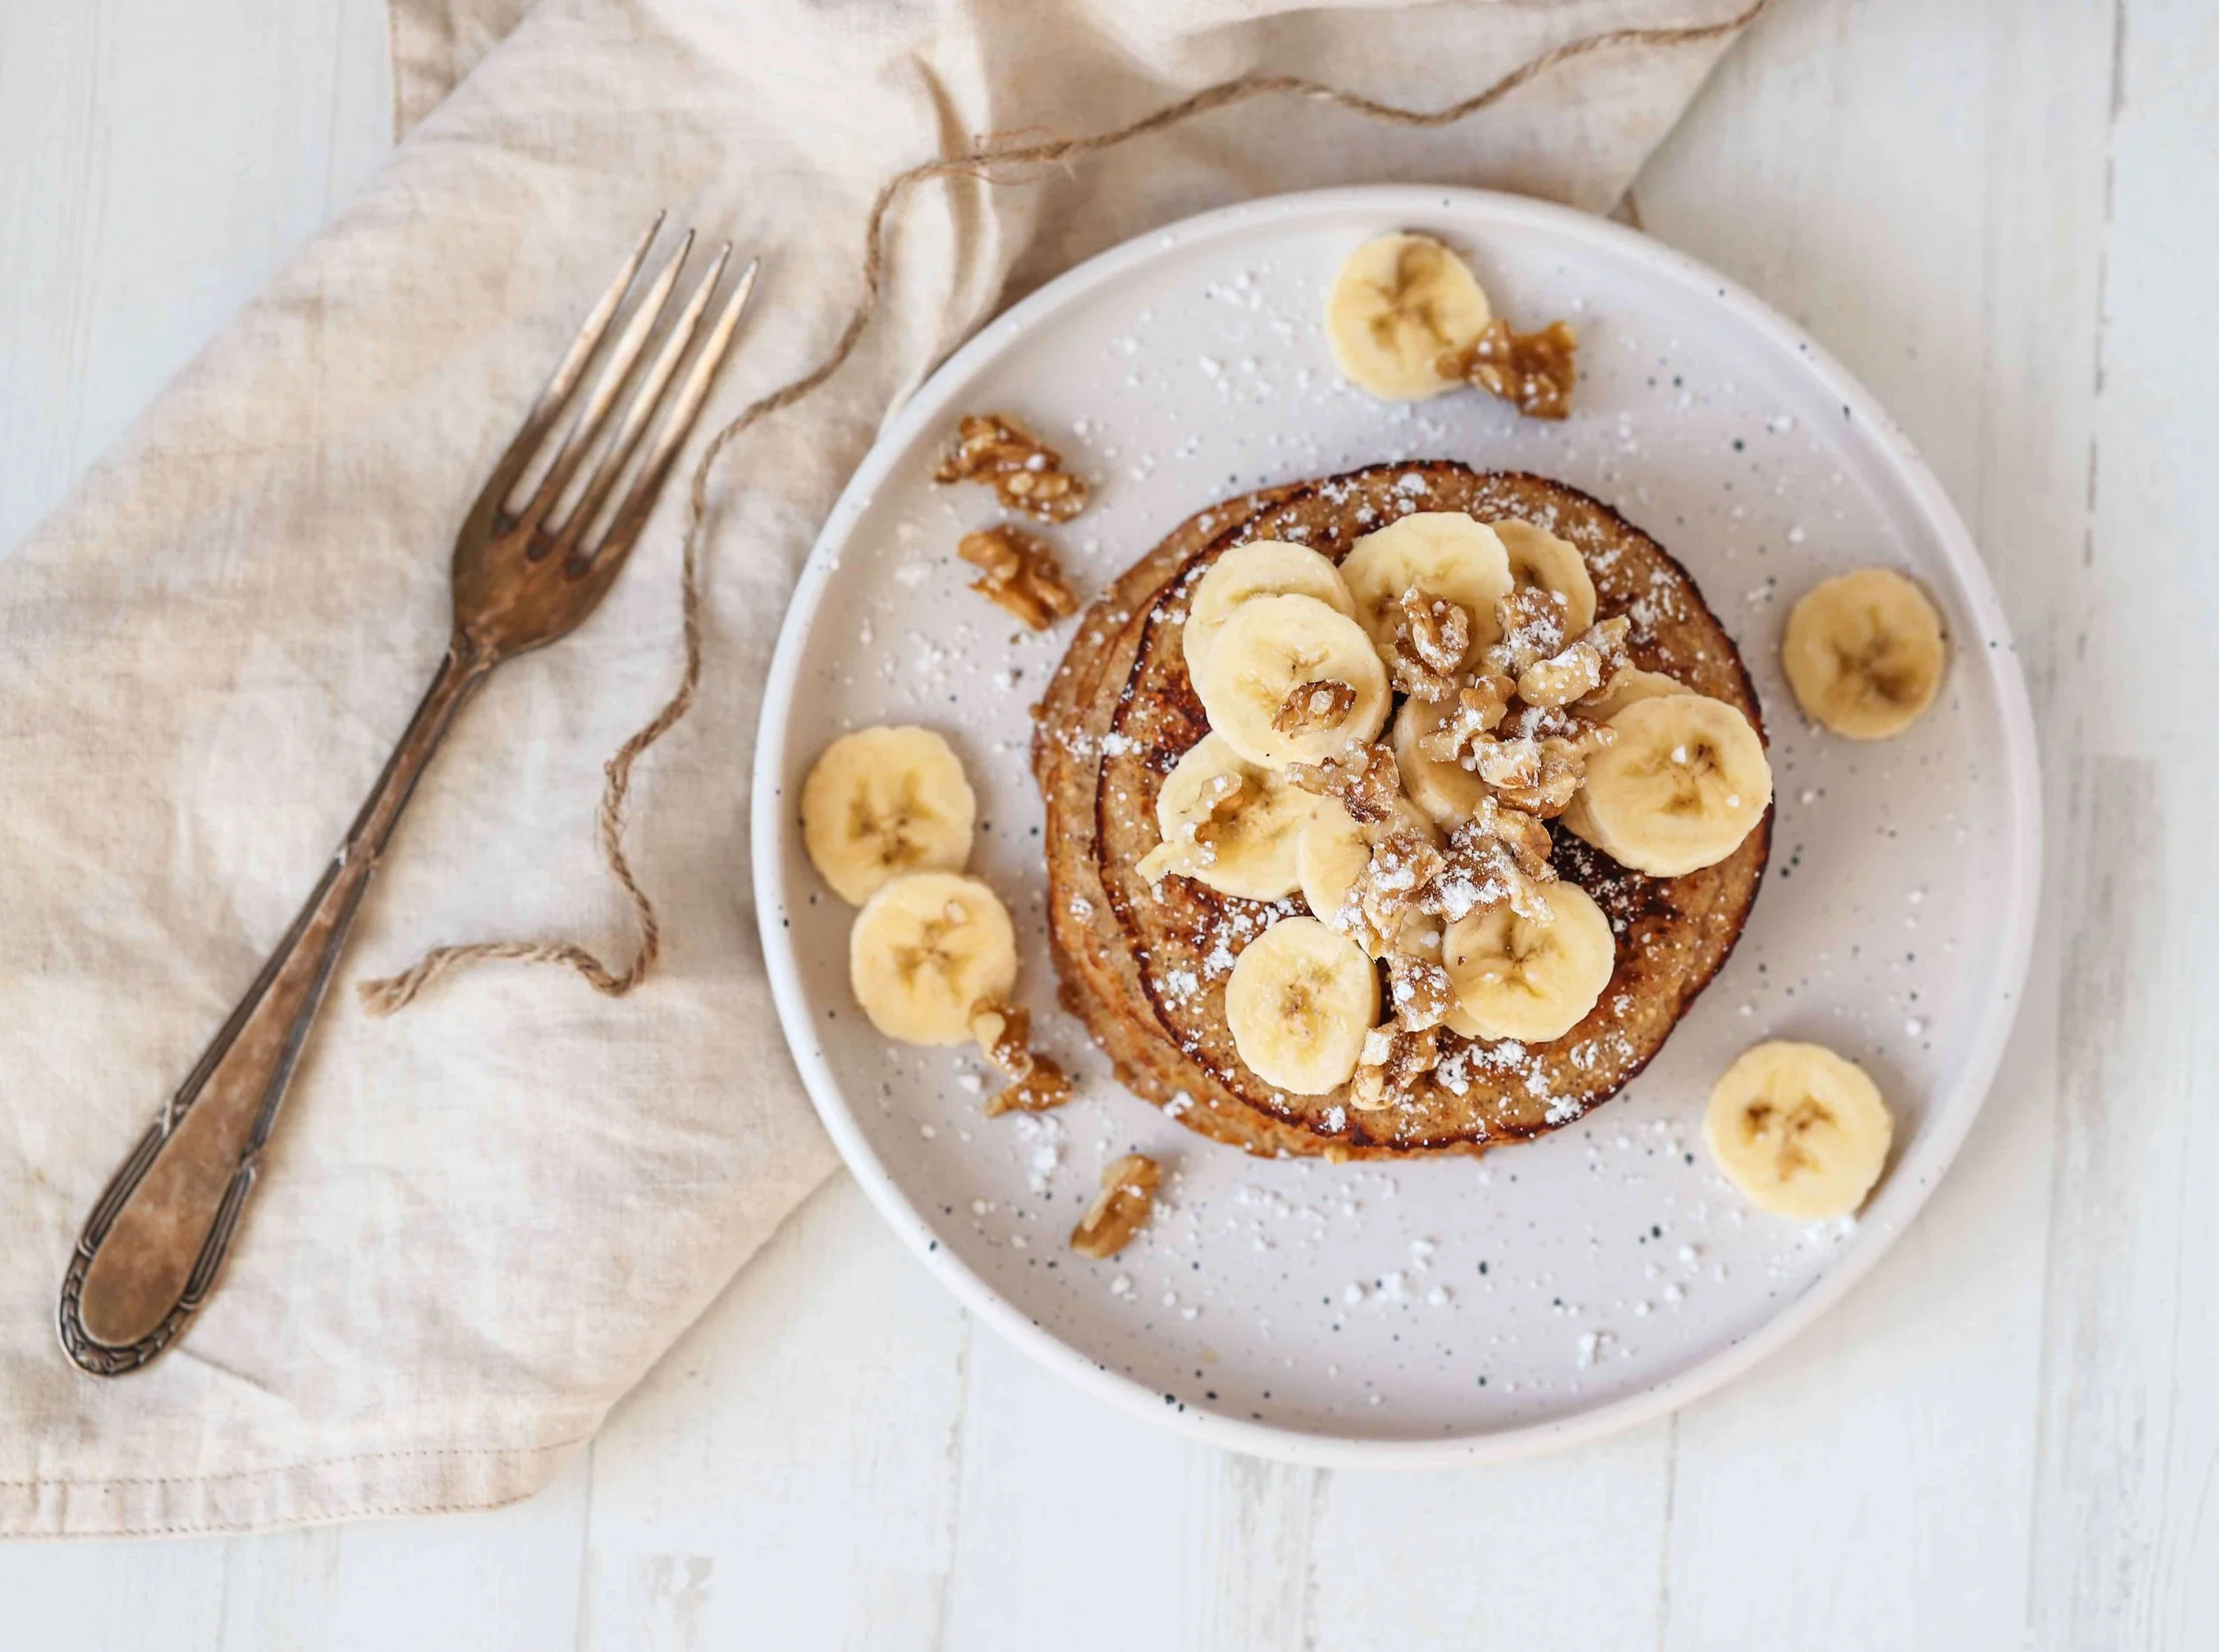
Step 8: Serve the Pancakes
Remove the pancakes from the skillet and place them on a plate.
Continue cooking the rest of the batter in the same manner.
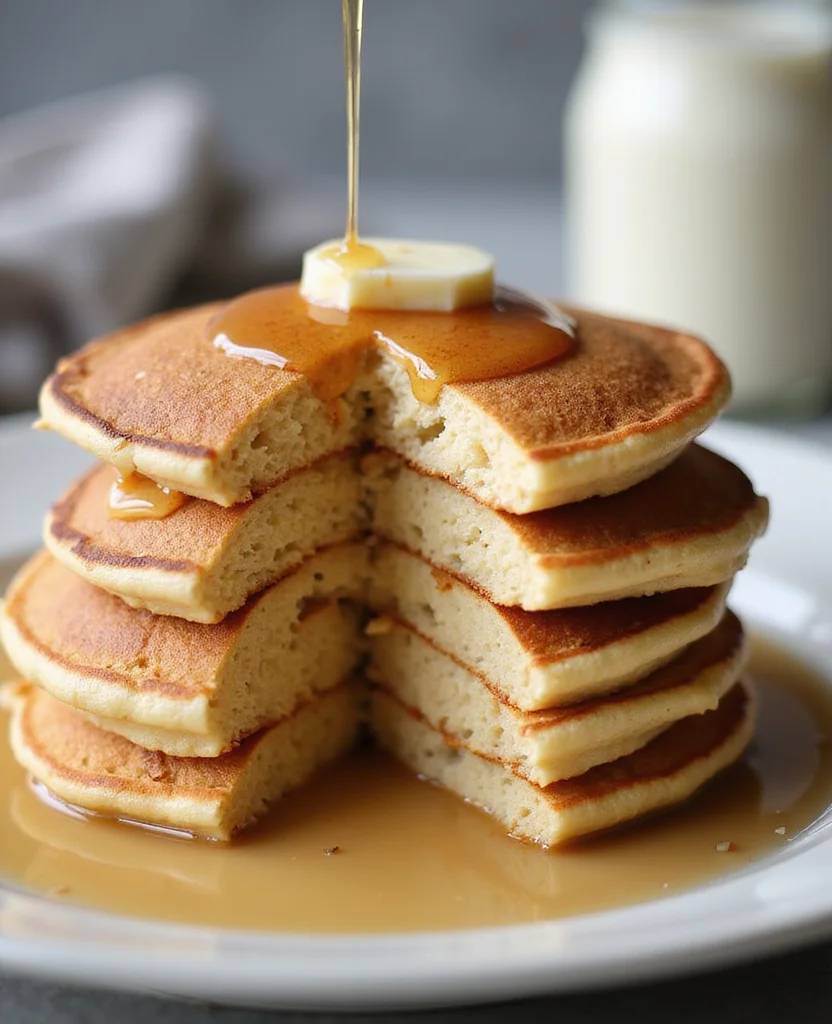
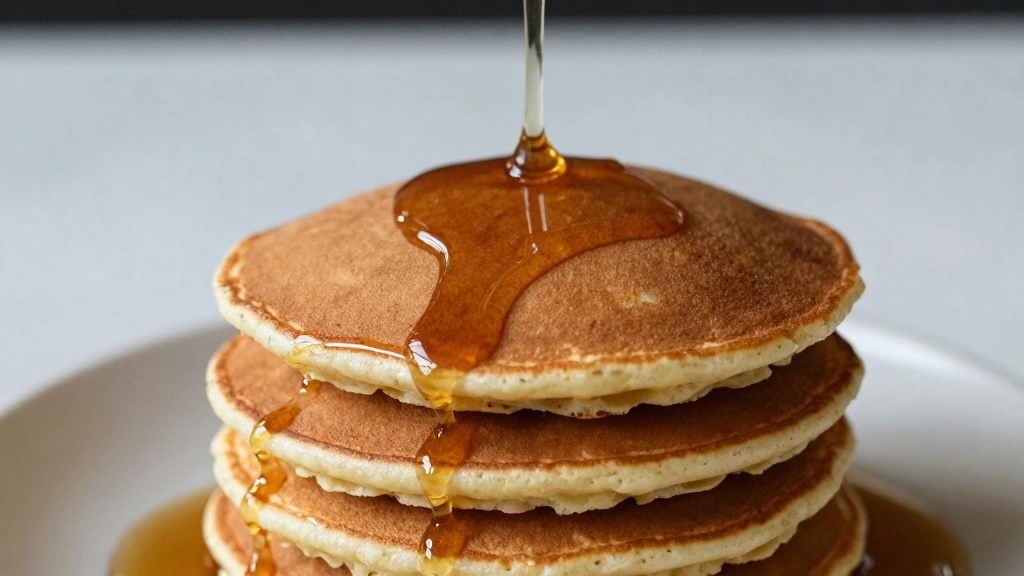
Stack the cooked pancakes and drizzle with additional maple syrup if desired.
Serve warm for the best flavor and texture.
Critical Timing and Temperature Guide
Mixing the Batter: Blend for about 30 seconds until smooth, avoiding over-mixing which can lead to tough pancakes.
Cooking the Pancakes: Cook each side for approximately 2-3 minutes on medium heat. Bubbles on the surface indicate it's time to flip.
Serving: Serve immediately after cooking for the best texture. If holding, keep in a warm oven but not for more than 20 minutes.


Pro Tips for Gluten-Free Protein Pancakes
• Ingredient Selection: Choose a high-quality gluten-free flour blend that includes xanthan gum for better texture.
• Preparation Secret: Allow the batter to rest, which helps the proteins bind and creates a fluffier pancake.
• Temperature Management: Ensure the skillet is evenly heated to avoid hot spots that can burn the pancakes.
• Texture Enhancement: For extra fluffiness, separate egg whites and beat them before folding into the batter.
• Flavor Layering: Add a pinch of cinnamon or vanilla extract to the batter for added depth of flavor.
• Make-Ahead Strategies: Prepare the dry mix in advance and store in an airtight container for quick morning prep.
• Restaurant-Quality Finishing Touches: Garnish with fresh berries and a dusting of powdered sugar for visual appeal.
• Equipment Optimization: Use a lid to cover the skillet briefly after pouring the batter to help pancakes rise.
Troubleshooting Common Issues
• Texture Too Dense: Over-mixing the batter can cause this. Mix until just combined and let it rest.
• Pancakes Sticking to Skillet: Ensure the skillet is well preheated and lightly oiled.
• Uneven Cooking: Check for hot spots by moving the skillet or adjusting the heat.
• Batter Too Runny: Add a little more flour to achieve the right consistency.
• Pancakes Too Dry: Ensure not to overcook and consider adding a bit more liquid if batter is too thick.
• Flavors Unbalanced: Adjust sweeteners or salt to taste before cooking the entire batch.
Variations and Regional Differences
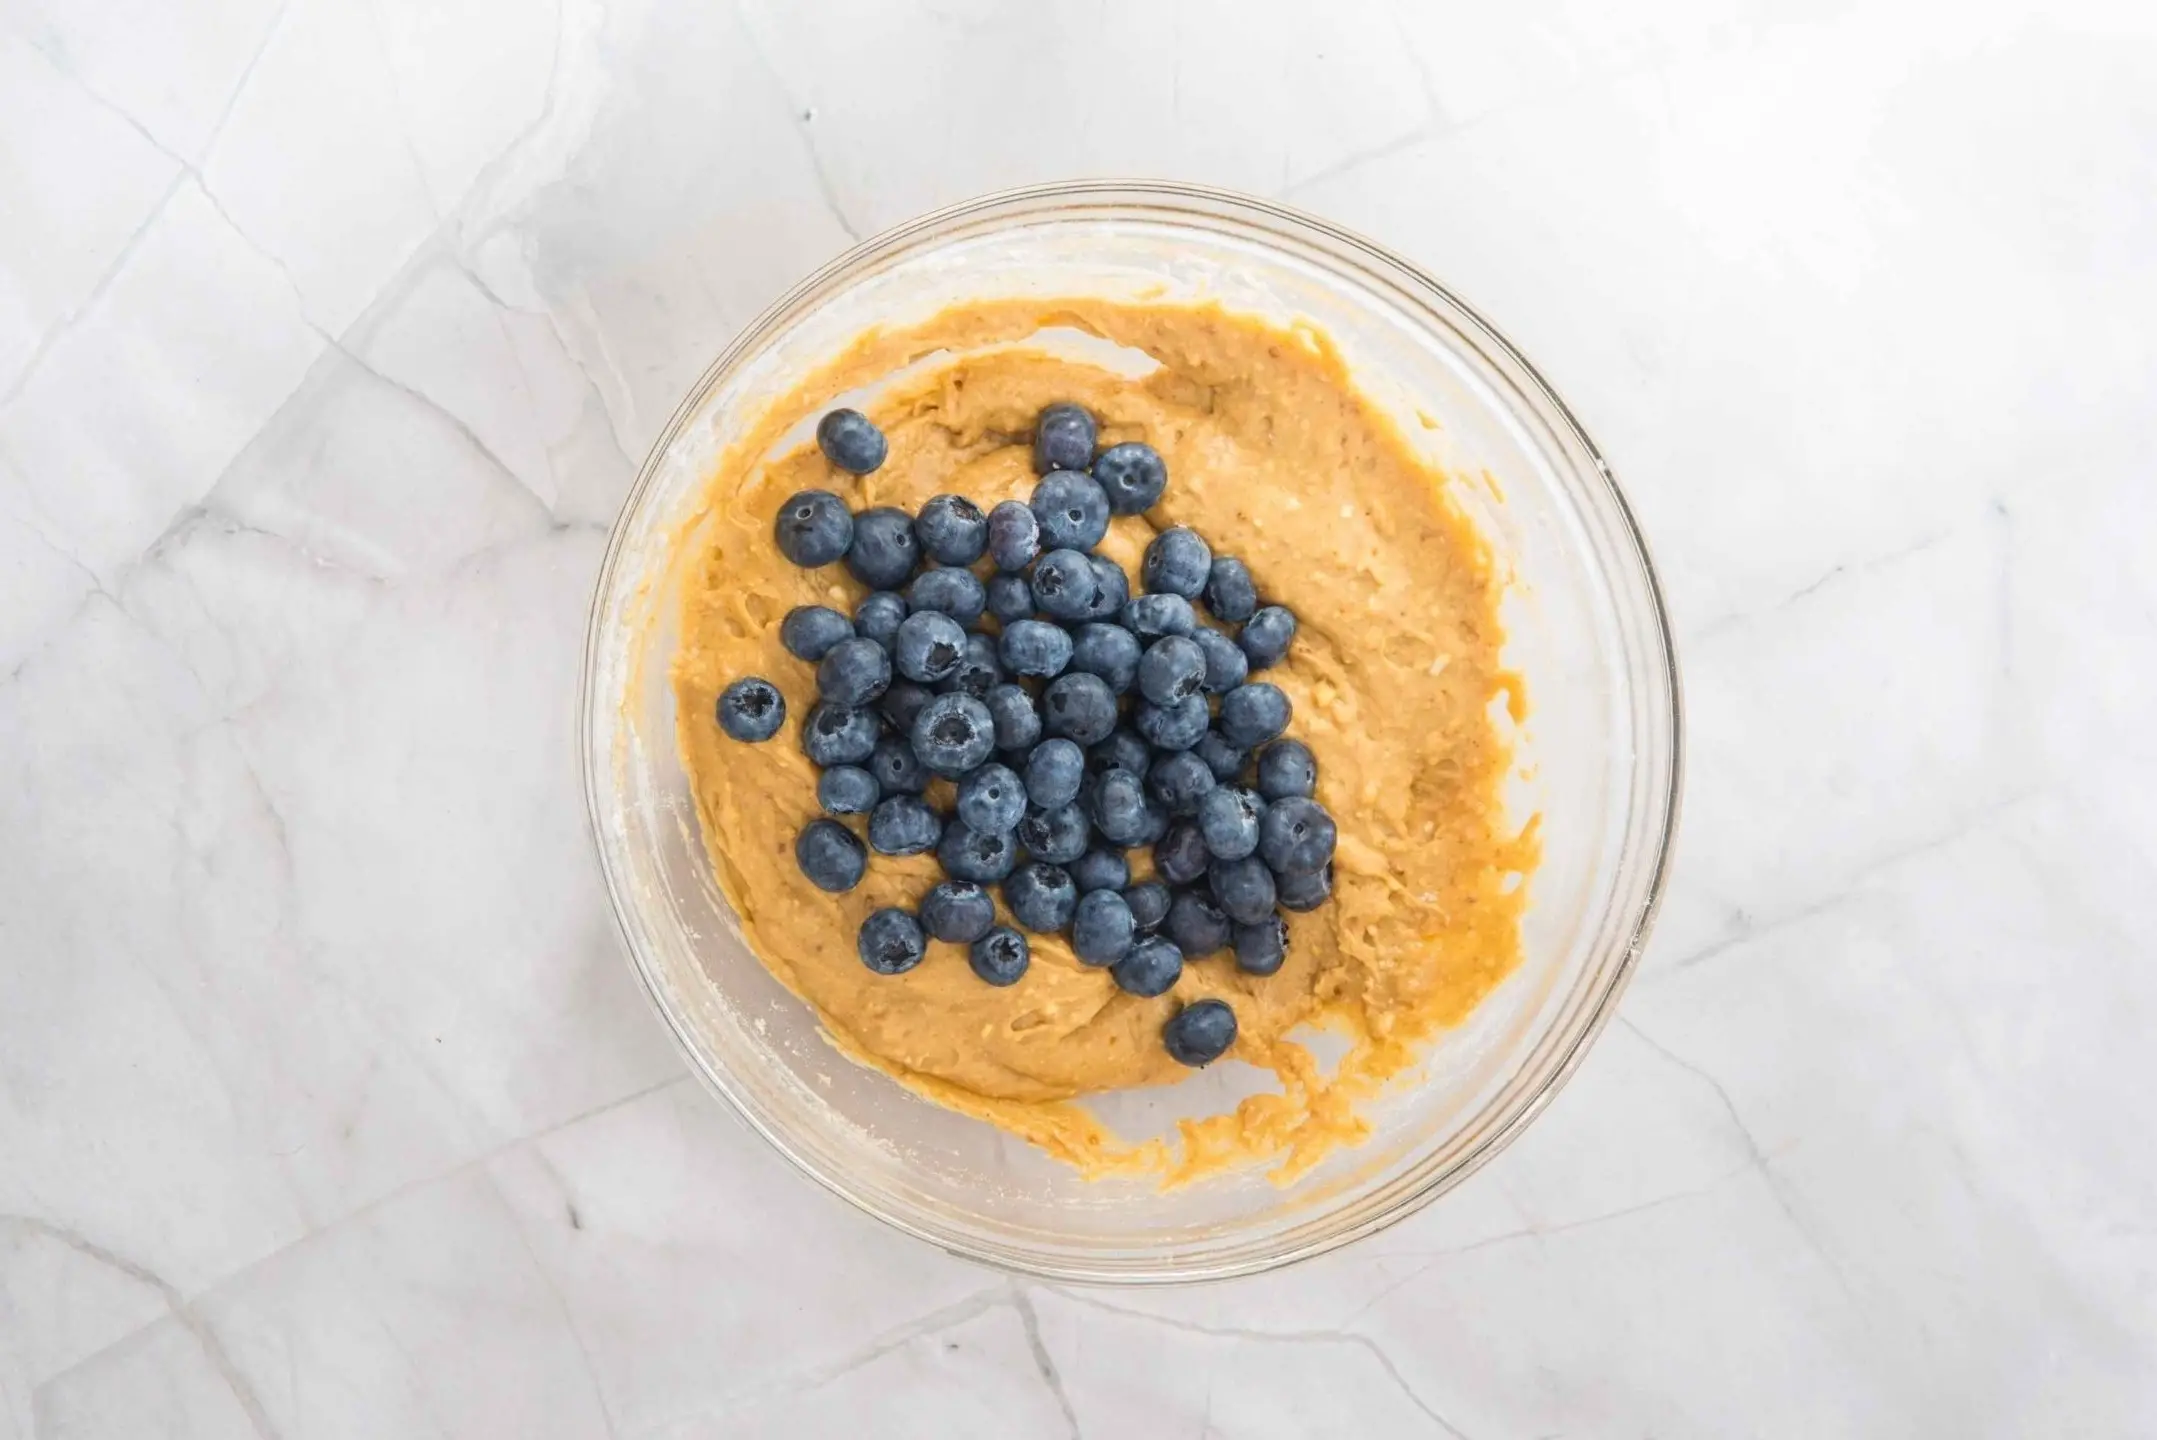
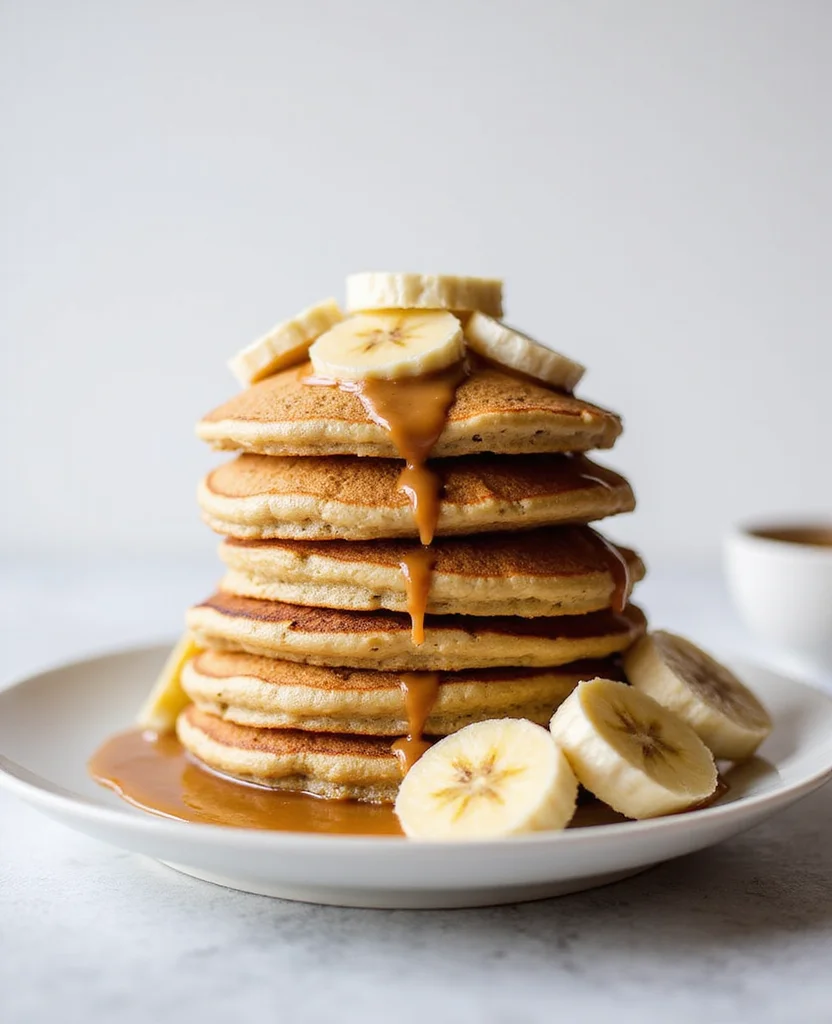
• American Style: Often includes blueberries or chocolate chips mixed into the batter for added sweetness and flavor.
• European Style: Generally thinner, resembling crepes, and served with lemon and sugar or Nutella.
• Middle Eastern Variation: Incorporates spices like cardamom and is served with honey and nuts.
• Asian Fusion: Uses matcha powder in the batter for a unique green hue and earthy flavor.
Food Science Behind the Recipe
• Leavening Agents: Baking powder and soda react with the acid in the batter to produce carbon dioxide, creating fluffy pancakes.
• Protein Structure: Protein powder adds structure, compensating for the lack of gluten in the flour.
• Emulsification: Eggs and oil help to emulsify ingredients, leading to a smooth, cohesive batter.


Frequently Asked Questions
What's the most common mistake people make when preparing gluten-free pancakes? Over-mixing the batter, which leads to dense pancakes, is a frequent issue. Mix until ingredients are just combined.
Can I substitute the protein powder? Yes, you can use almond flour or additional gluten-free flour, but it will affect the protein content.
How do I store leftover pancakes? Store in an airtight container in the refrigerator for up to 3 days or freeze for longer storage.
What can I use instead of almond milk? Any plant-based milk or regular milk can be used, but it will change the flavor profile slightly.
Why are my pancakes not fluffy? Ensure your baking powder is fresh and the batter is rested before cooking.
How do I prevent pancakes from sticking? Use a good non-stick skillet and ensure it's properly preheated.
Can I make the batter ahead of time? It’s best to prepare it fresh, but you can store it in the fridge for up to a day.
Serving and Presentation Guide
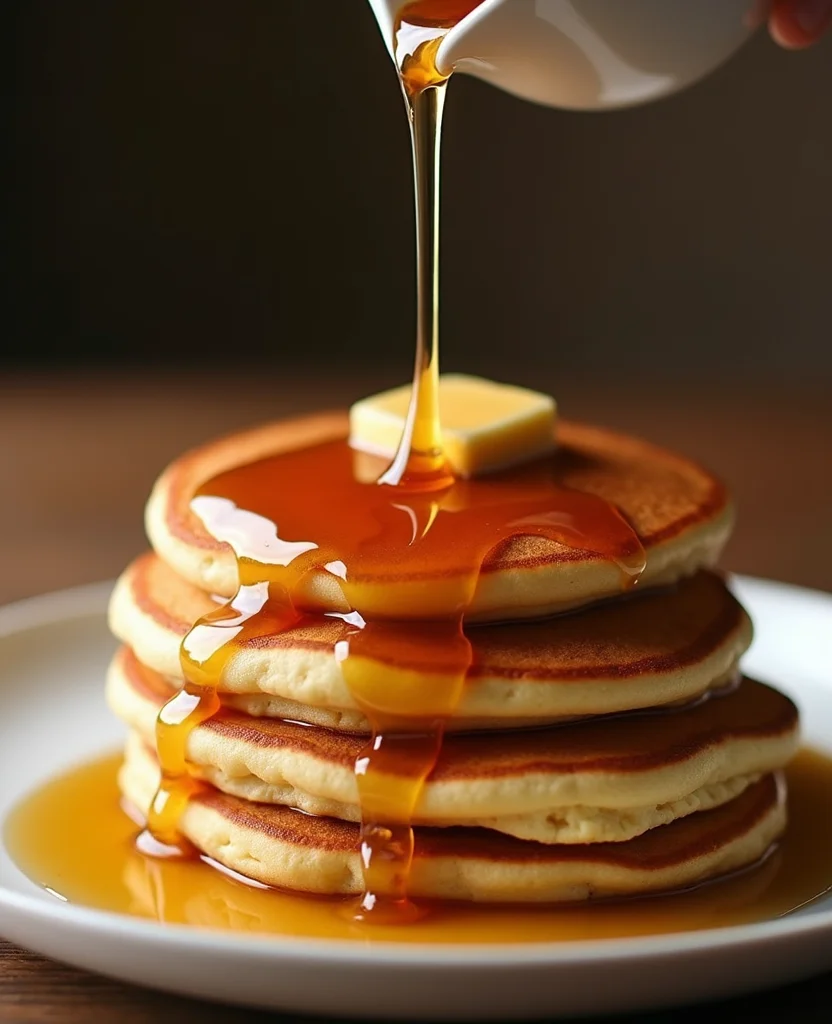
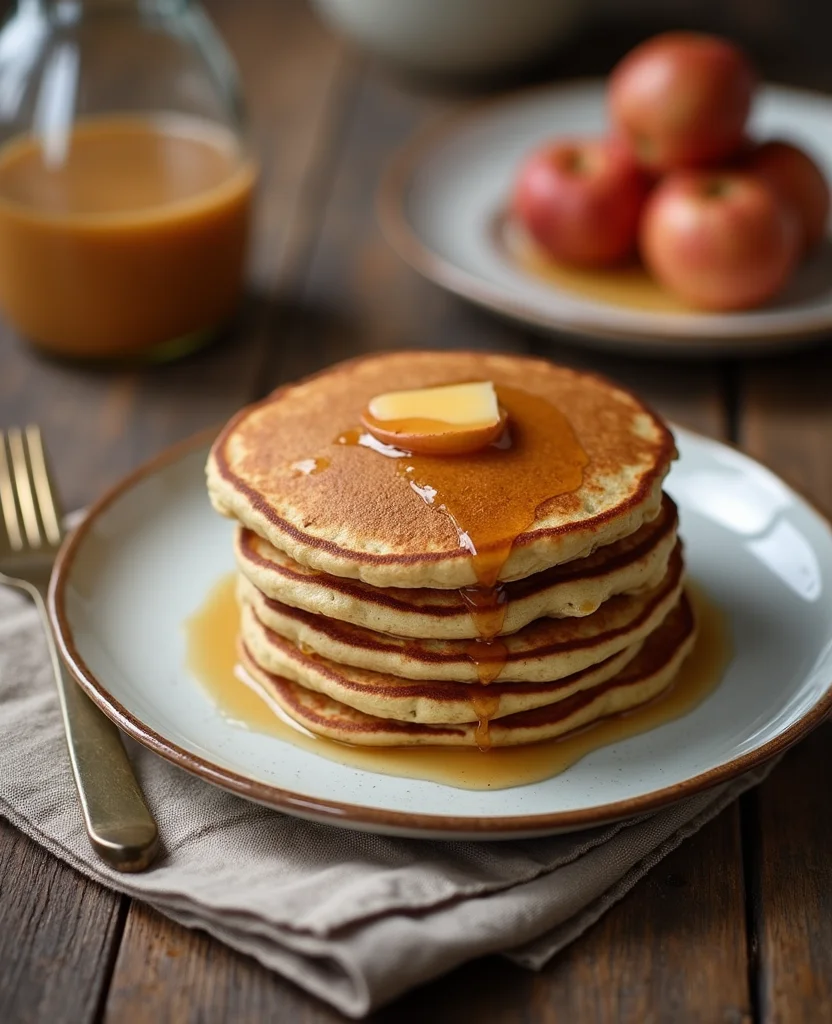
• Traditional Presentation: Serve stacked with a pat of butter on top and a drizzle of maple syrup.
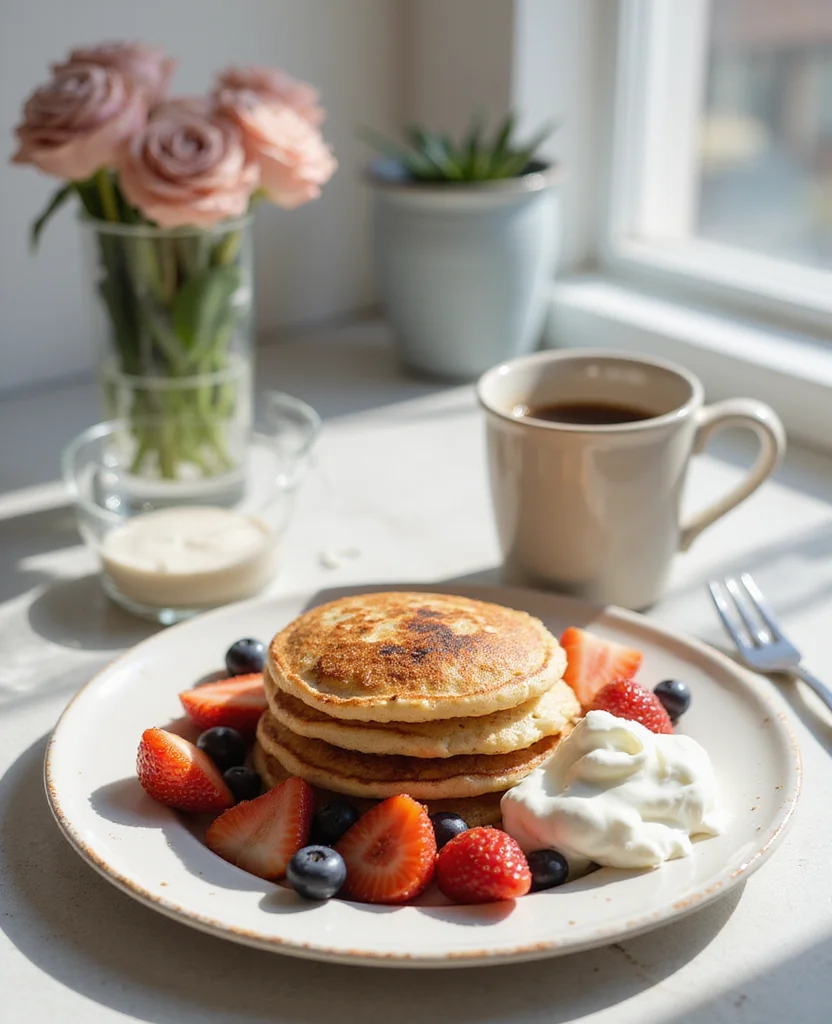
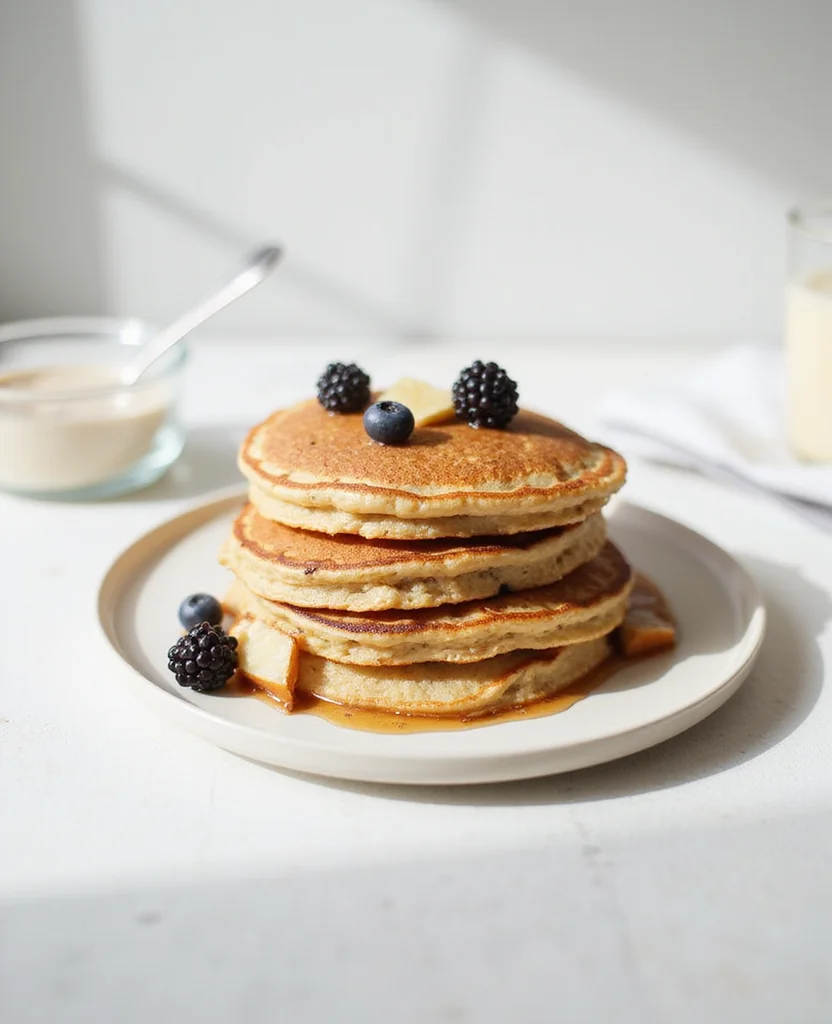
• Modern Twist: Top with fresh fruit and a dollop of Greek yogurt for a fresher presentation.
• Kid-Friendly Style: Use cookie cutters to shape pancakes into fun designs and serve with a side of fruit salad.
• Gourmet Experience: Plate with a smear of berry compote and a sprinkle of toasted nuts for an elegant touch.
Conclusion
These Easy Gluten-Free Protein Pancakes offer a delicious and nutritious way to start your day.
With a simple preparation process and versatile ingredients, they are a great option for any breakfast table.
Give this recipe a try and enjoy the perfect balance of flavor and health benefits.
Your mornings just got a whole lot tastier!